Contents
- Steps To Add Tags For Jobs Through Bulk Tagging.
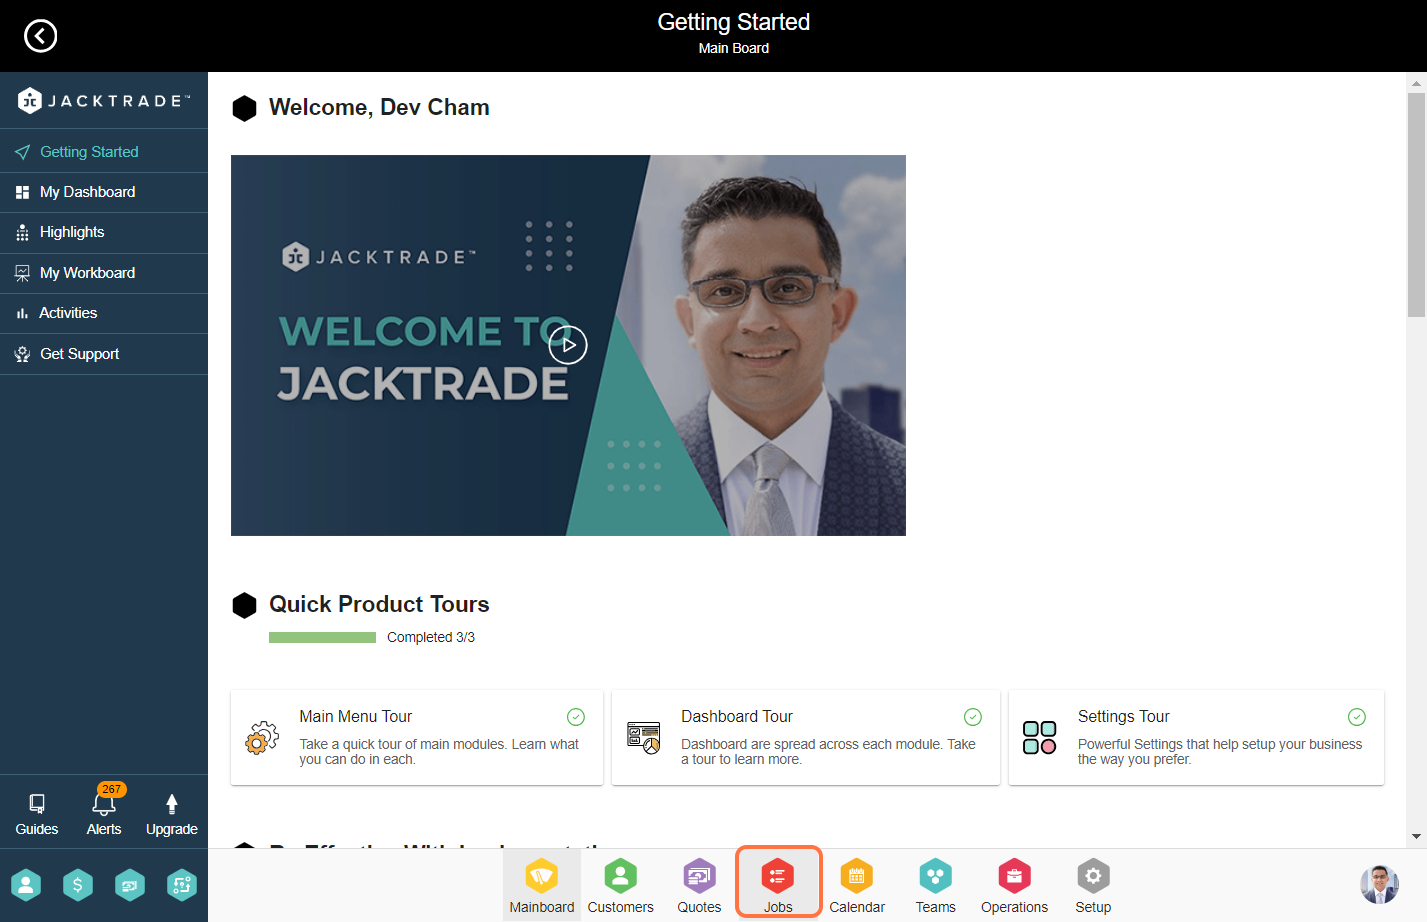
- 1. Go to the Jobs Module.
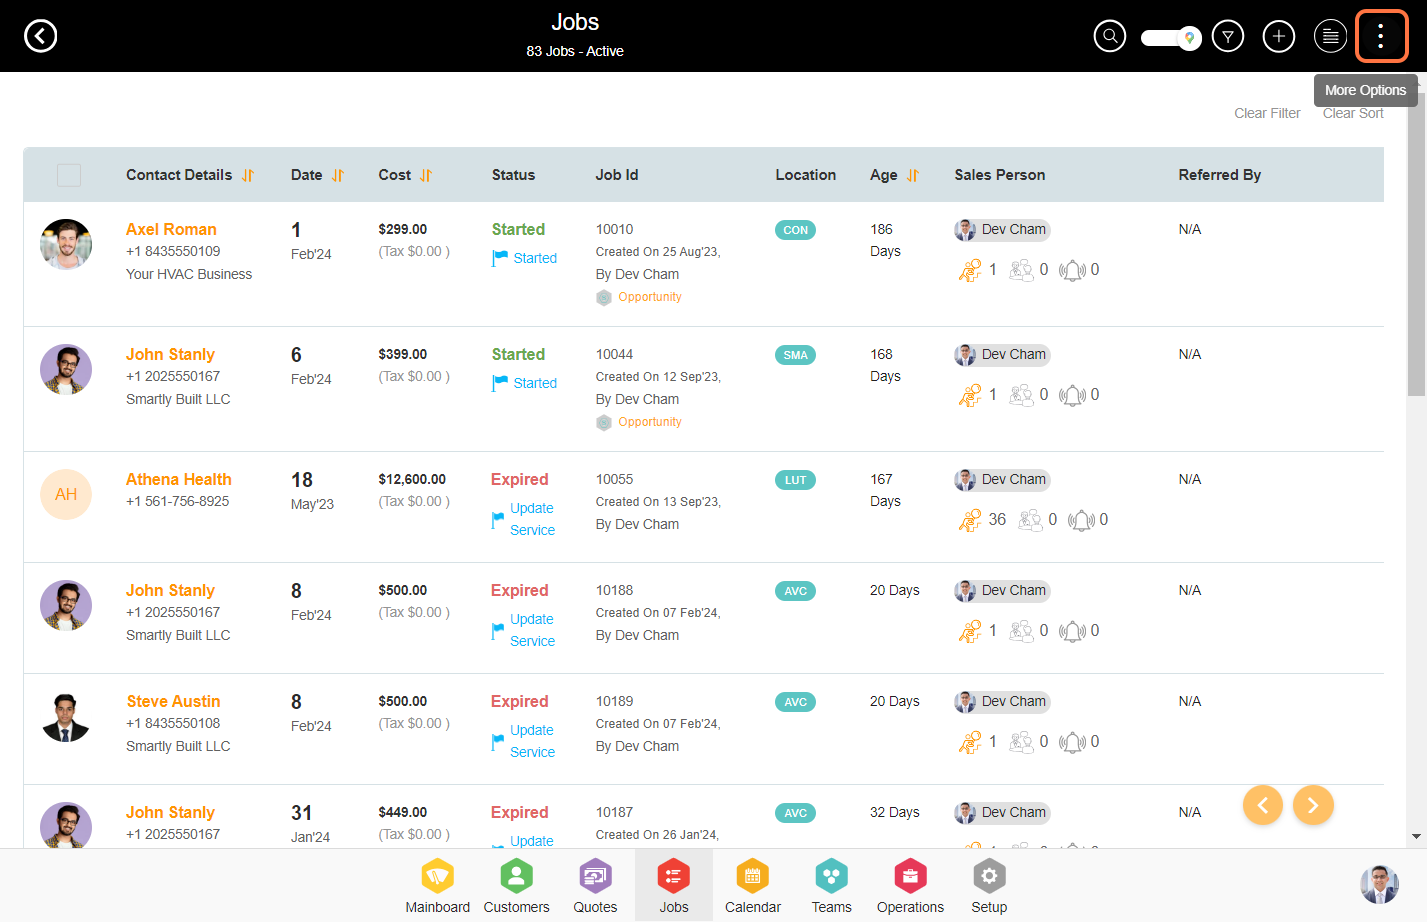
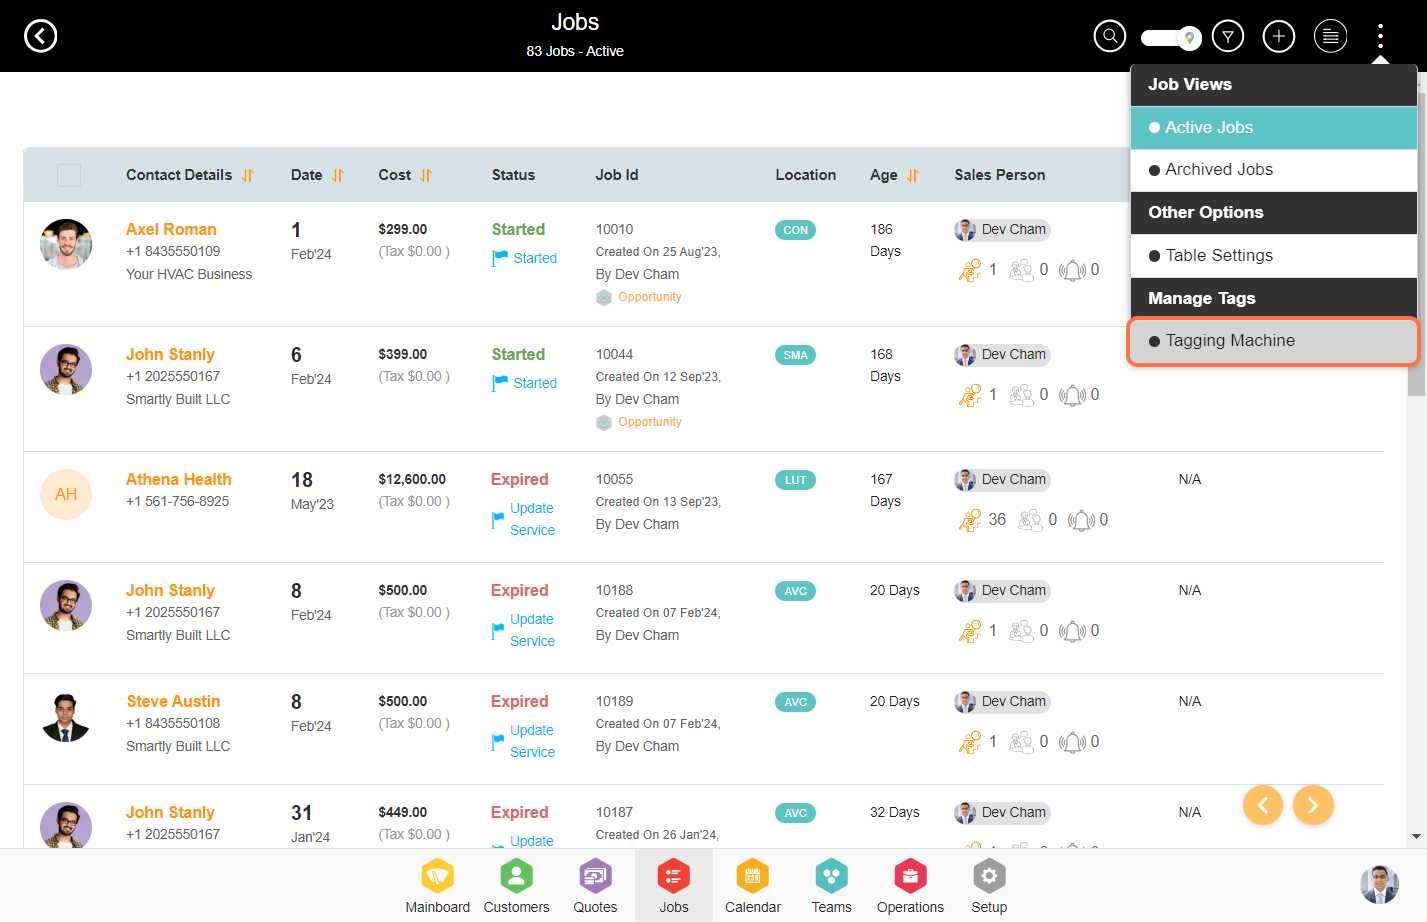
- 2. Click on the options menu (3 dots) and under manage tags select ‘Tagging Machine’.
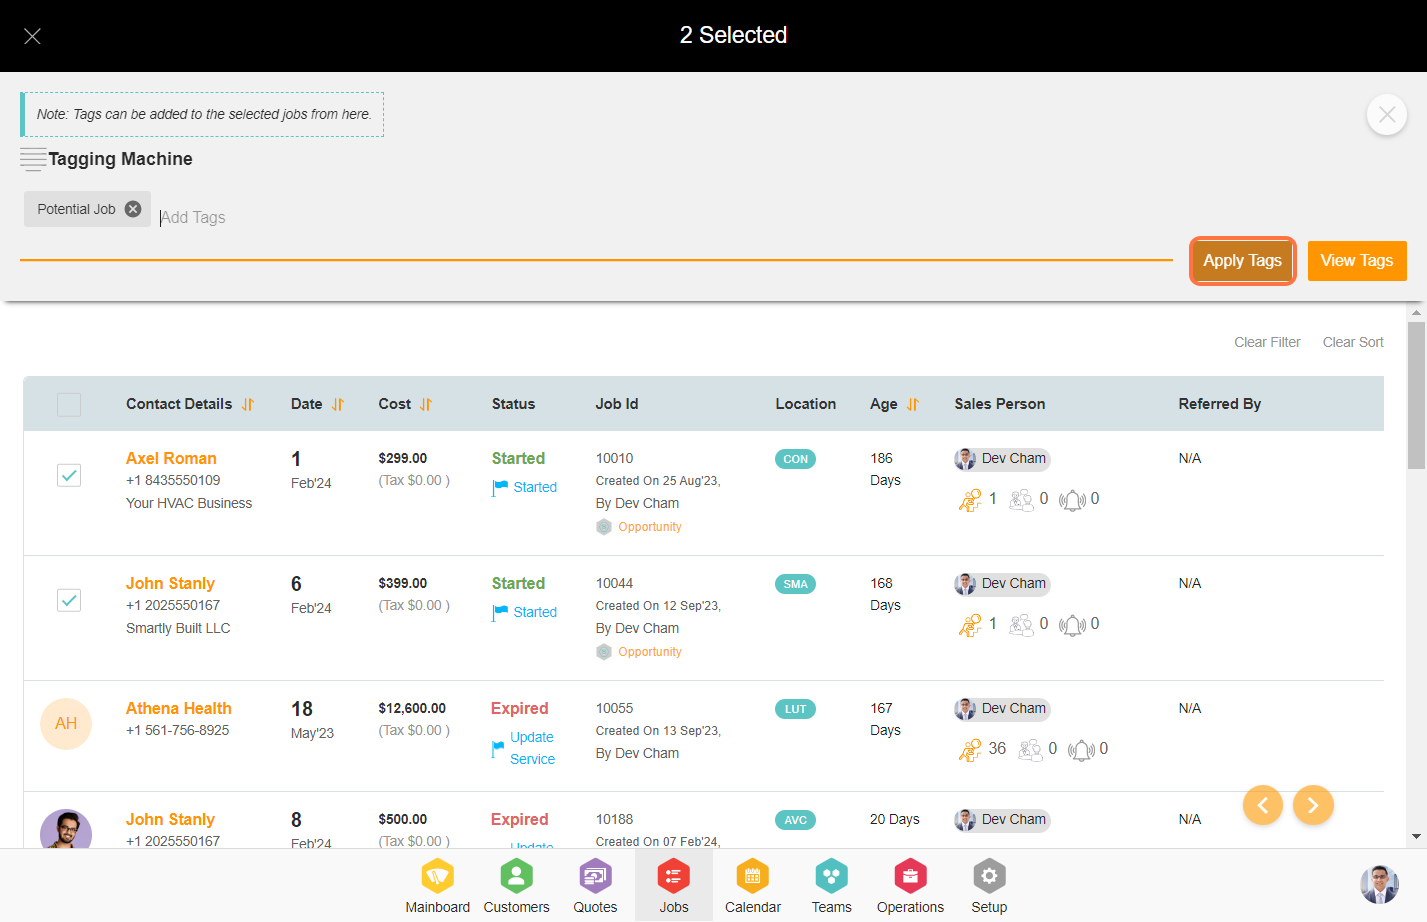
- 3. Select one or more job contacts to whom you wish to assign tags.
- 4. Input the tags using the tagging machine and click enter to create the tag chip.
- 5. After entering the tags, click on ‘Apply Tags’. This will add the tags to the selected jobs.
- 6. To see the tags, navigate to the particular job.
- 7. Under the ‘Tags’ section you will see the tag under custom tags.
1. Go to the Jobs Module.
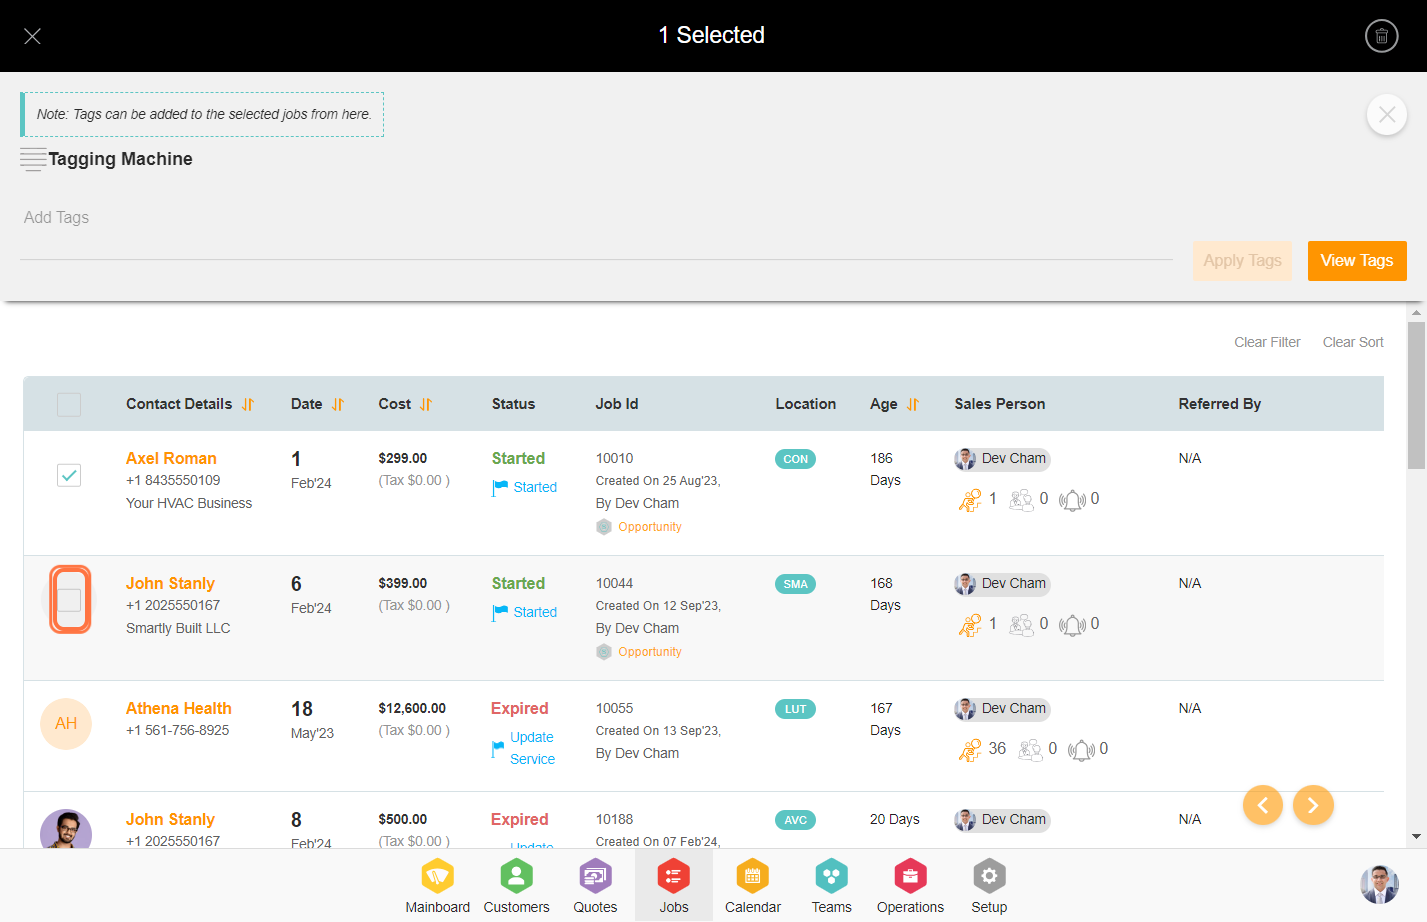
Note: The ‘View Tags’ option will show you all the custom tags associated with the selected contacts.

