Guidelines to set up smart actions - A step-by-step guide.
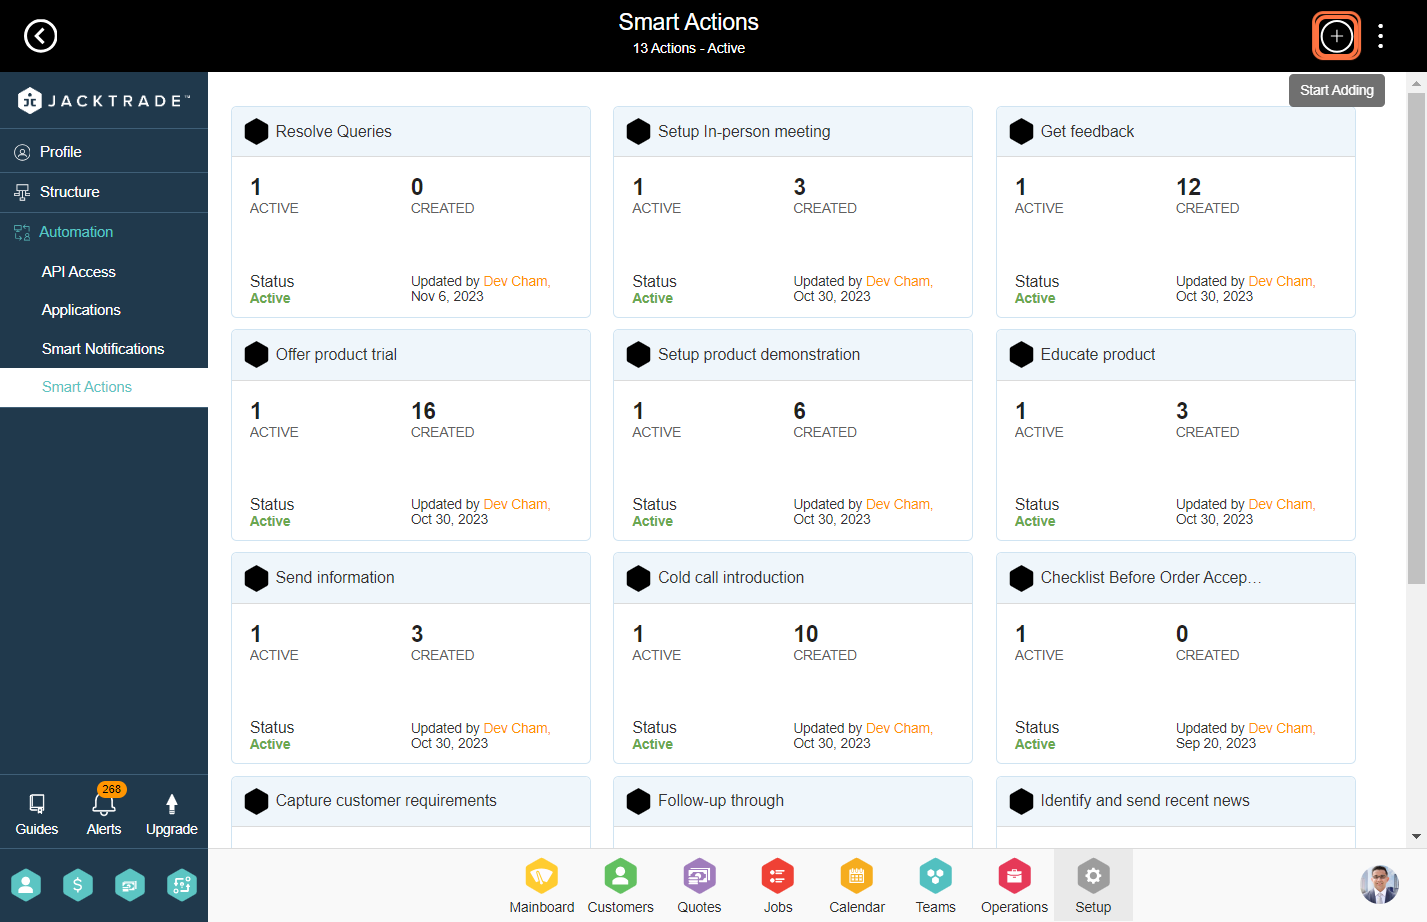
1. Go to the Setup Module.


3. Click on the 'Add' icon from the top right.
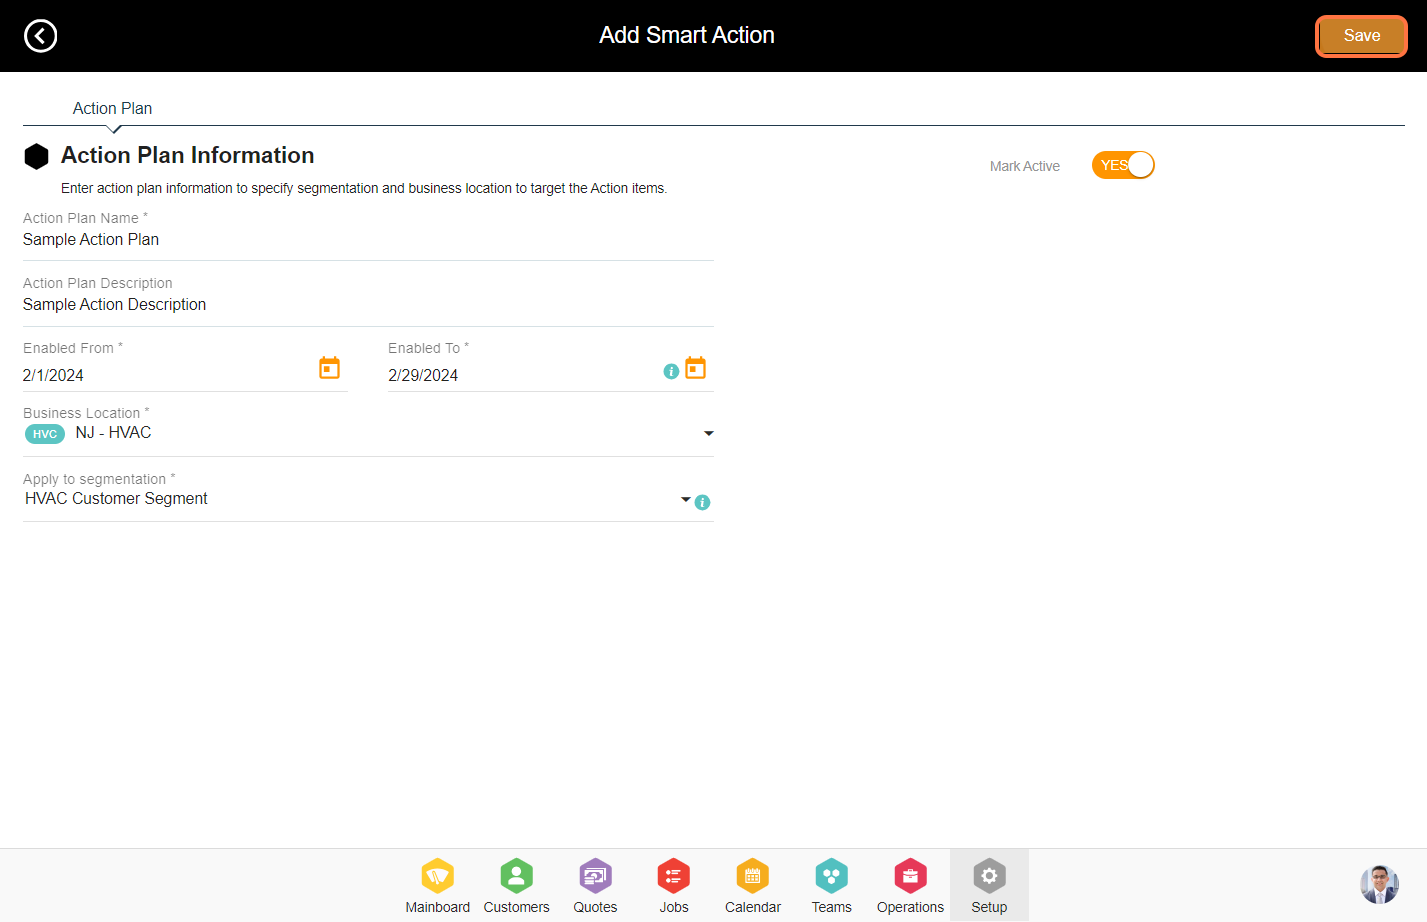
4. Enter the action plan details like Name, Description, Dates, Business Location, and Segmentation. After adding the details, click on 'Save'.

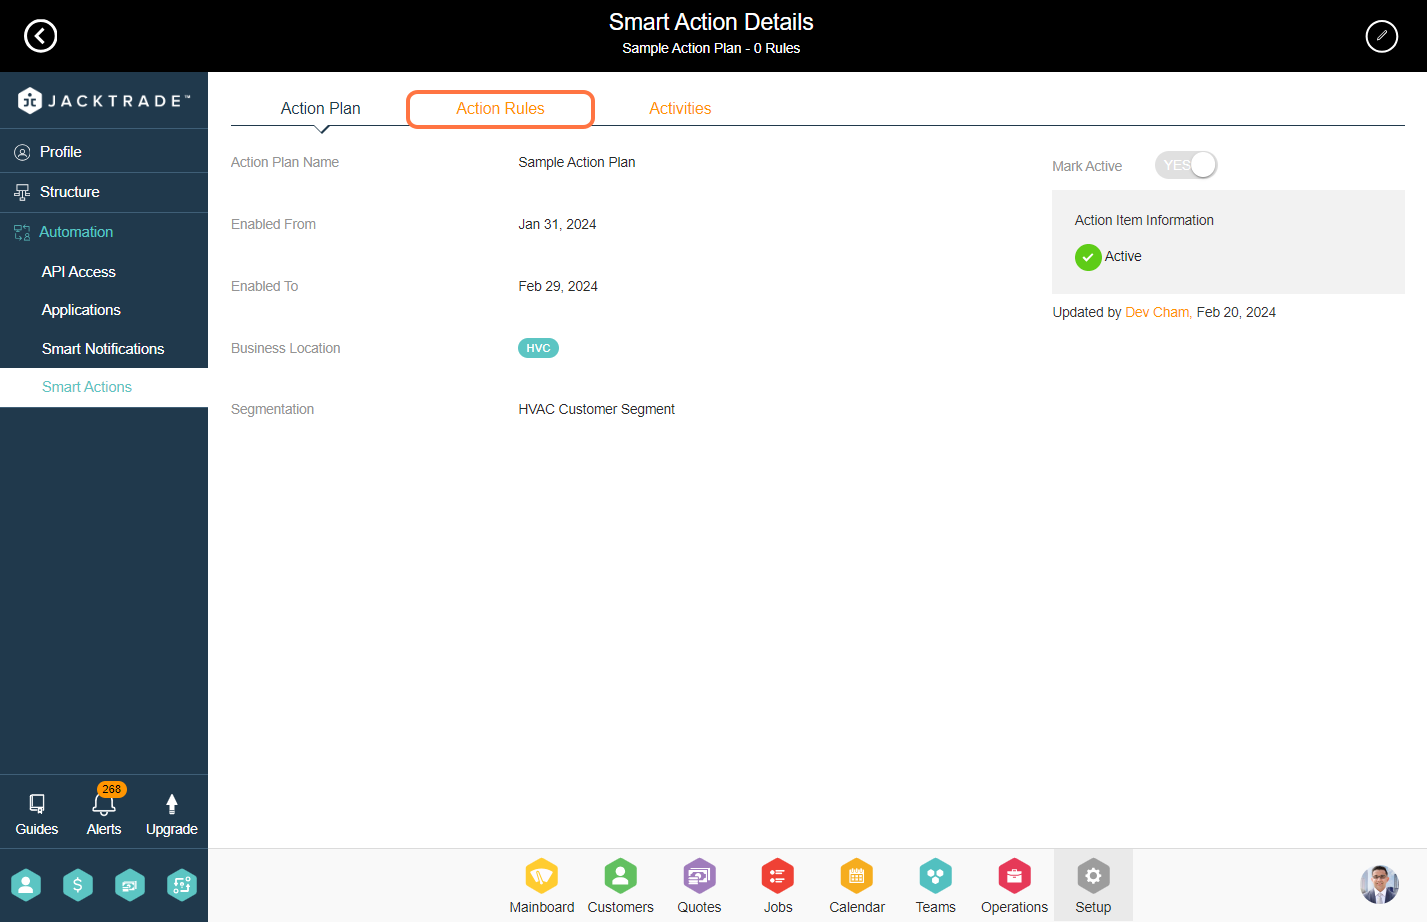
5. Go inside the action plan.

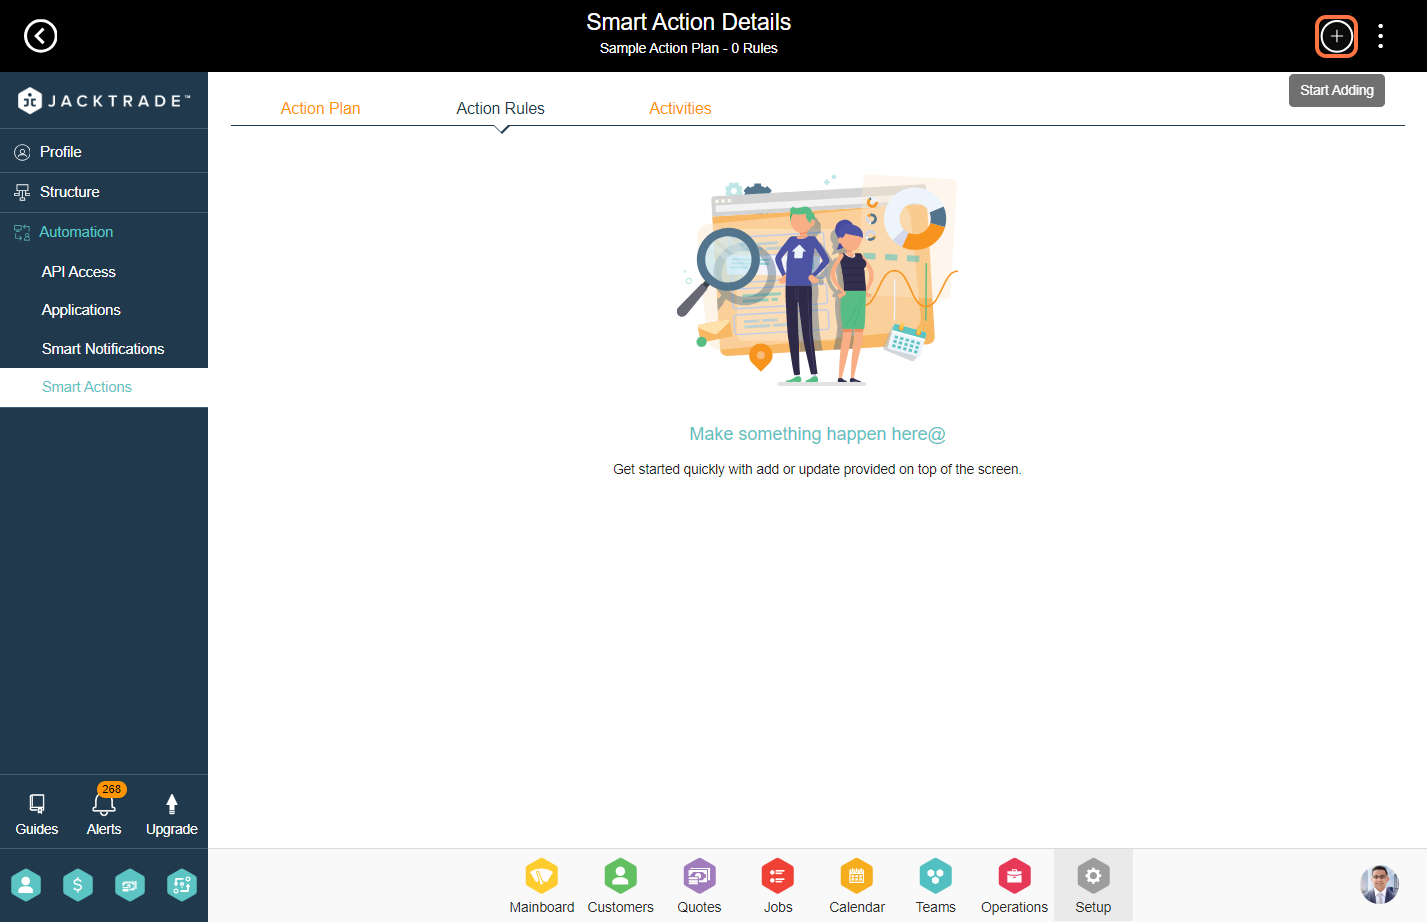
6. Click on the 'Action Rules' tab and then click on the 'Add' icon from the top right.
Note: You can add multiple action rules under one action plan.
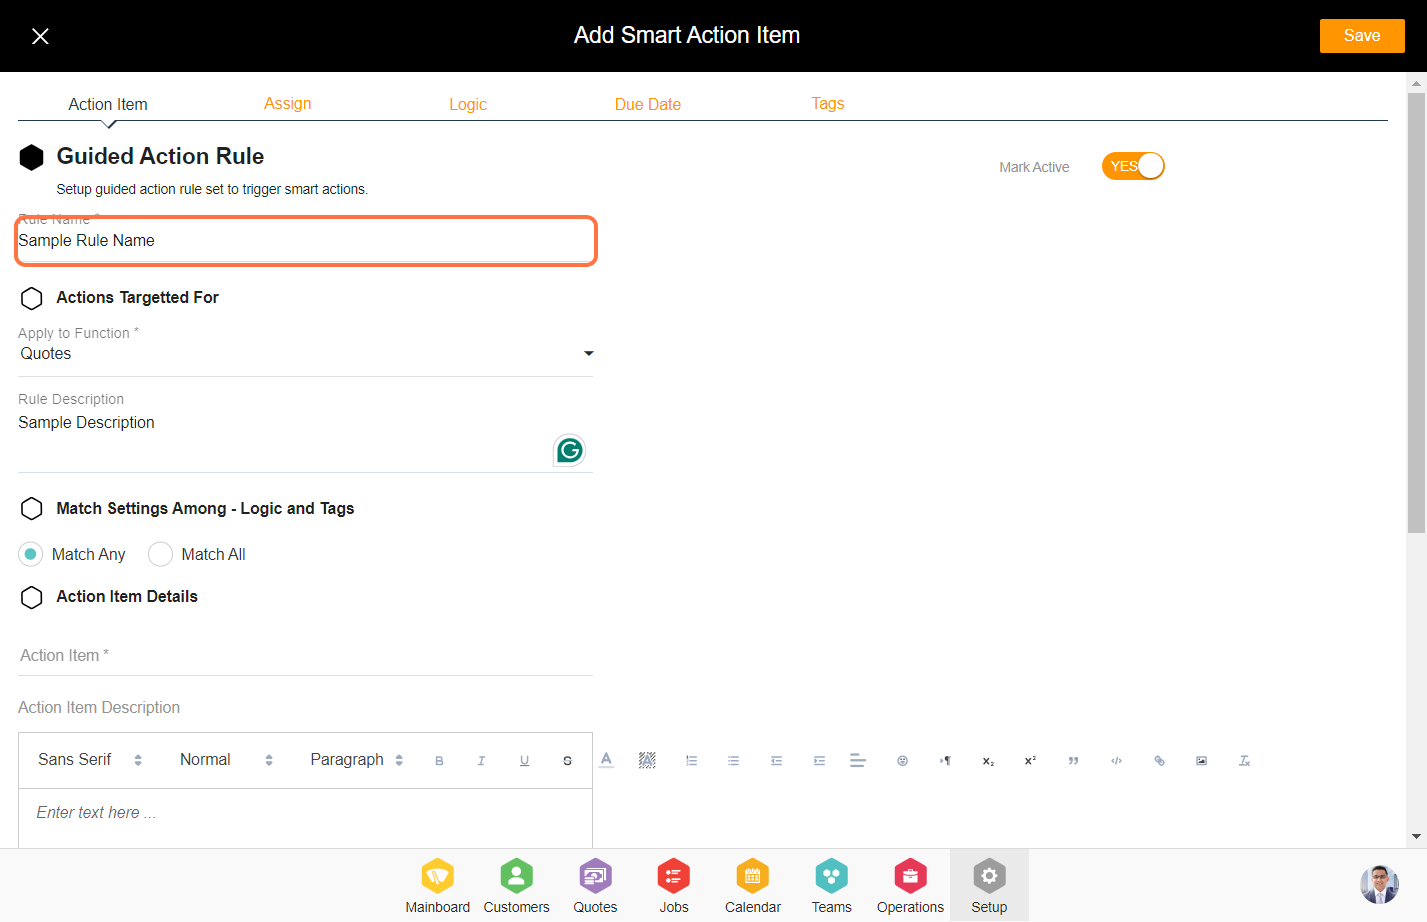
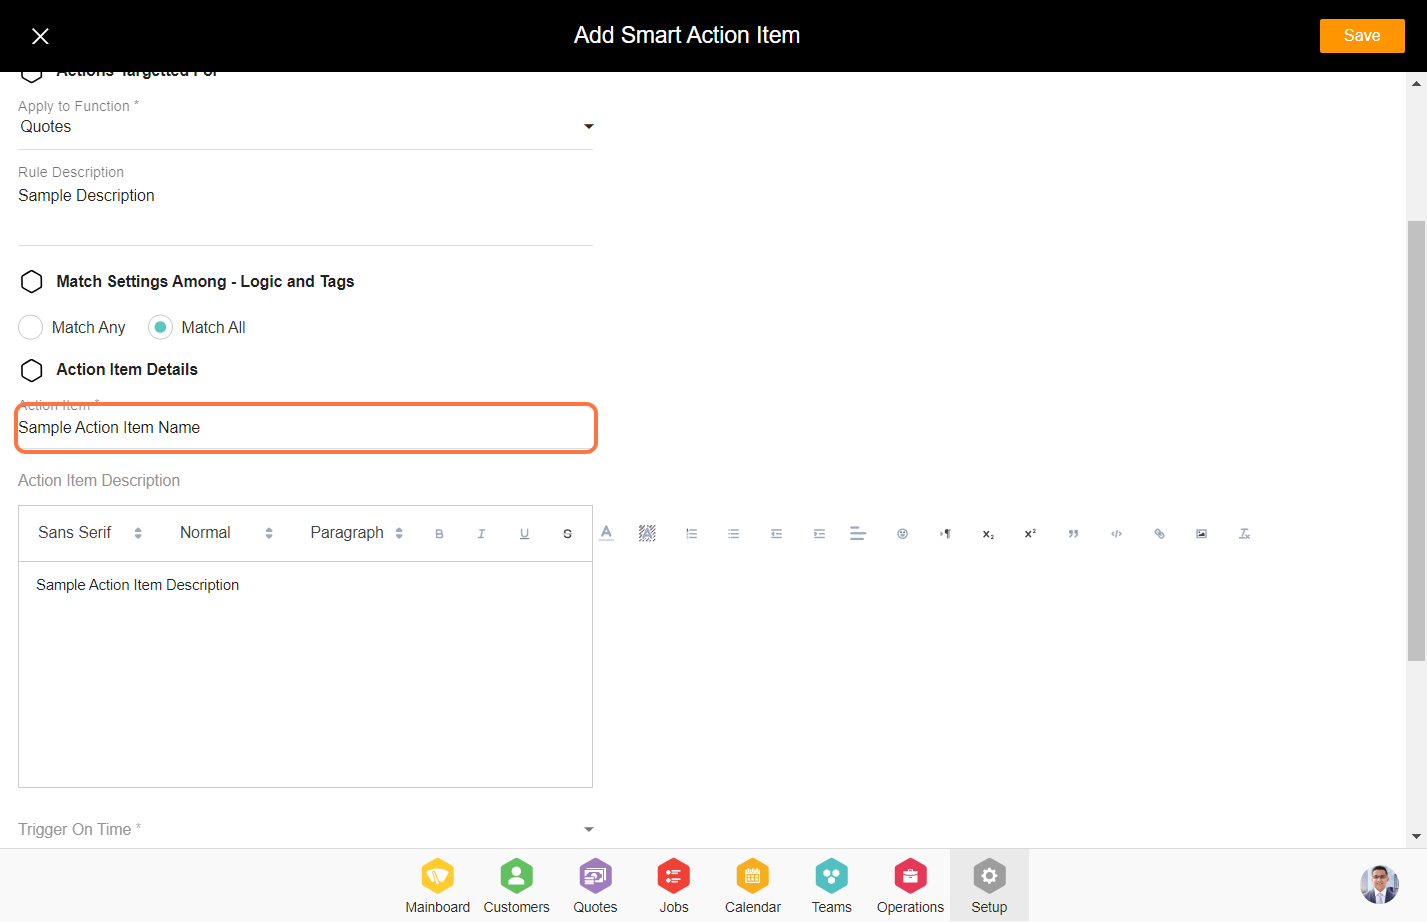
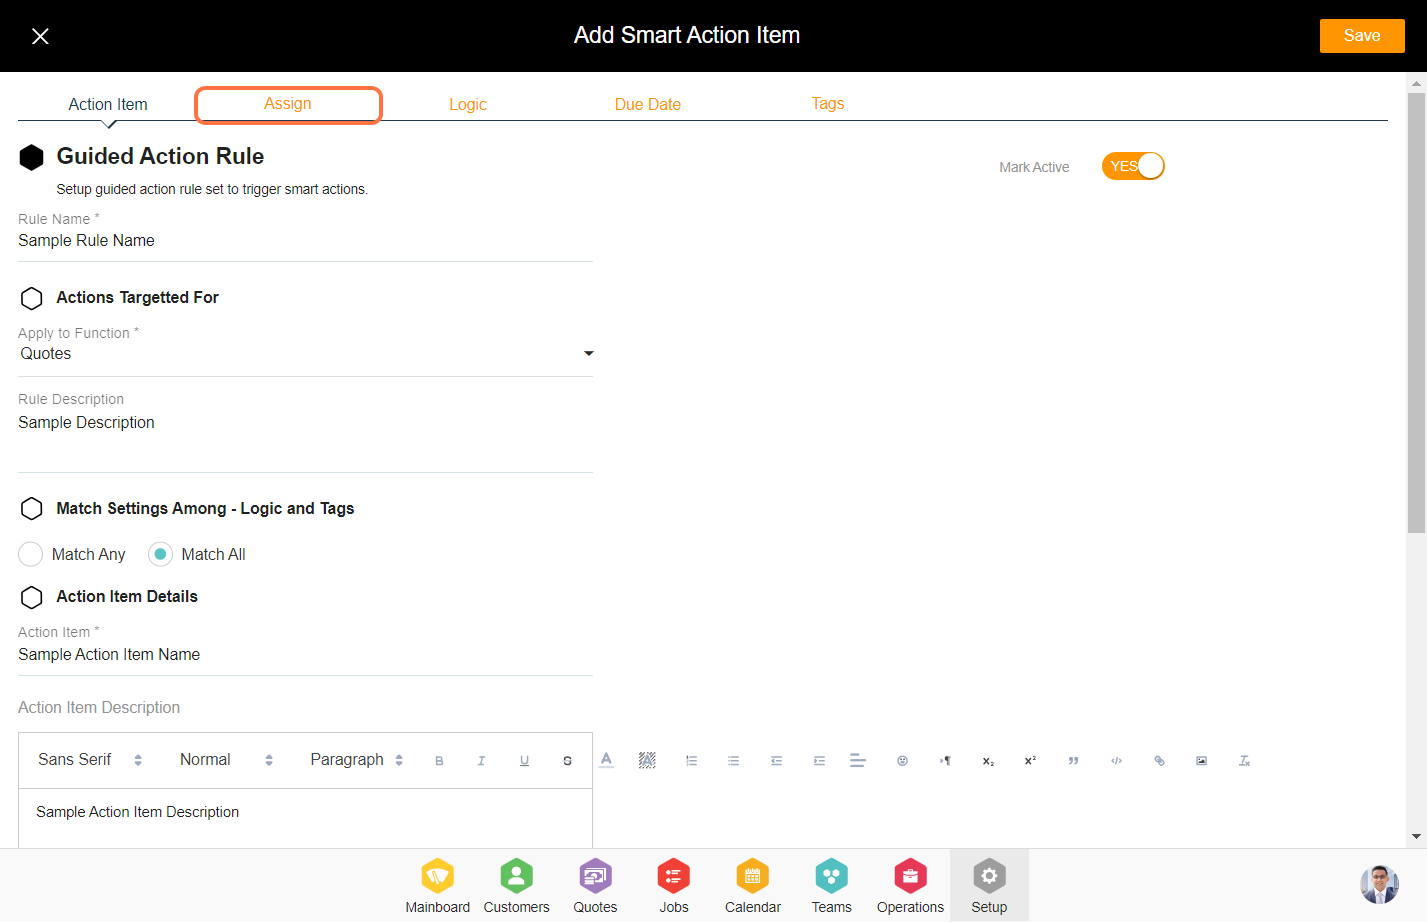
7. Enter the rule name, and description and apply it to the function.
Note: 'Apply to Function' consists of 3 modules Quotes, Jobs, Opportunities.
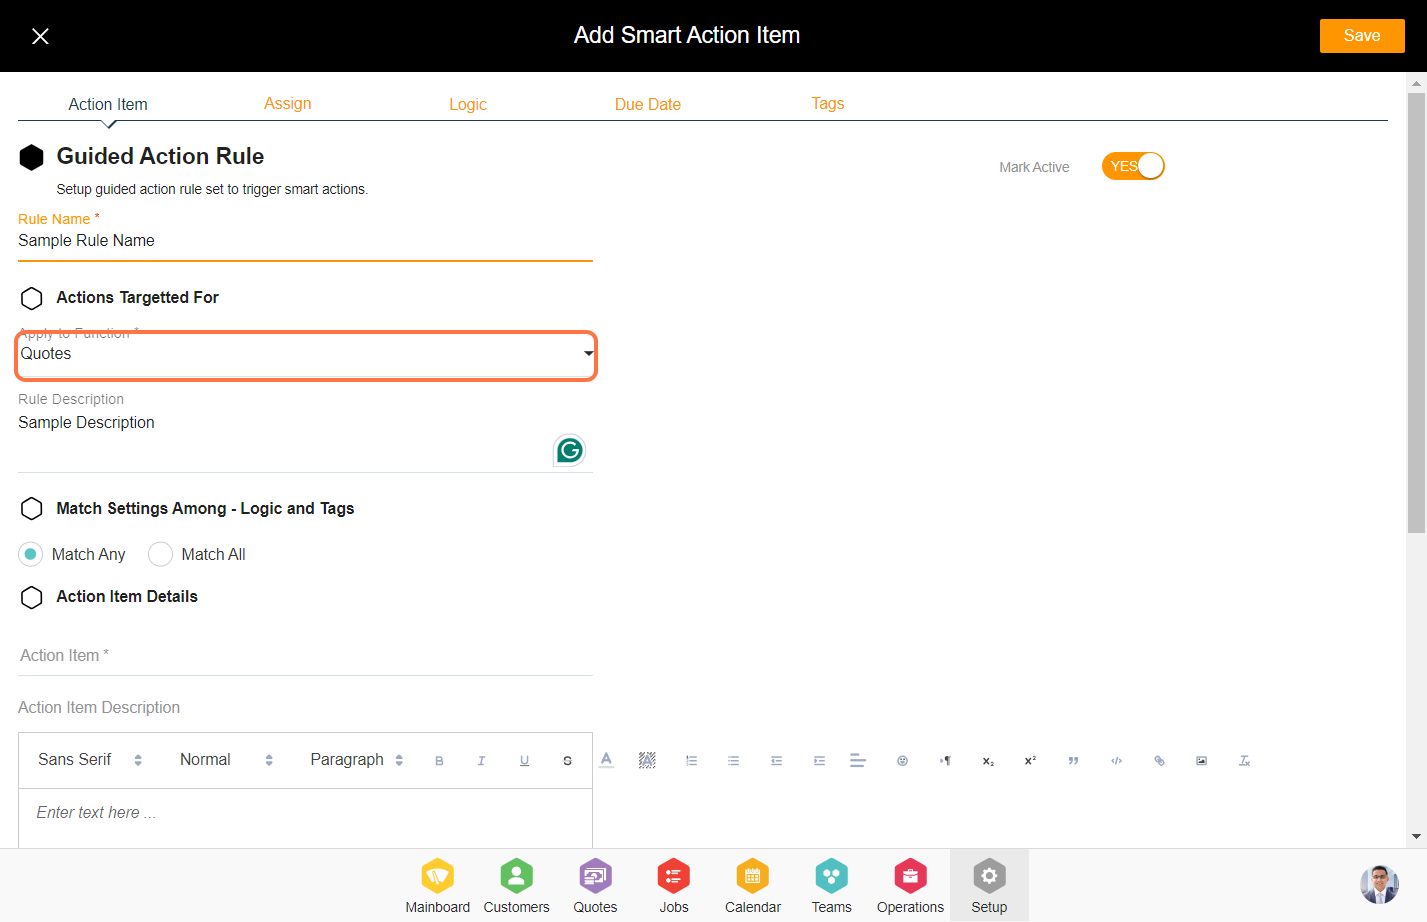
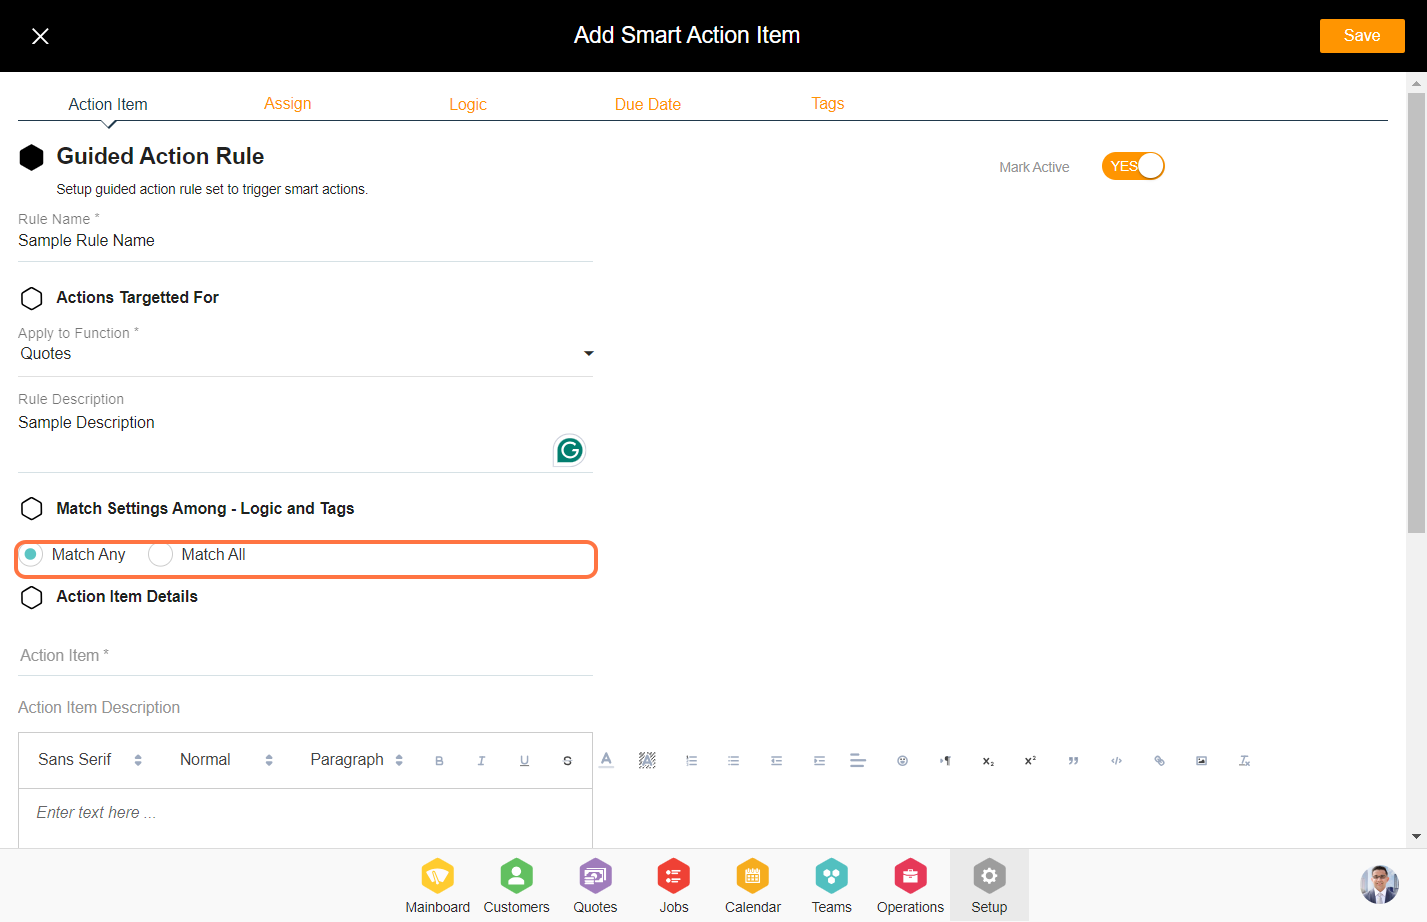
8. Match settings among tabs is a crucial element in the smart action, encompassing two distinct types:
a. Match Any - By choosing the "Match Any" option, the smart actions are triggered if any one of the rule sets set under the logic and tags tab are matched.
b. Match All - By choosing the "Match All" option, the smart actions are triggered when all the rule sets set between the logic and tags tab are matched.
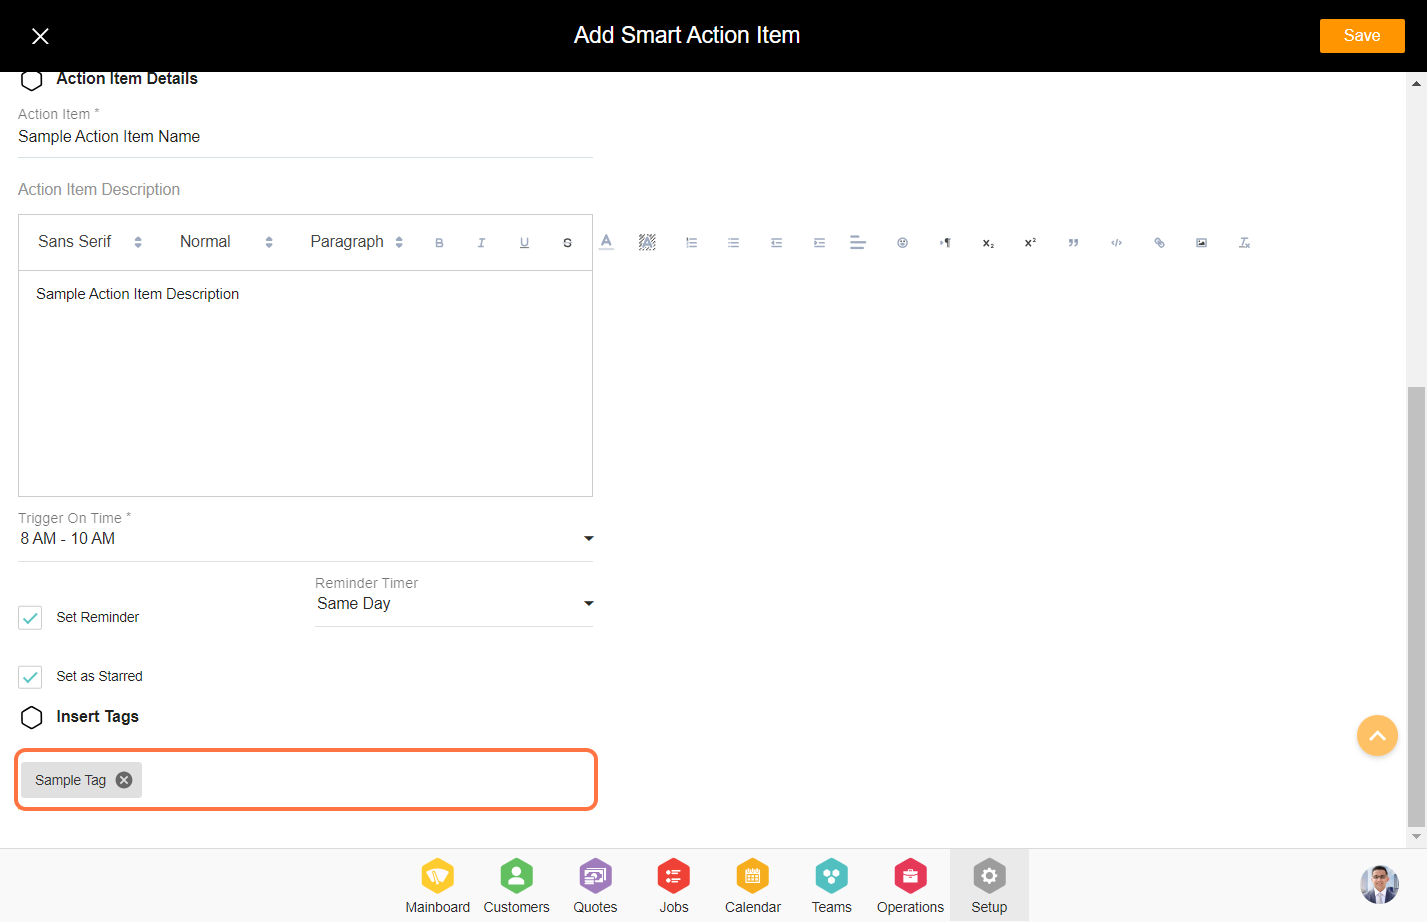
9. Enter the action item name and description that you want to create.
10. Set up the trigger time for the action item to trigger.
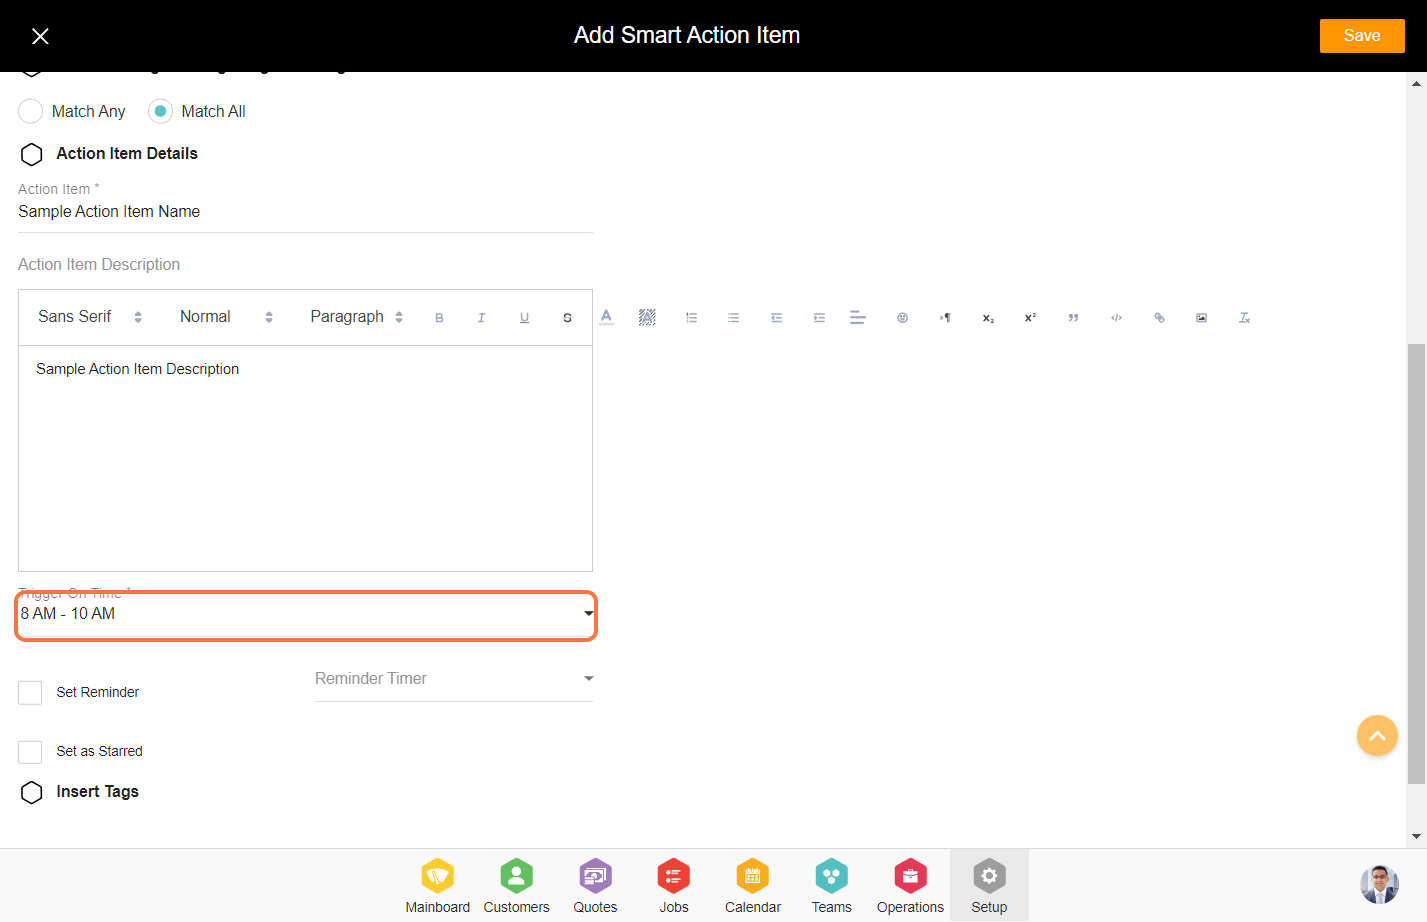
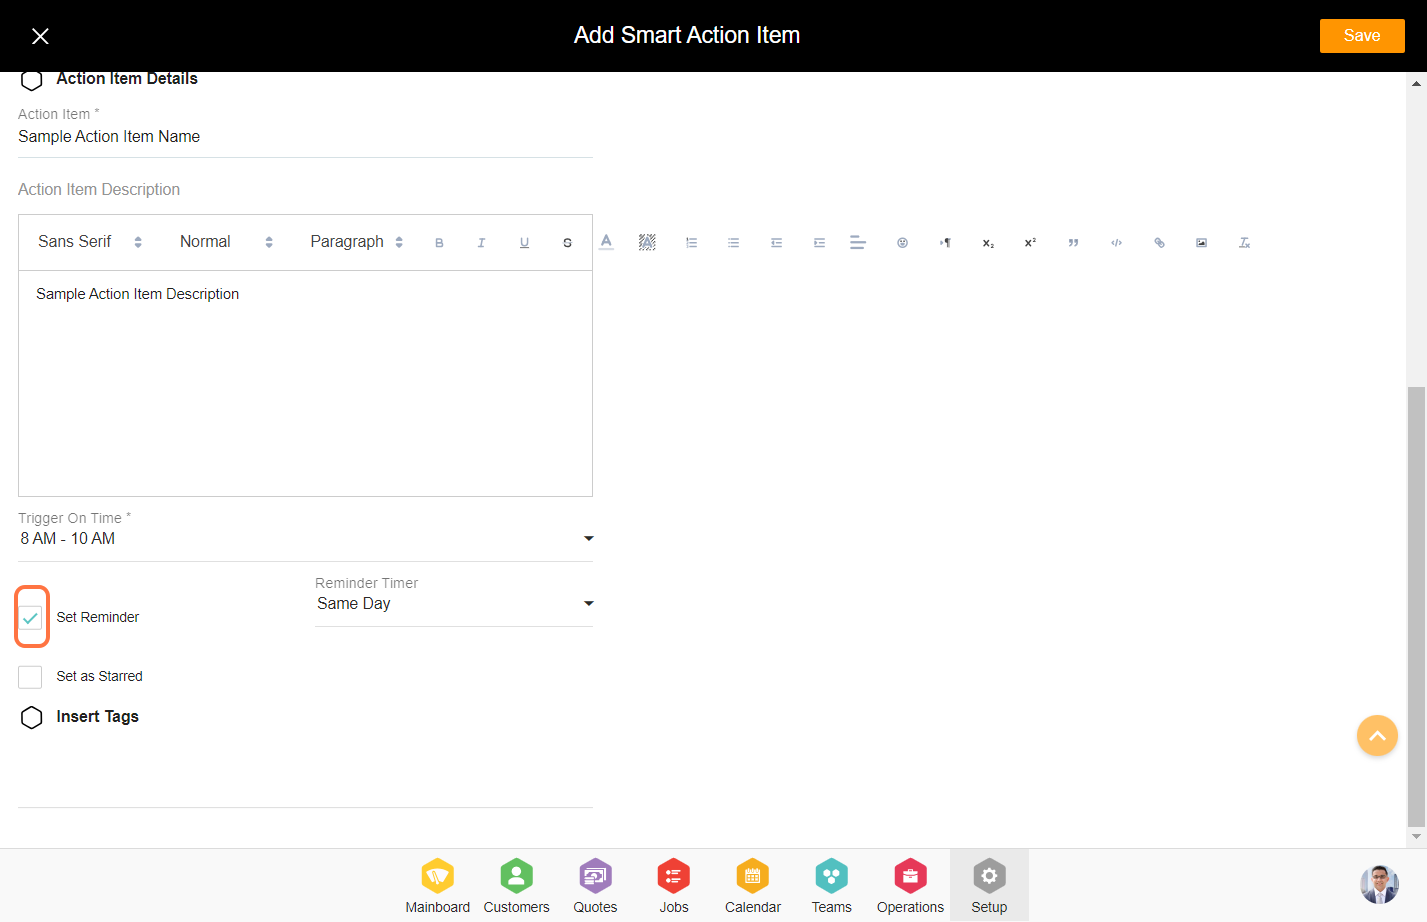
11. If the 'Set Reminder' flag is checked then the action item can be set as the reminder. A reminder timer can be also set for the action here by choosing the option under reminder timer. (Optional step)
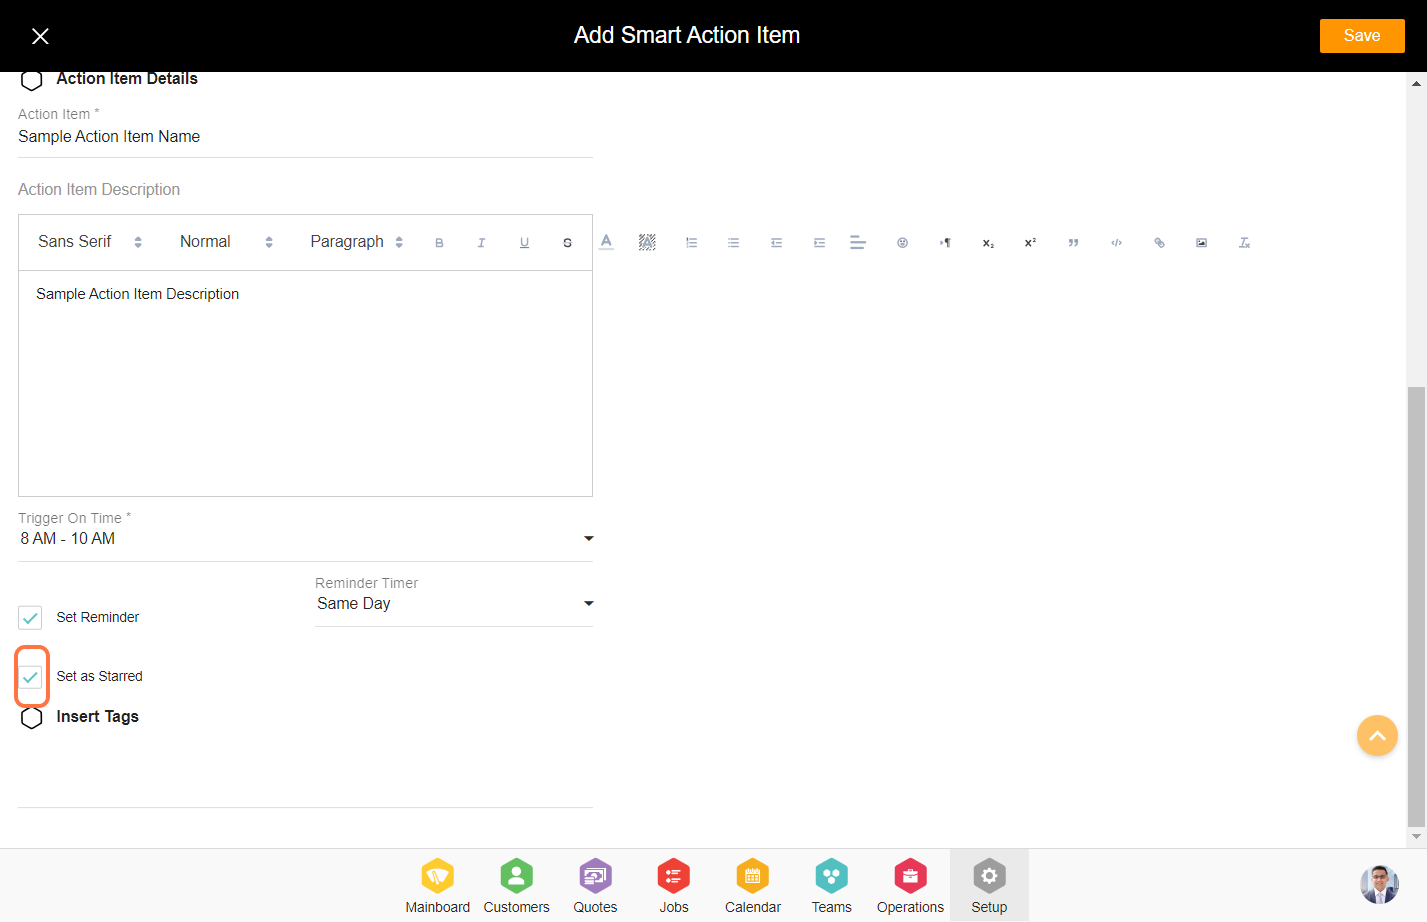
12. If the 'Set as Starred' flag is checked then the action item is marked as starred. (Optional step)
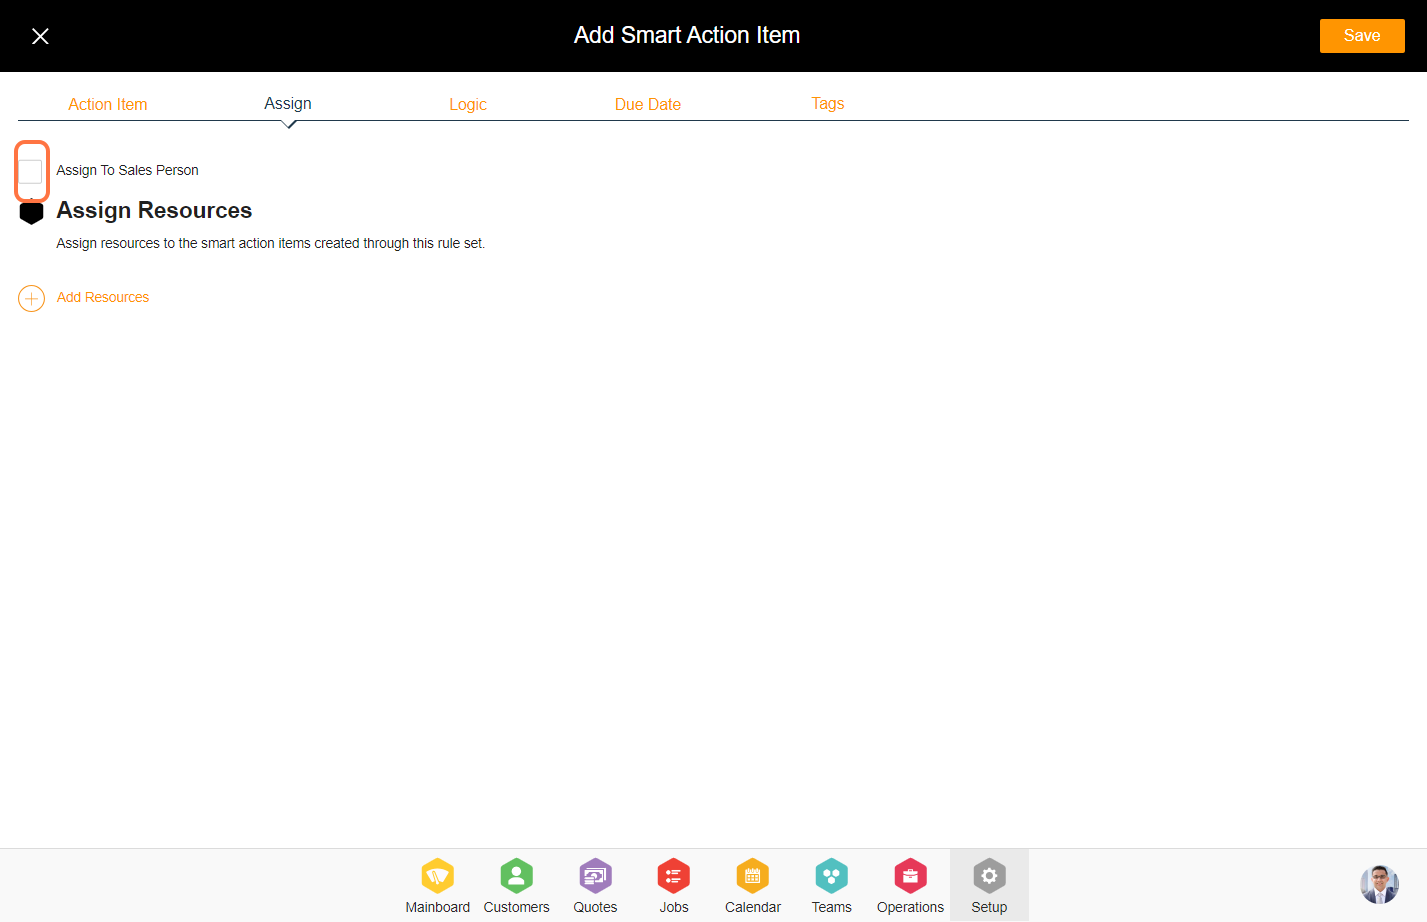
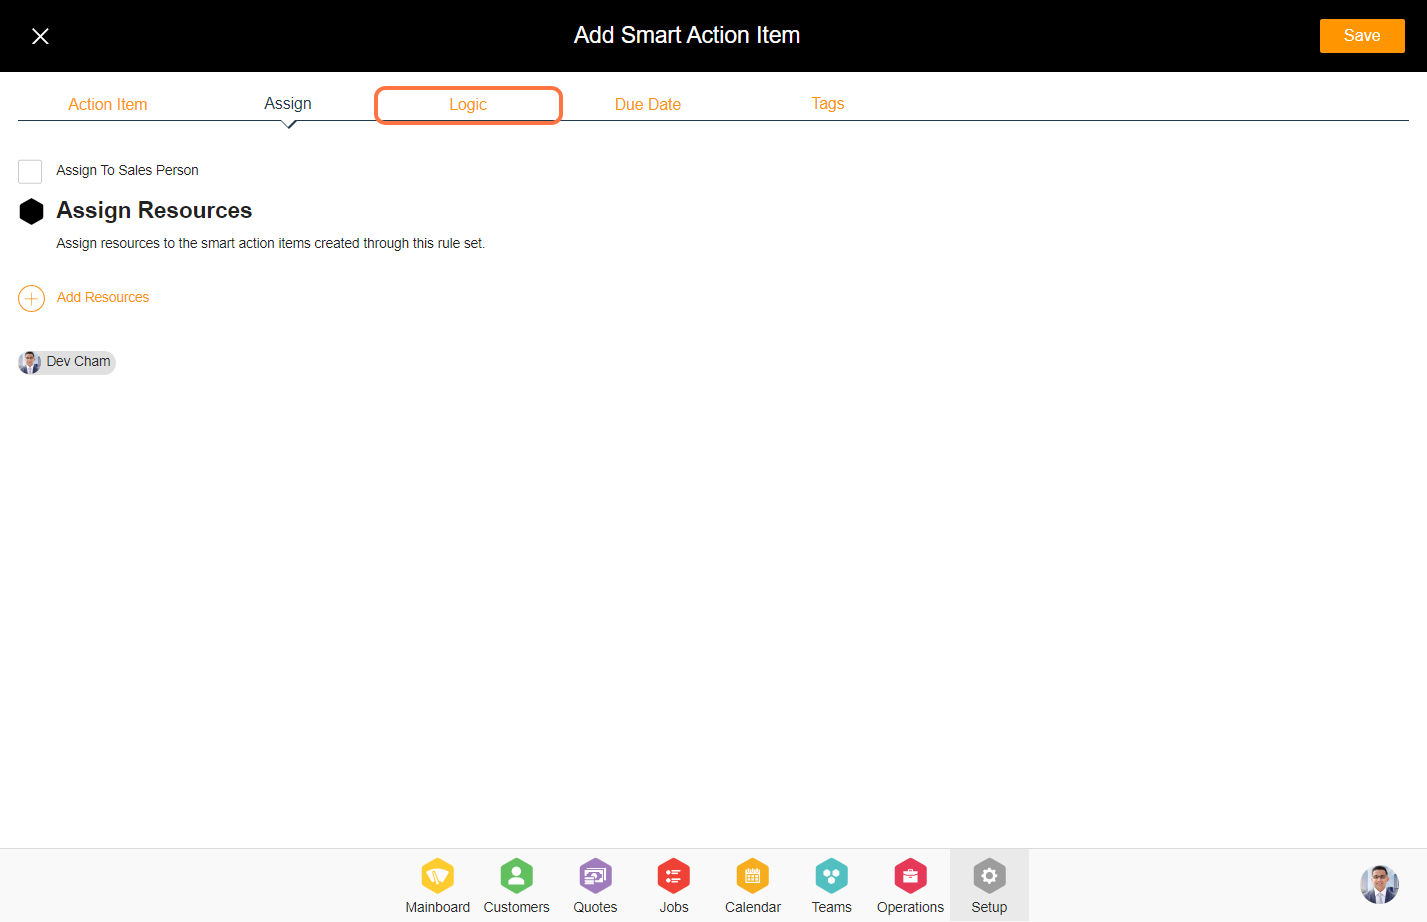
14. Click on the 'Assign' tab.
15. If this checkbox is selected, the salesperson will be included in the action item. If you prefer to add a separate resource, you can do so by clicking 'Add Resource'.


16. Click on the 'Logic' tab from the top.
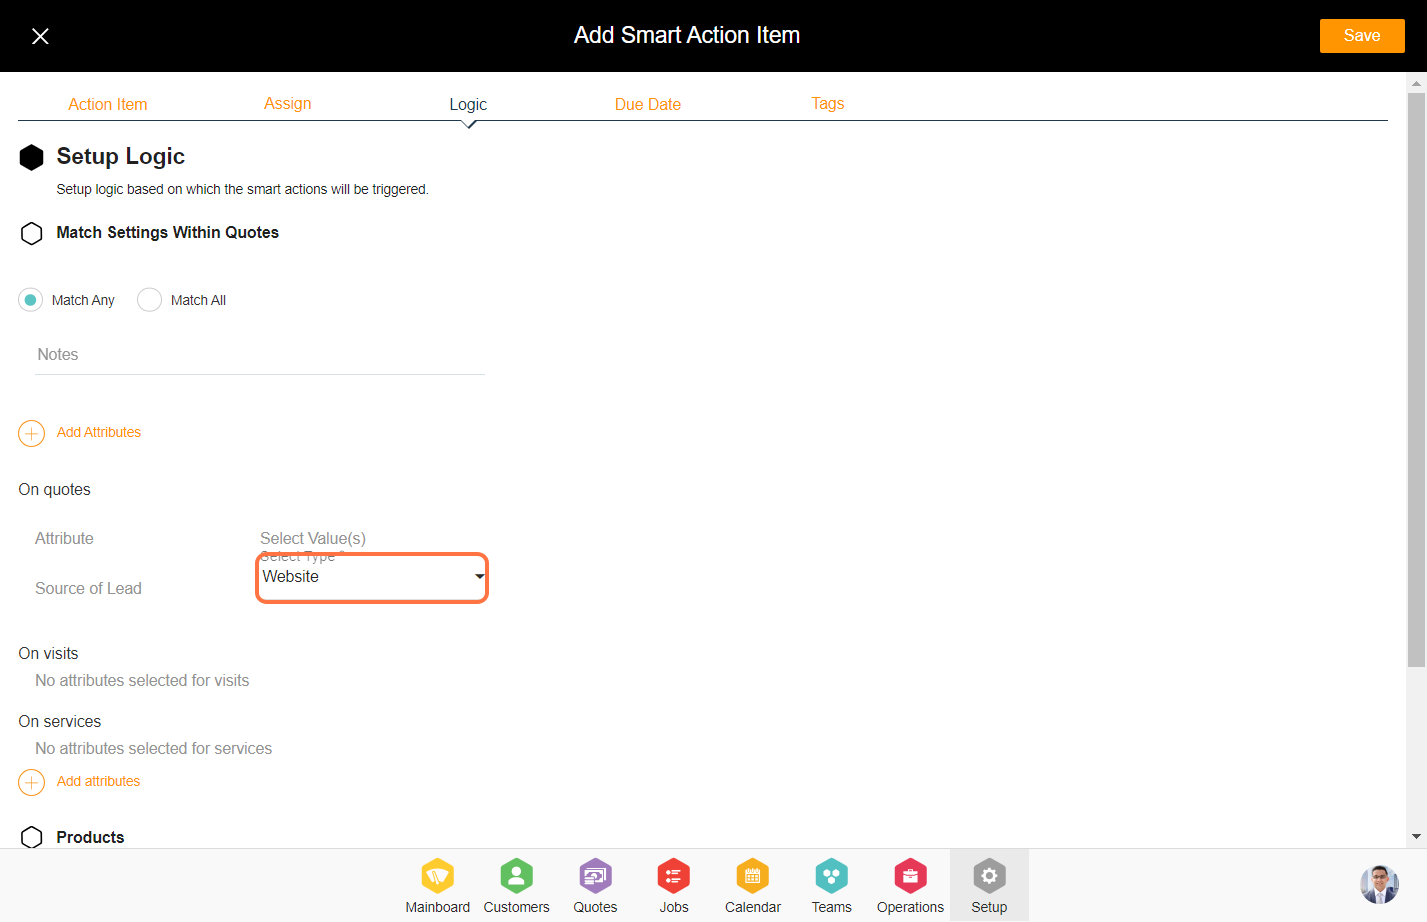
17. Click on 'Add Attribute' to insert the attribute fields and value. Based on the function selected in step 7 above, you can filter the attributes associated with that function and add it here.
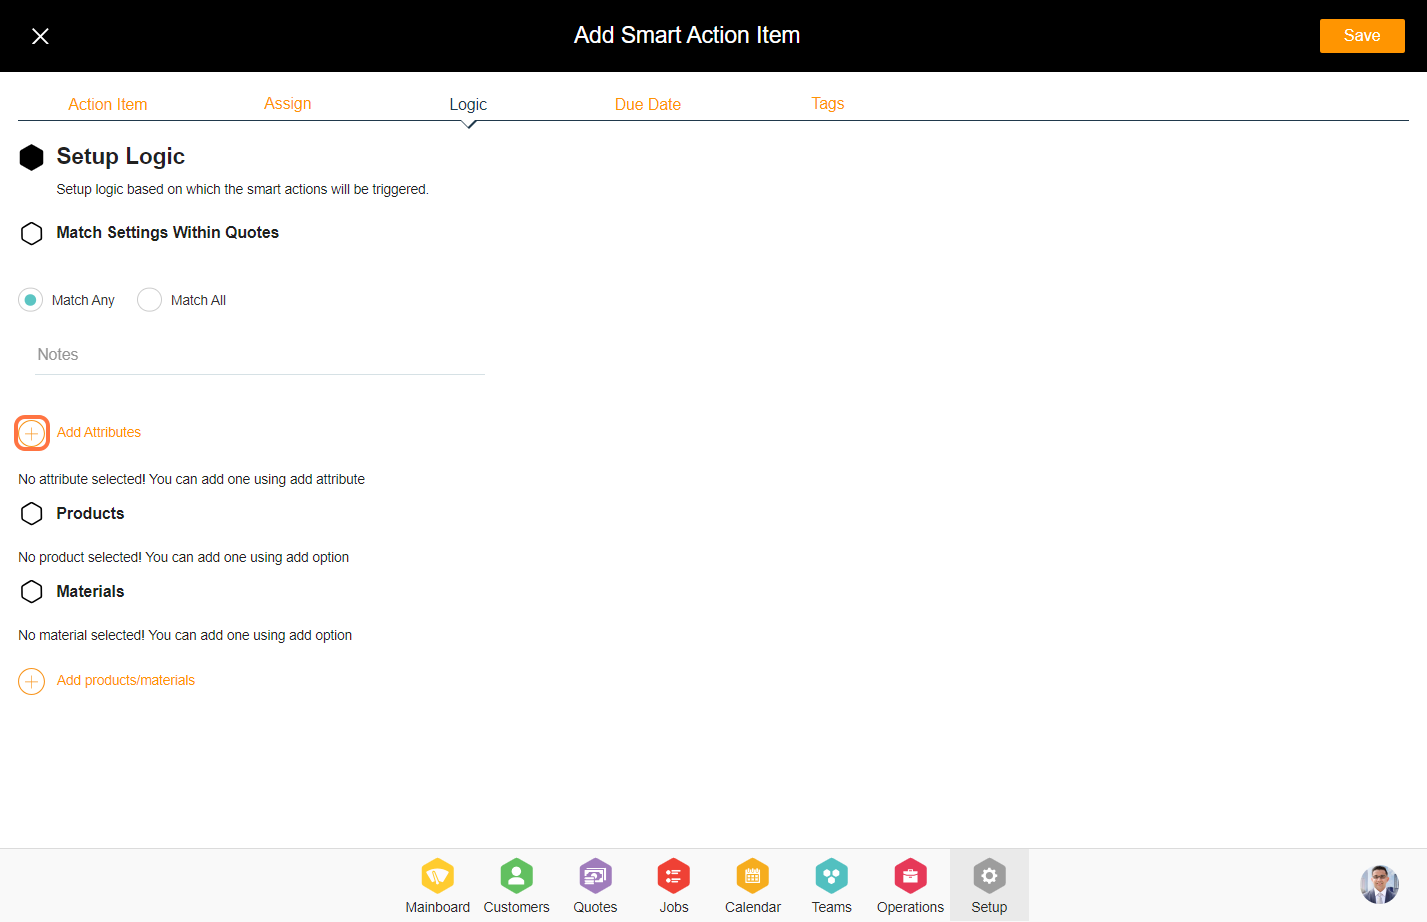

18. Match settings within the function is a crucial element in the smart action, encompassing two distinct types:
a. Match Any - By choosing the "Match Any" option, any one of the rule sets will be considered for smart actions within the attributes added to this function.
b. Match All - By choosing the "Match All" option, it will take into account the entire rule set for smart actions to match across all the function attributes added here.

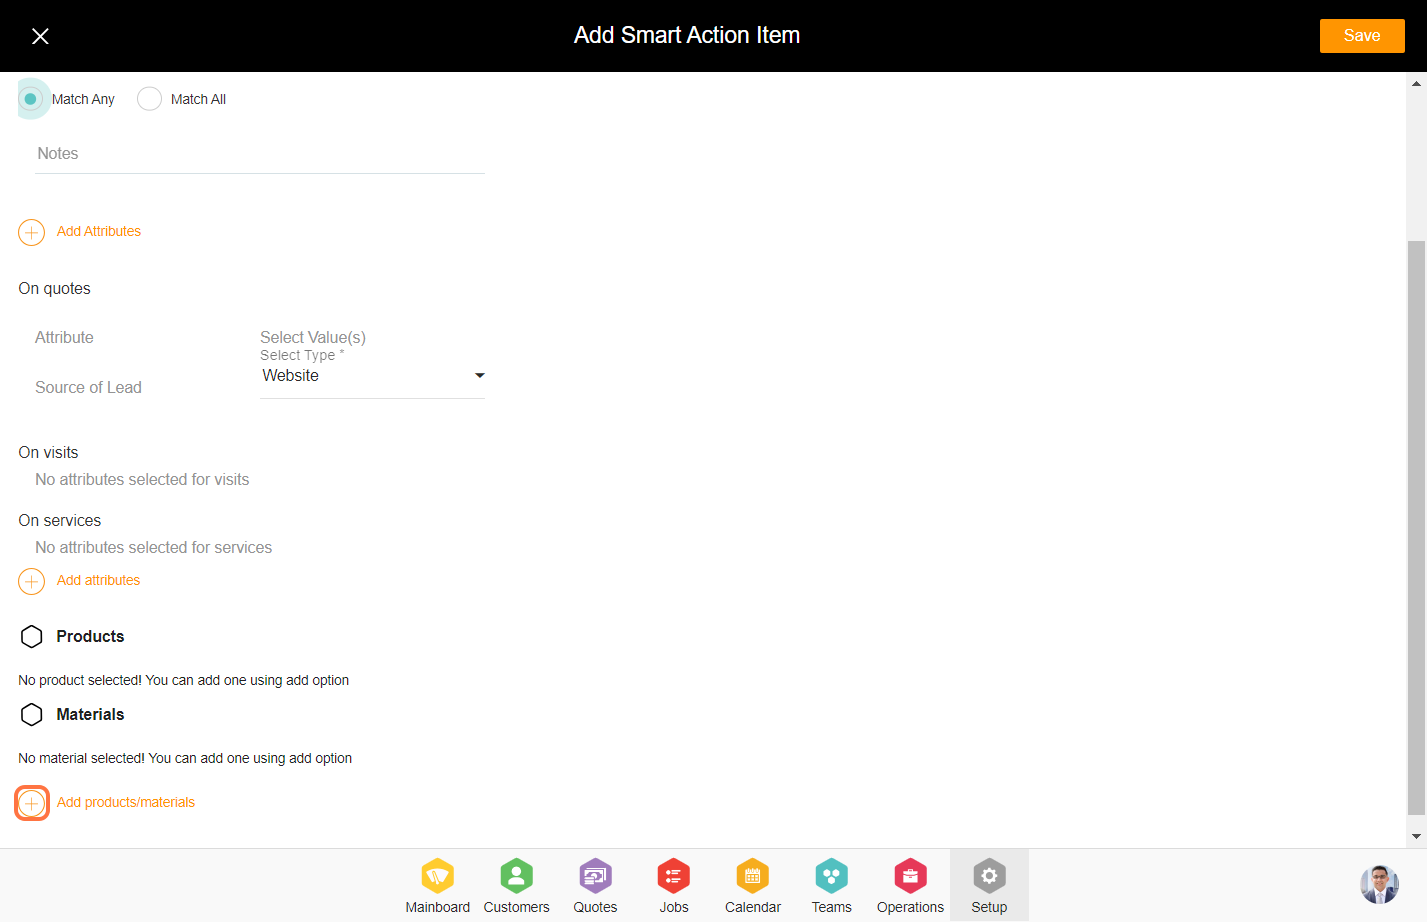
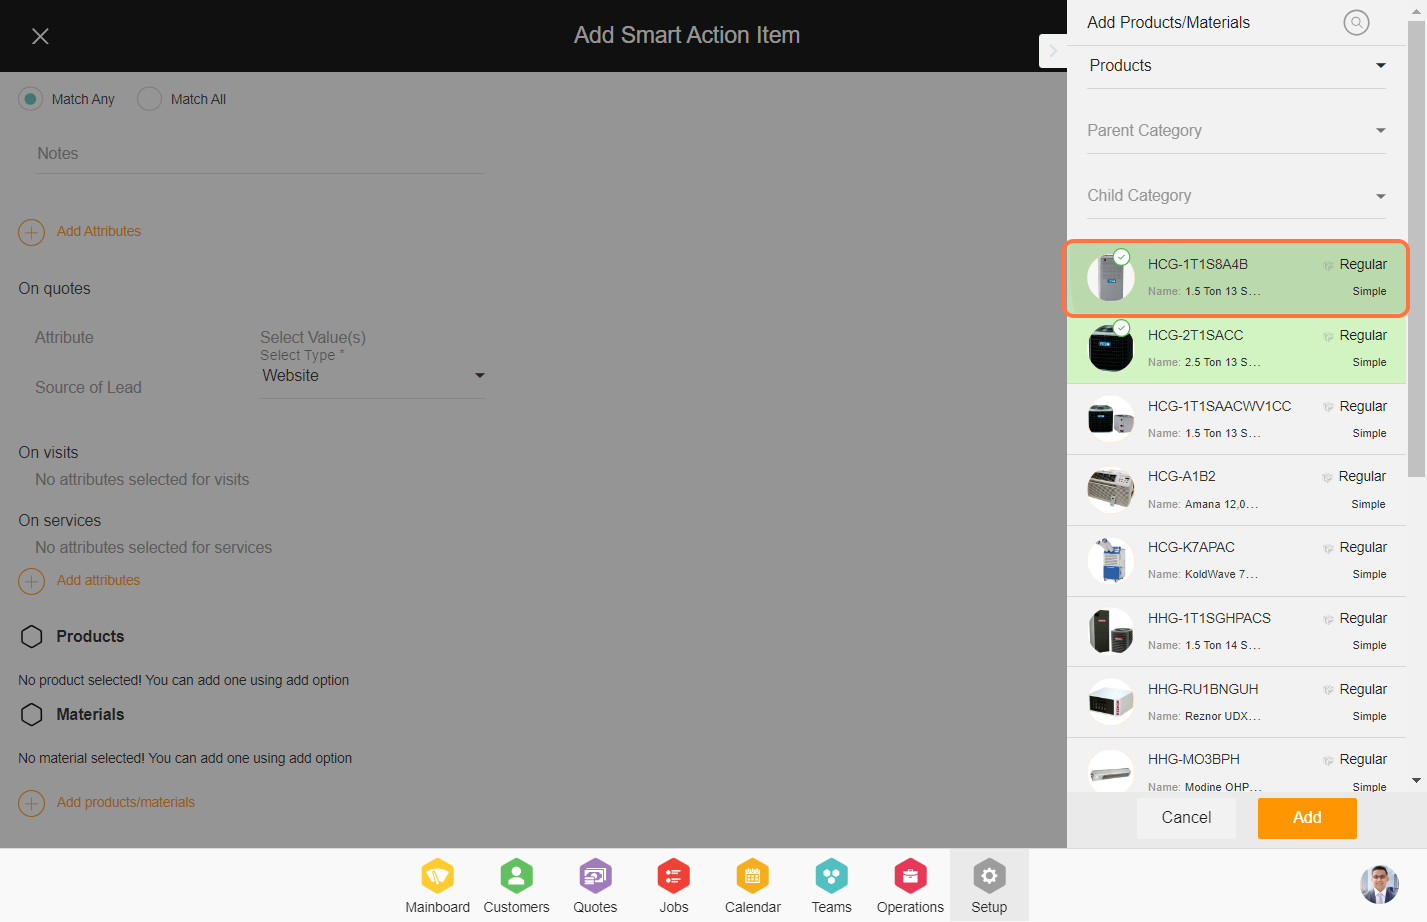
19. You can insert products and materials for the smart action logic. Select the products/materials you wish to insert.
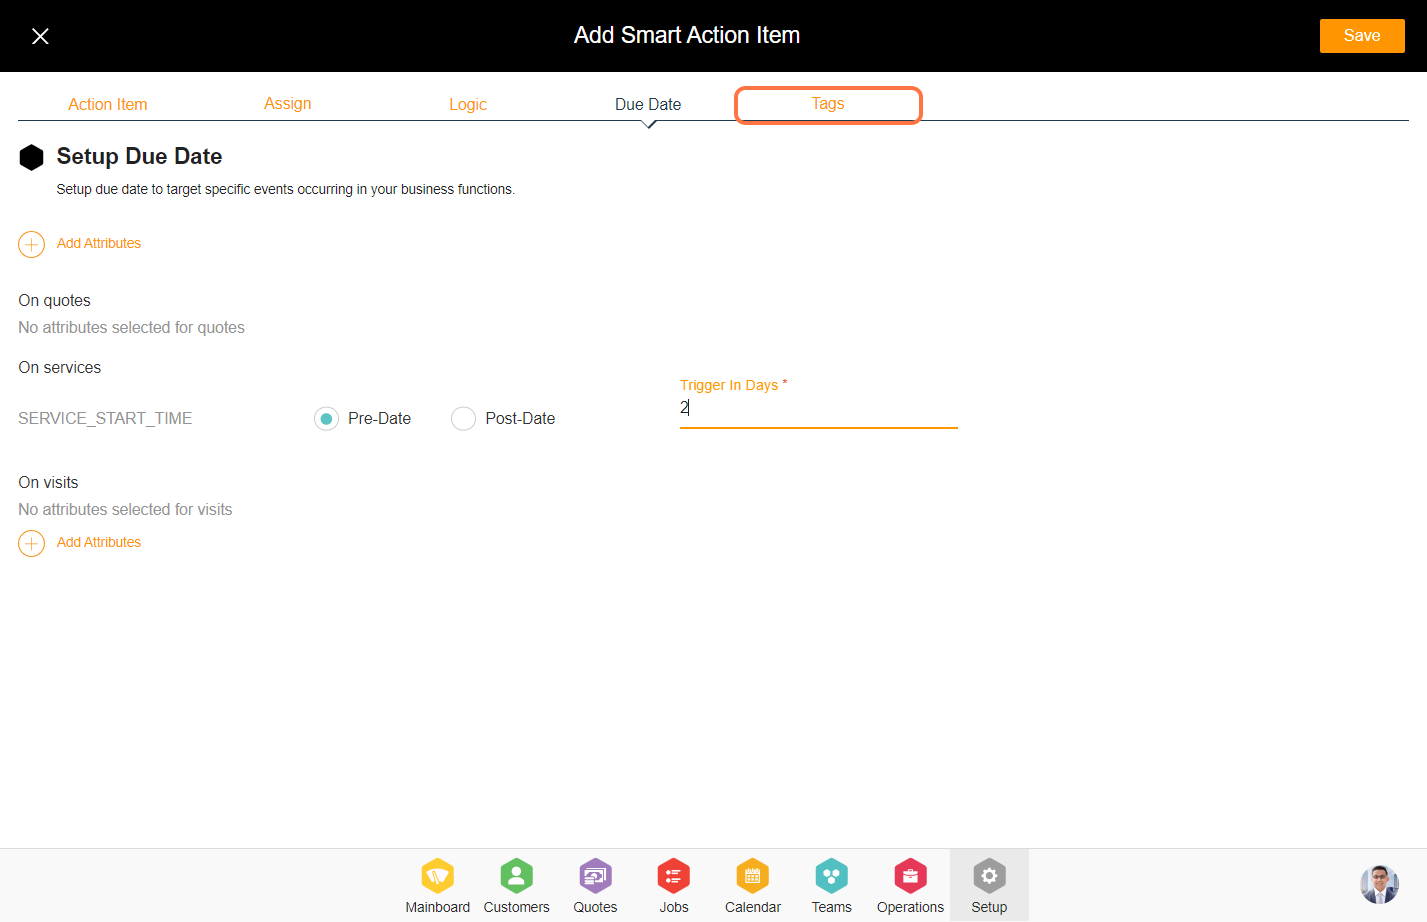
20. Click on the 'Due Date' tab from the top.
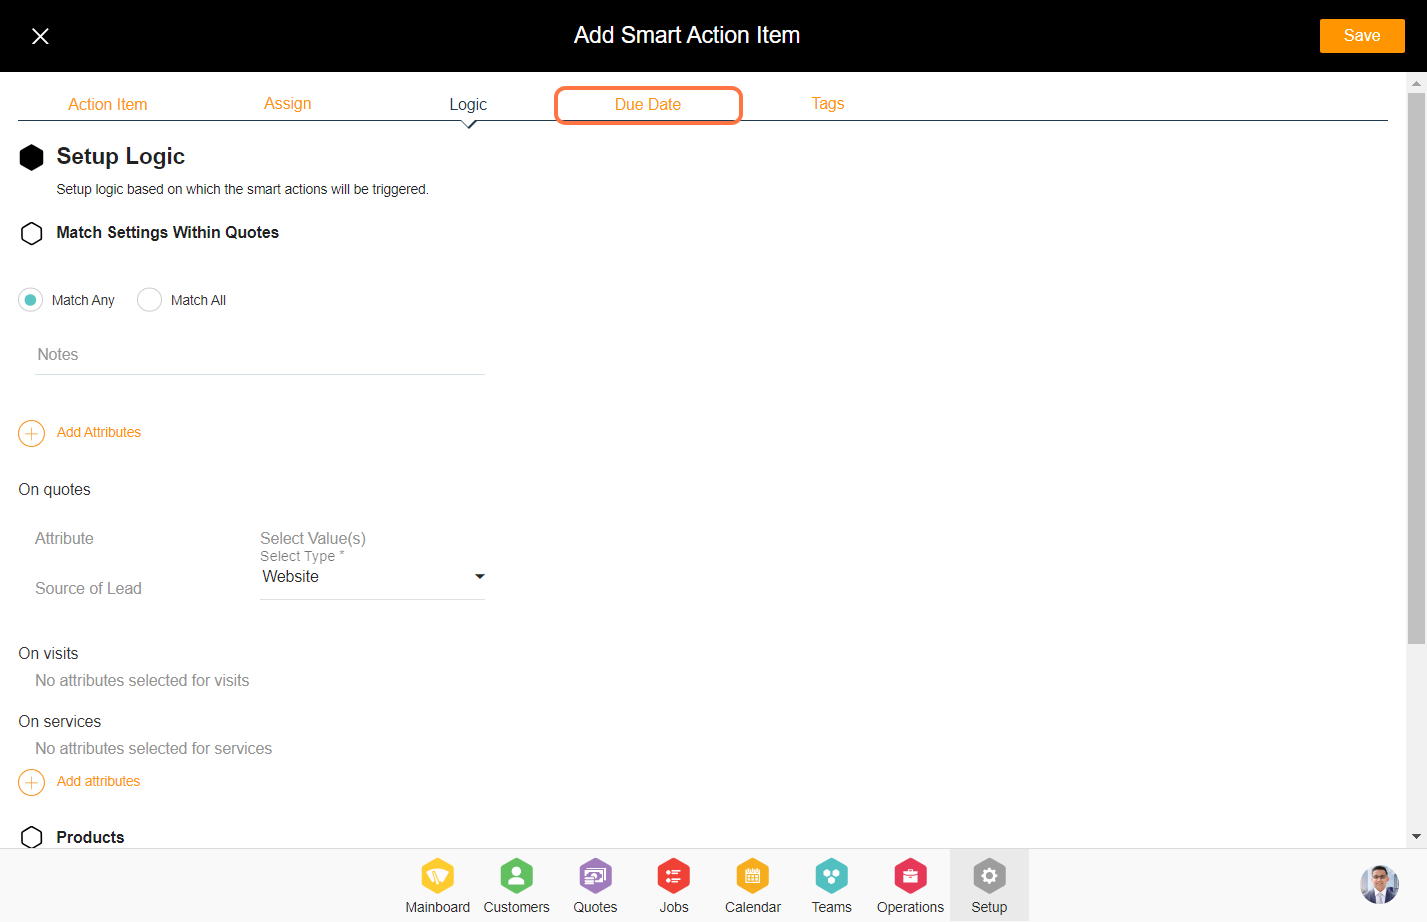
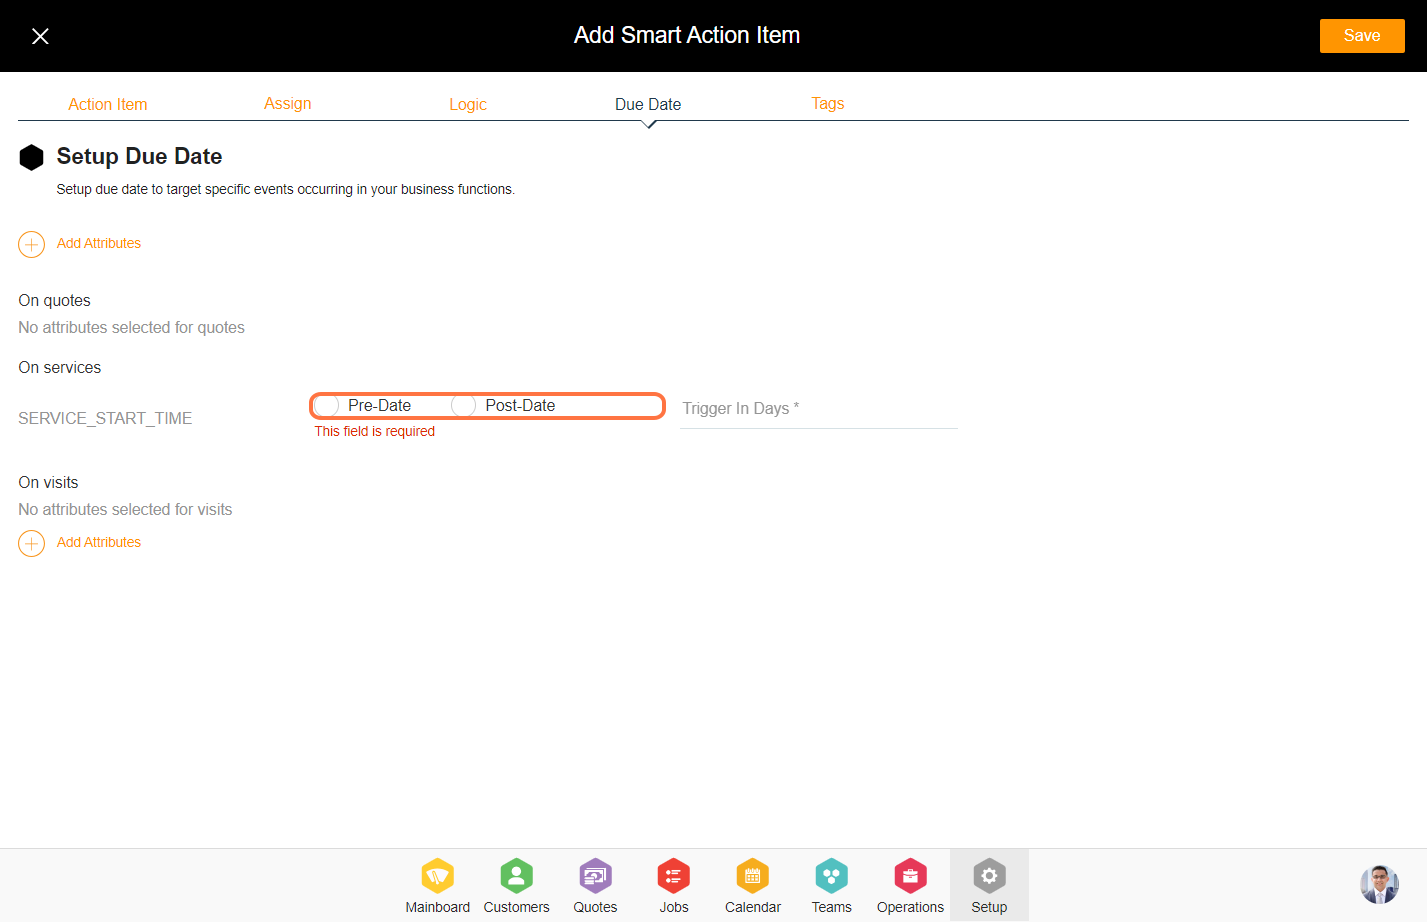
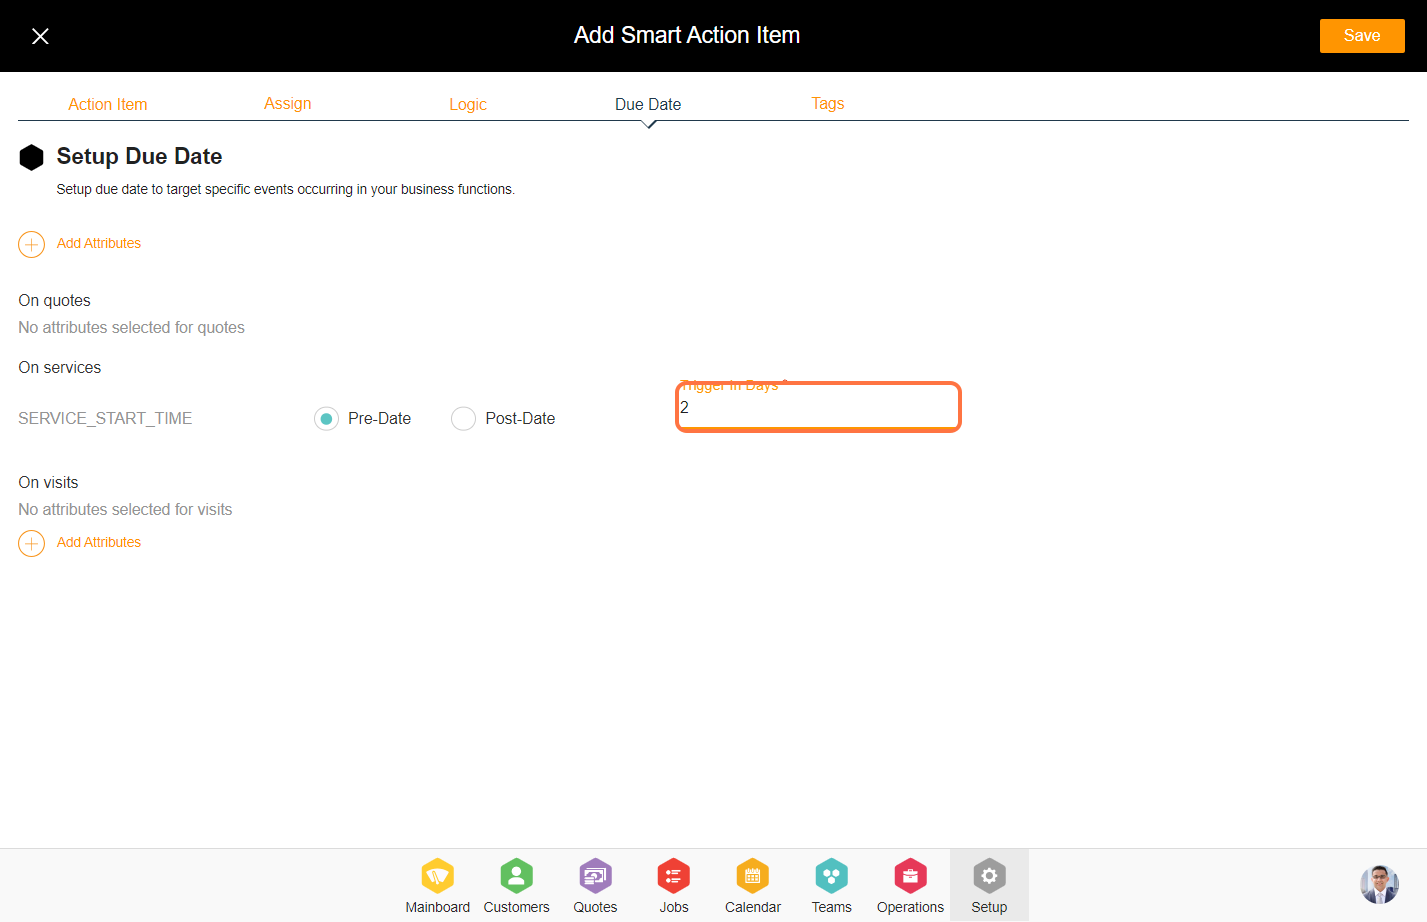
21. Insert the due date attributes. Due dates enables you to tell the system based on which date of the function you wish to trigger the smart action. For example, you can set due date as 2 days prior to the service start date.

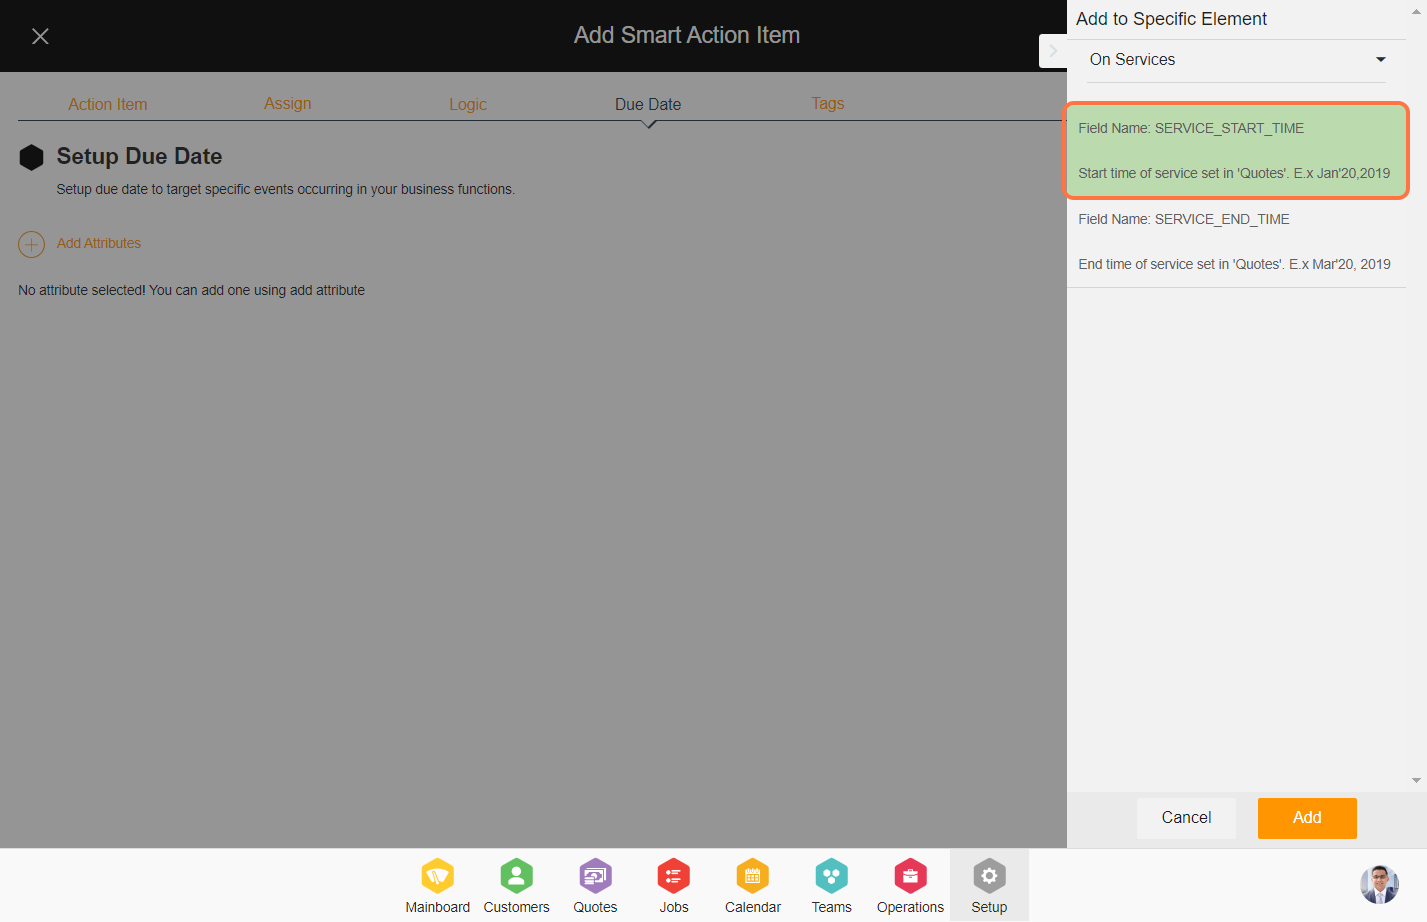
22. There are two distinct types of due date attributes.
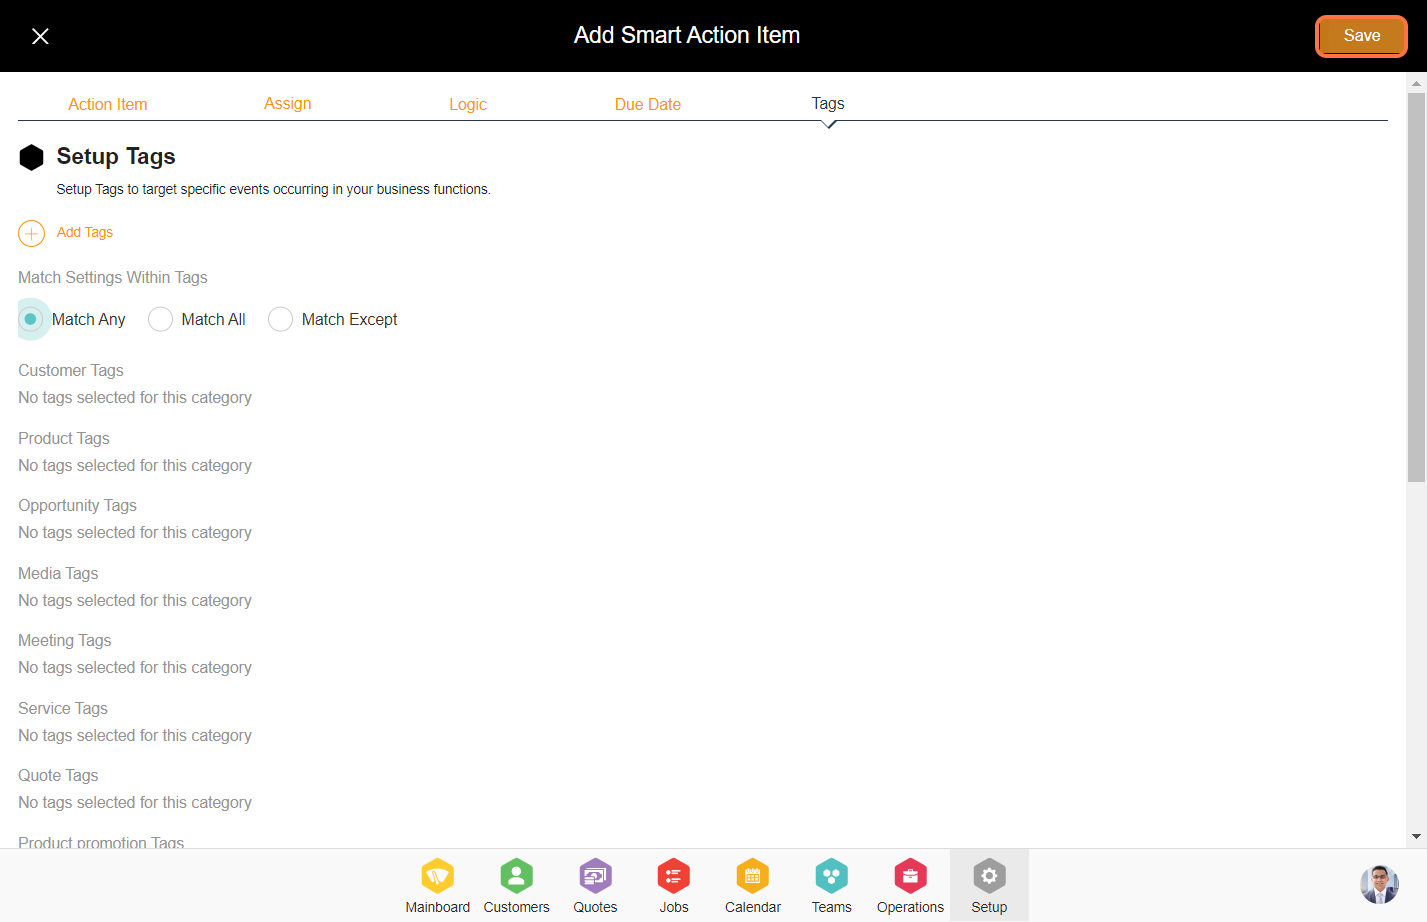
23. Click on the 'Tags' tab from the top.
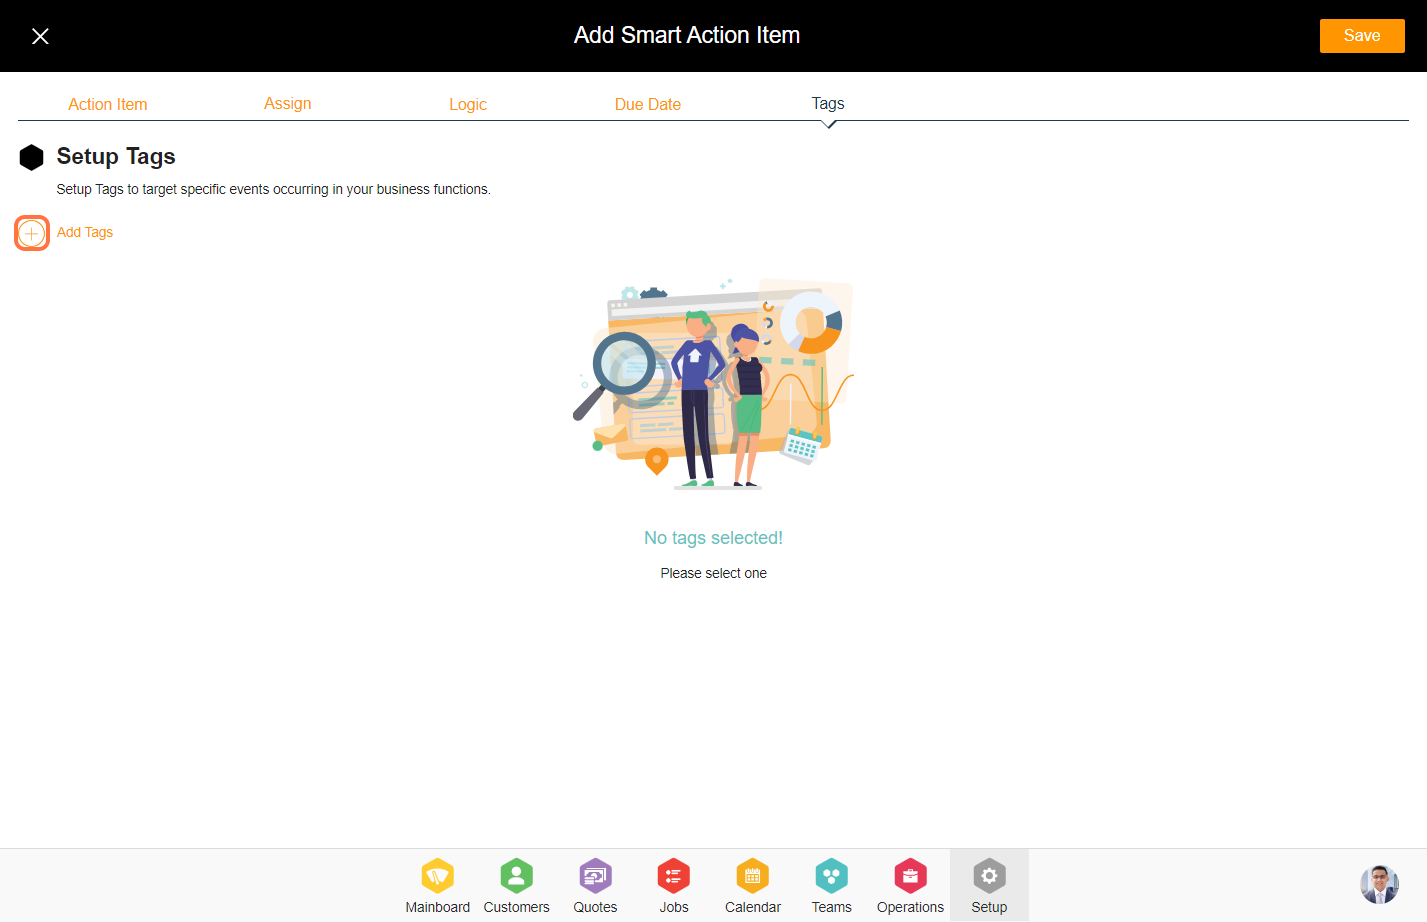

25. The match settings within the tag rule set play a vital role, encompassing three distinct types:
a. Match Any - By choosing the "Match Any" option, any one of the rule sets will be considered for smart action across all the tabs.
b. Match All - By choosing the "Match All" option, it will take into account the entire rule set for smart action to match across all tabs.

26. Click on 'Save' to add a rule set for the smart action.