Contents
- Guidelines to configure bundle kits: A step-by-step guide
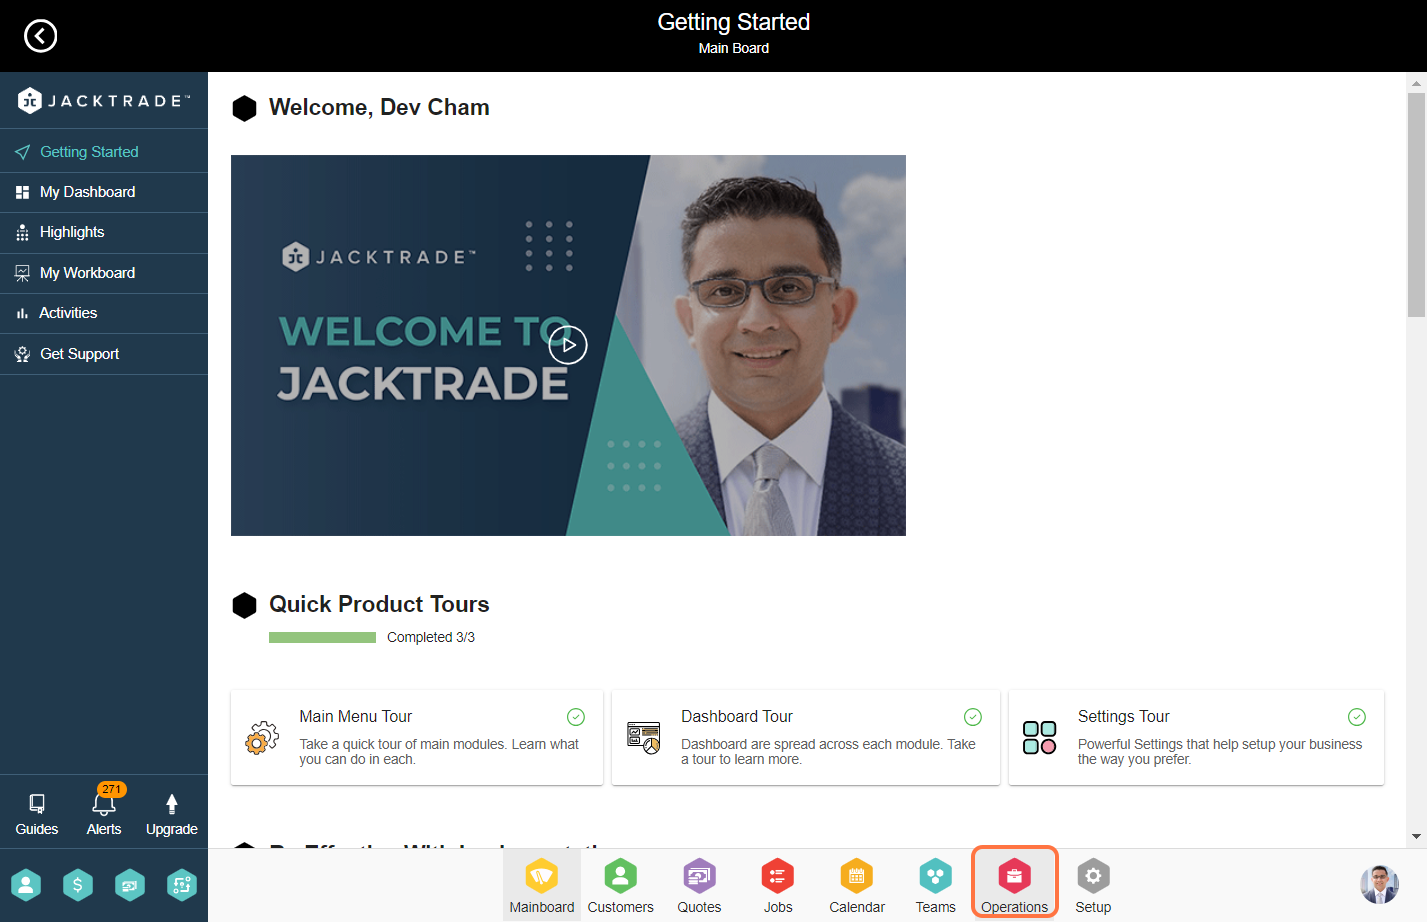
- 1. Go to the Operations module.
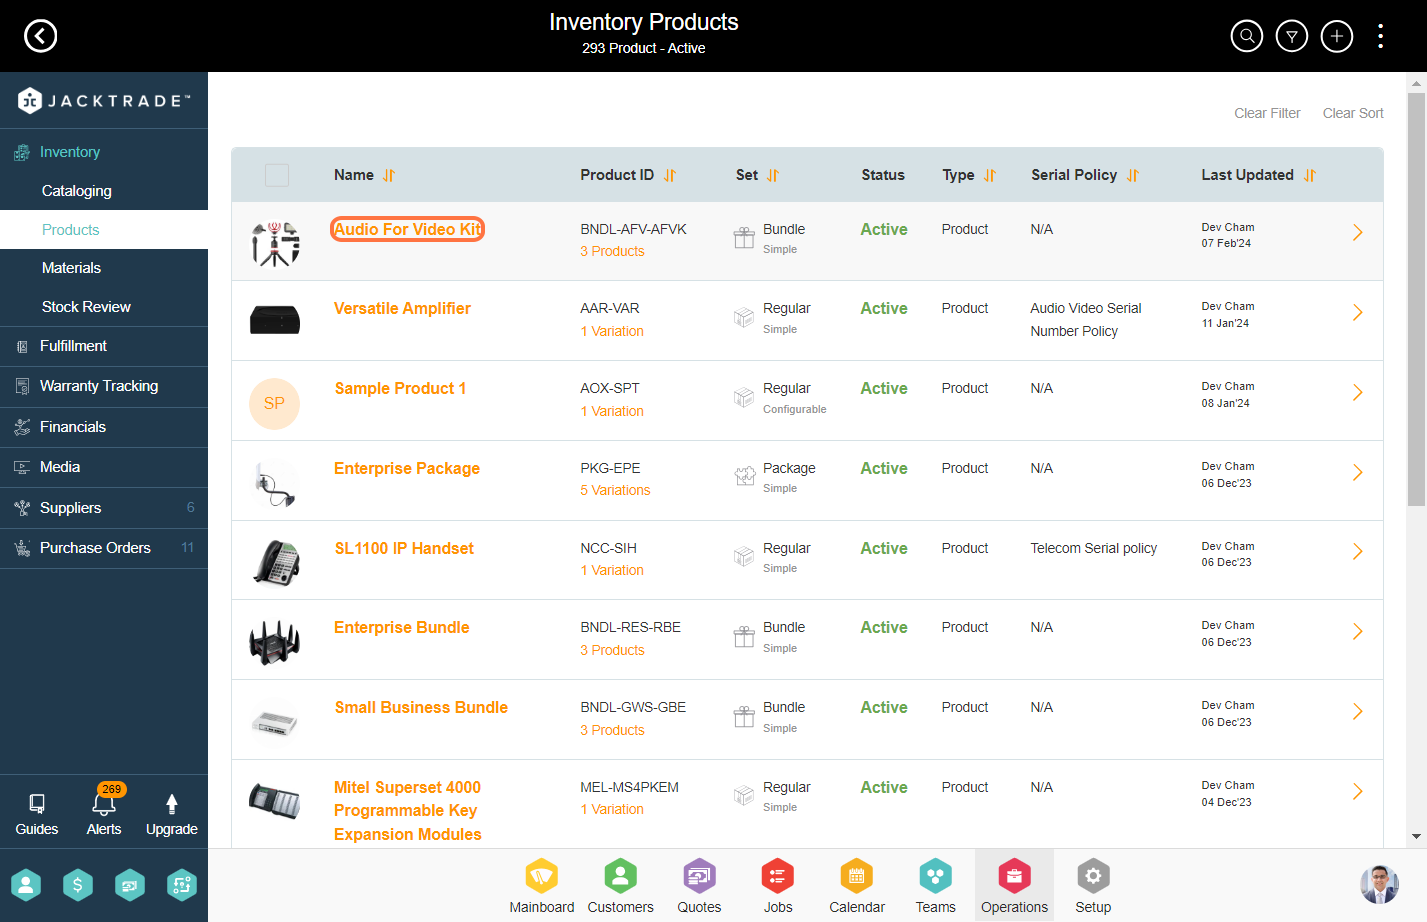
- 2. Within the inventory section, Click on ‘Products’ on the left menu.
- 3. Select the bundle
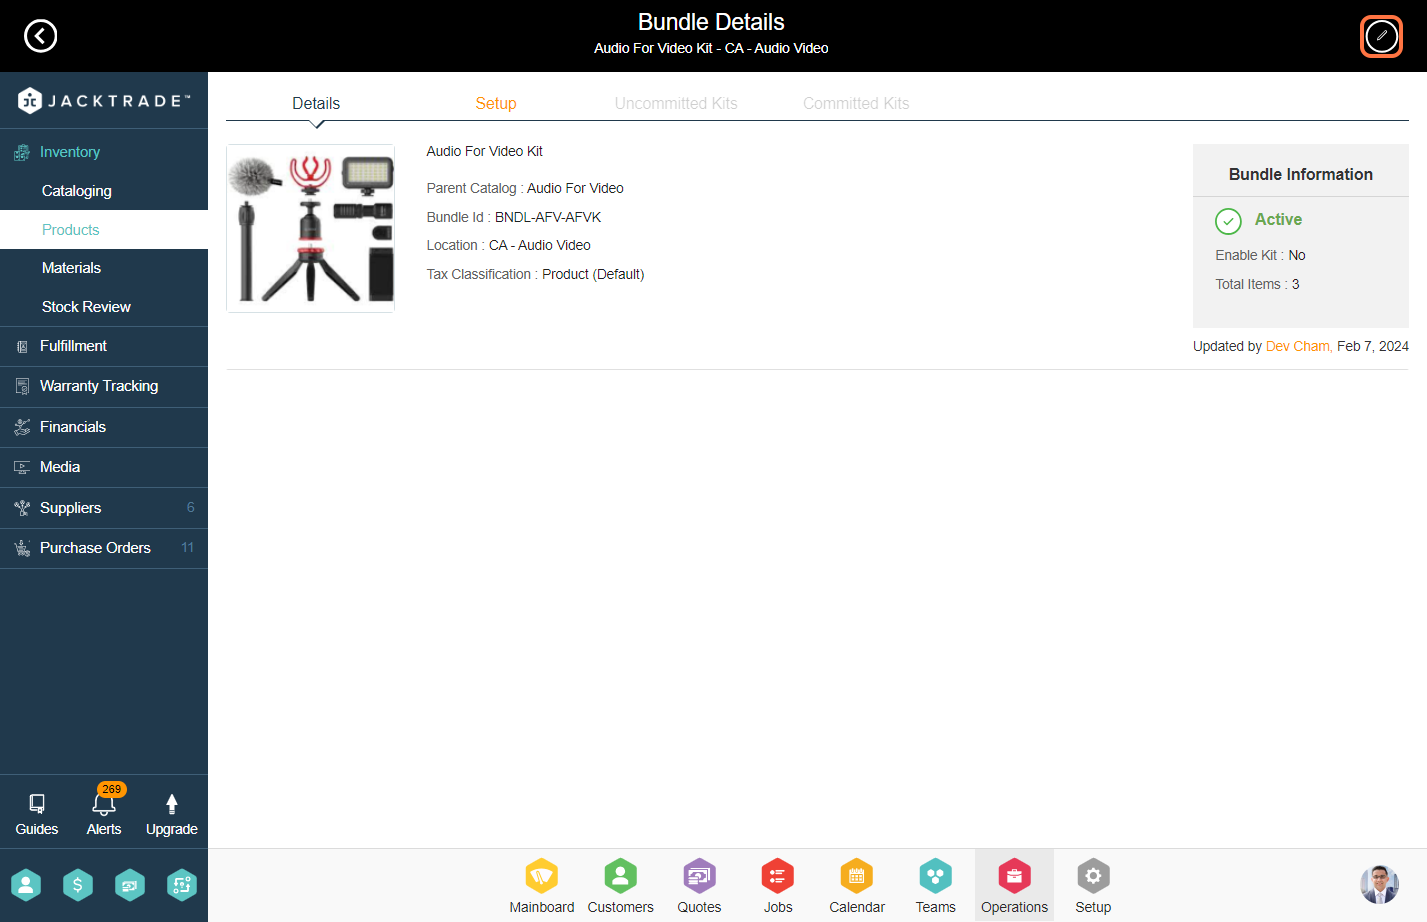
- 4. Click on ‘Edit’ Icon
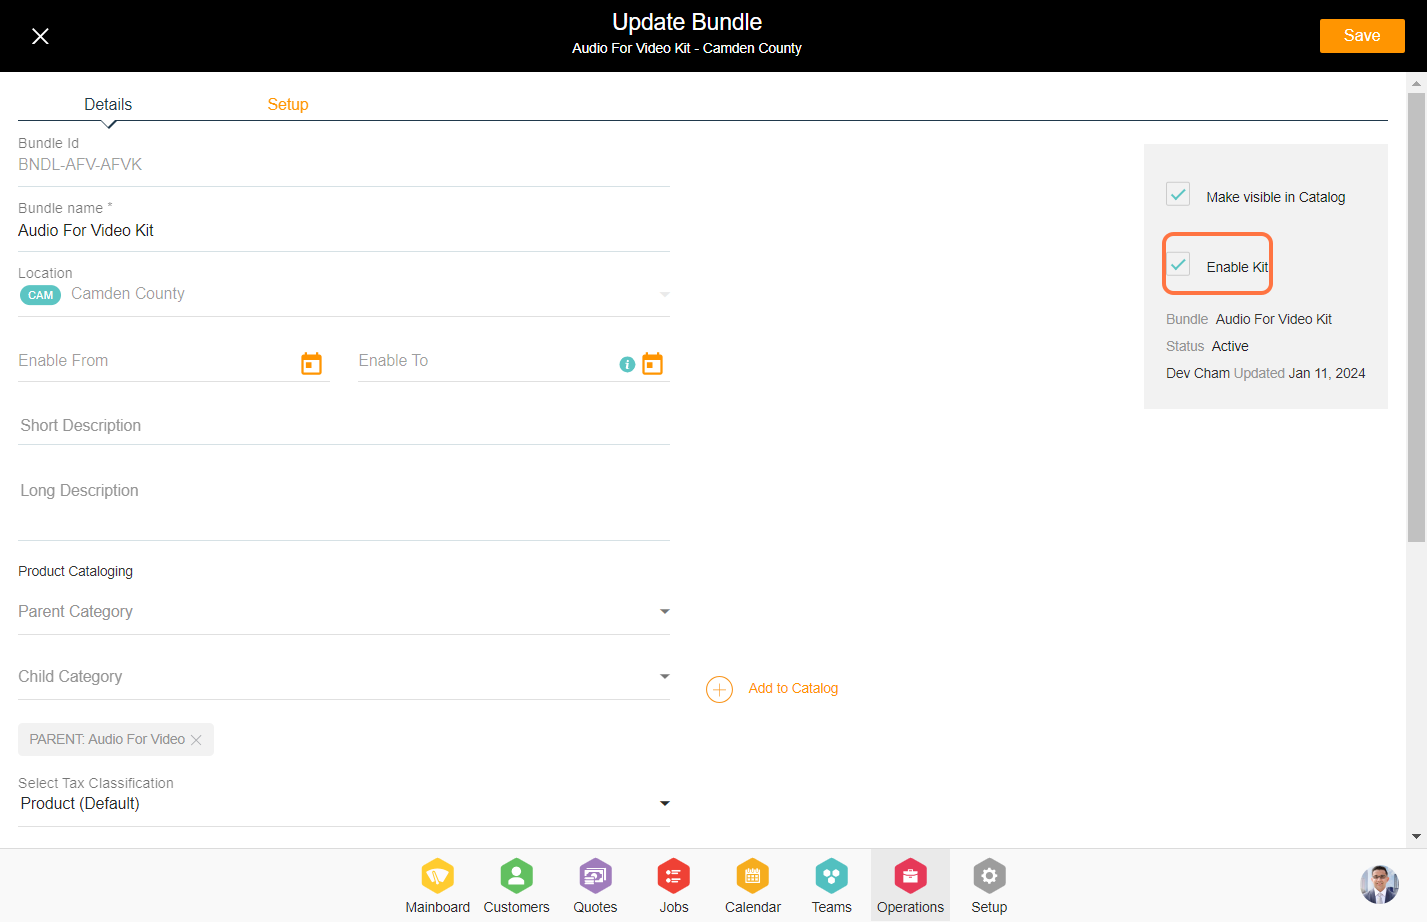
- 5. To configure a kit select the ‘Enable Kit’ option and also click on the ‘Make Visible in Catalog’ option and then click on Save from the top.
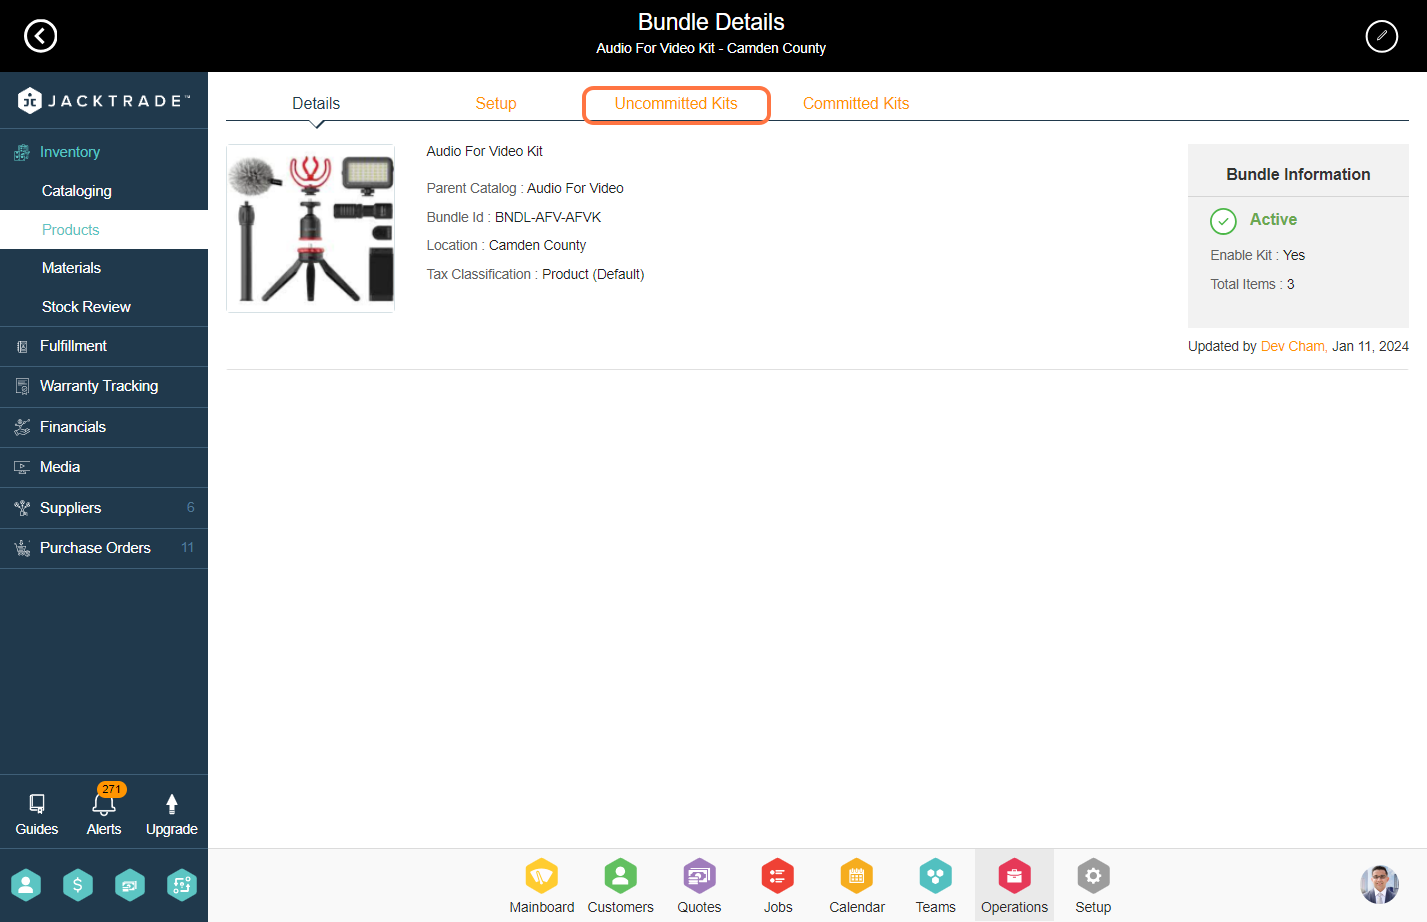
- 6. Click on the ‘Uncommitted Kits’ tab from the top. Uncommitted kits are all the kits that are created in the inventory but not assigned or fulfilled to any customer.
- 7. Click on the ‘Add’ button on the top right to add a kit.
- 8. Enter the details for a batch number, kit number ID, and corresponding notes if any. The kit number ID is unique.
- 9. You can assign a resource to the kit, and in the quotes/jobs, that kit will not be available for adding in jobs. This is usually used when kit has to be tested or built by the internal team.
- 10. You can associate a customer with the kit, and that kit will be exclusively available for that particular customer.
- Once you are done with the configuration click on ‘Done’ CTA to create the kit.
- 11. Click on ‘Manage’ to attach the serial for the kit. Serials are assigned per product in the bundle. Assigned Status columns show where your bundle stands –
- 12. Select the SKU.
- 13. Select the desired serial number to include in the kit, then click on “Attach” at the bottom.
Guidelines to configure bundle kits: A step-by-step guide
Similar to products, serial numbers need to be entered in the bundle setup once serialization is enabled at the bundle level. The bundles with unique kid IDs are called Kits in Jacktrade.
Pre-requisites
1. Go to the Operations module.

5. To configure a kit select the ‘Enable Kit’ option and also click on the ‘Make Visible in Catalog’ option and then click on Save from the top.
6. Click on the ‘Uncommitted Kits’ tab from the top. Uncommitted kits are all the kits that are created in the inventory but not assigned or fulfilled to any customer.
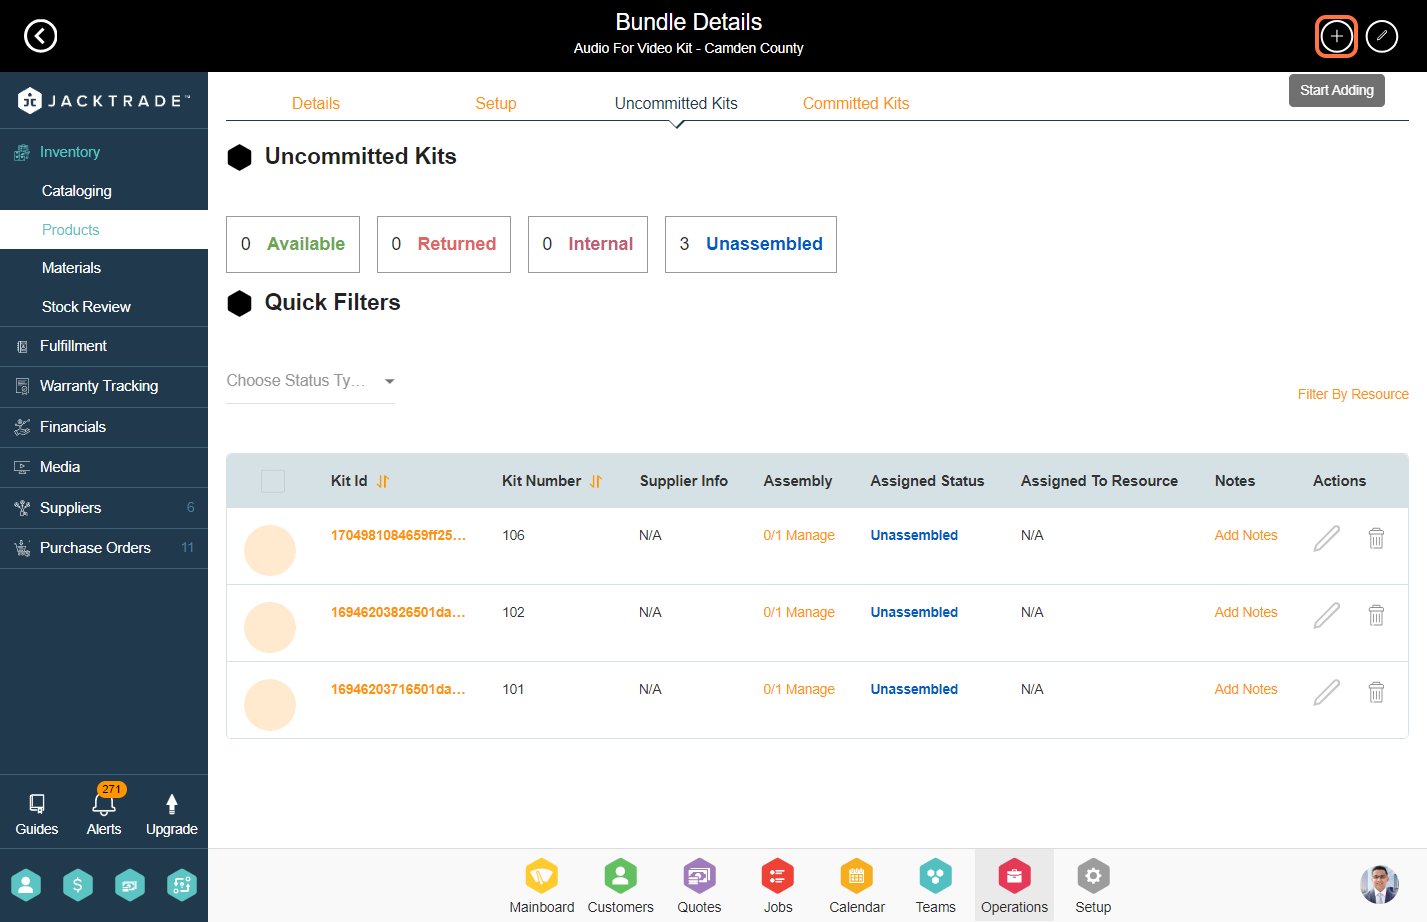
8. Enter the details for a batch number, kit number ID, and corresponding notes if any. The kit number ID is unique.

9. You can assign a resource to the kit, and in the quotes/jobs, that kit will not be available for adding in jobs. This is usually used when kit has to be tested or built by the internal team.
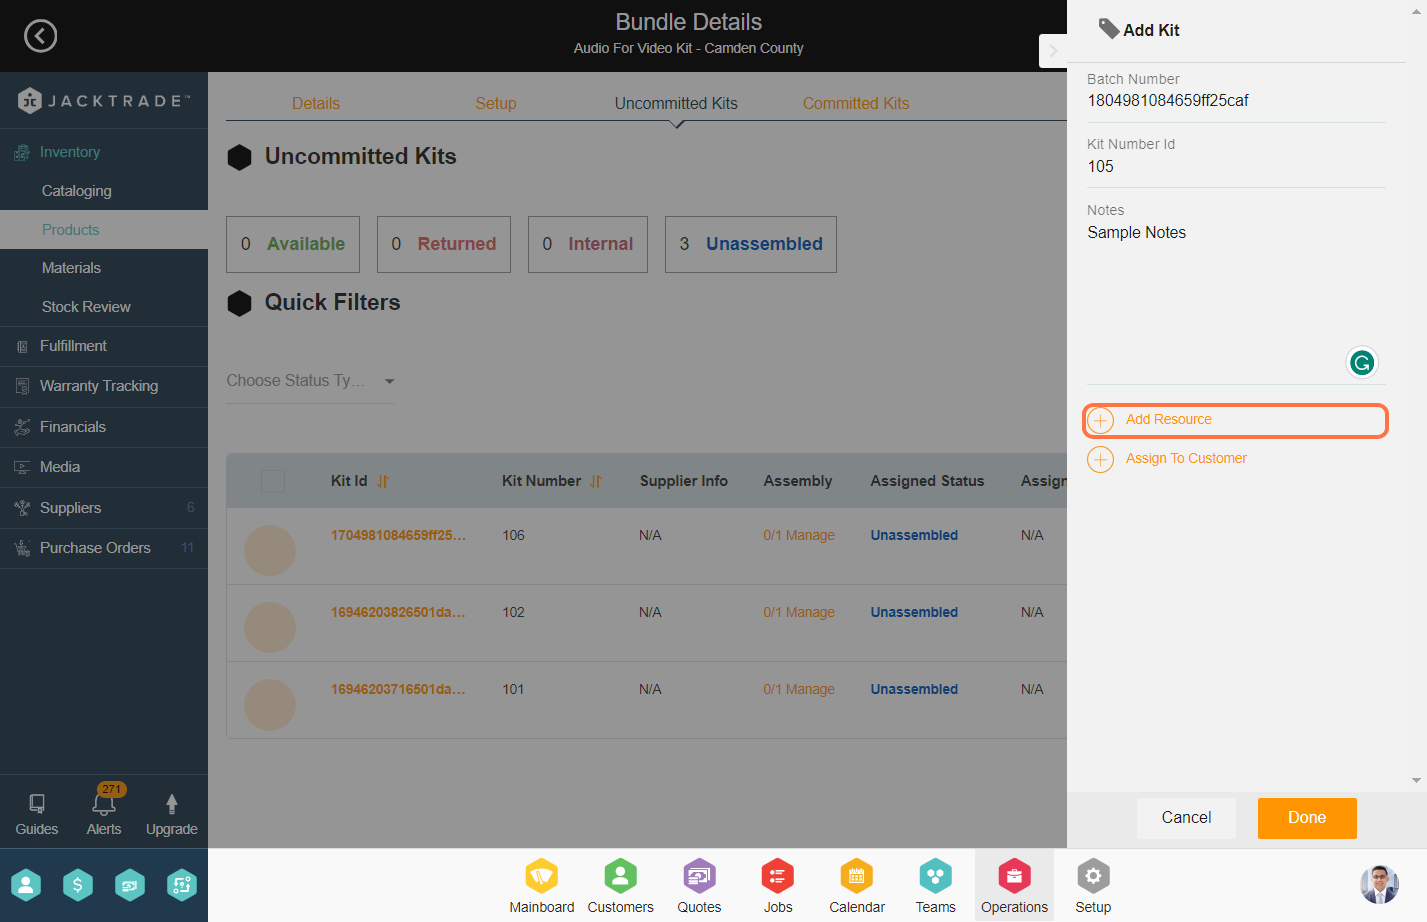
10. You can associate a customer with the kit, and that kit will be exclusively available for that particular customer.
Note: For a particular serial, you can select only one option, either assign a Resource or a Customer.
Once you are done with the configuration click on ‘Done’ CTA to create the kit.

11. Click on ‘Manage’ to attach the serial for the kit. Serials are assigned per product in the bundle. Assigned Status columns show where your bundle stands –
Unassemble Status – It shows that there are still serials to be assigned to the kit before it can be made available for fulfillment.
Available Status – It shows that all the serials are assigned to the kit and are ready for fulfillment.
Internal – It shows that the kit is assigned internally to a resource within the team.
Committed (Shows up in Committed Kits) – This kit is assigned to a customer but not fulfilled.
Fulfilled (Shows up in Committed Kits) – This kit is fulfilled by a customer.
Learn More about ‘How to add serial to SKU‘
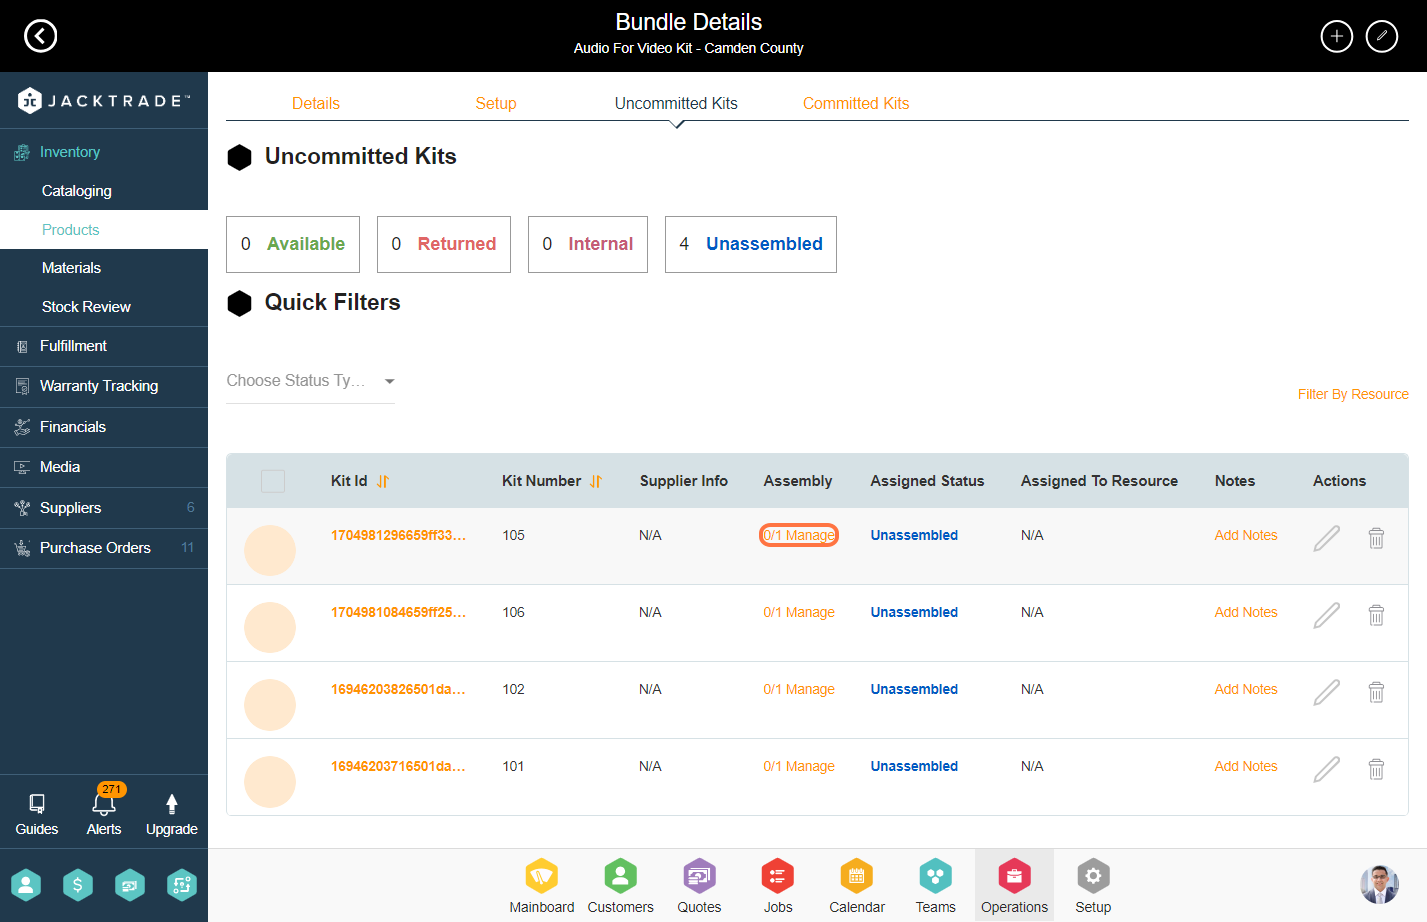
12. Select the SKU.

13. Select the desired serial number to include in the kit, then click on “Attach” at the bottom.


