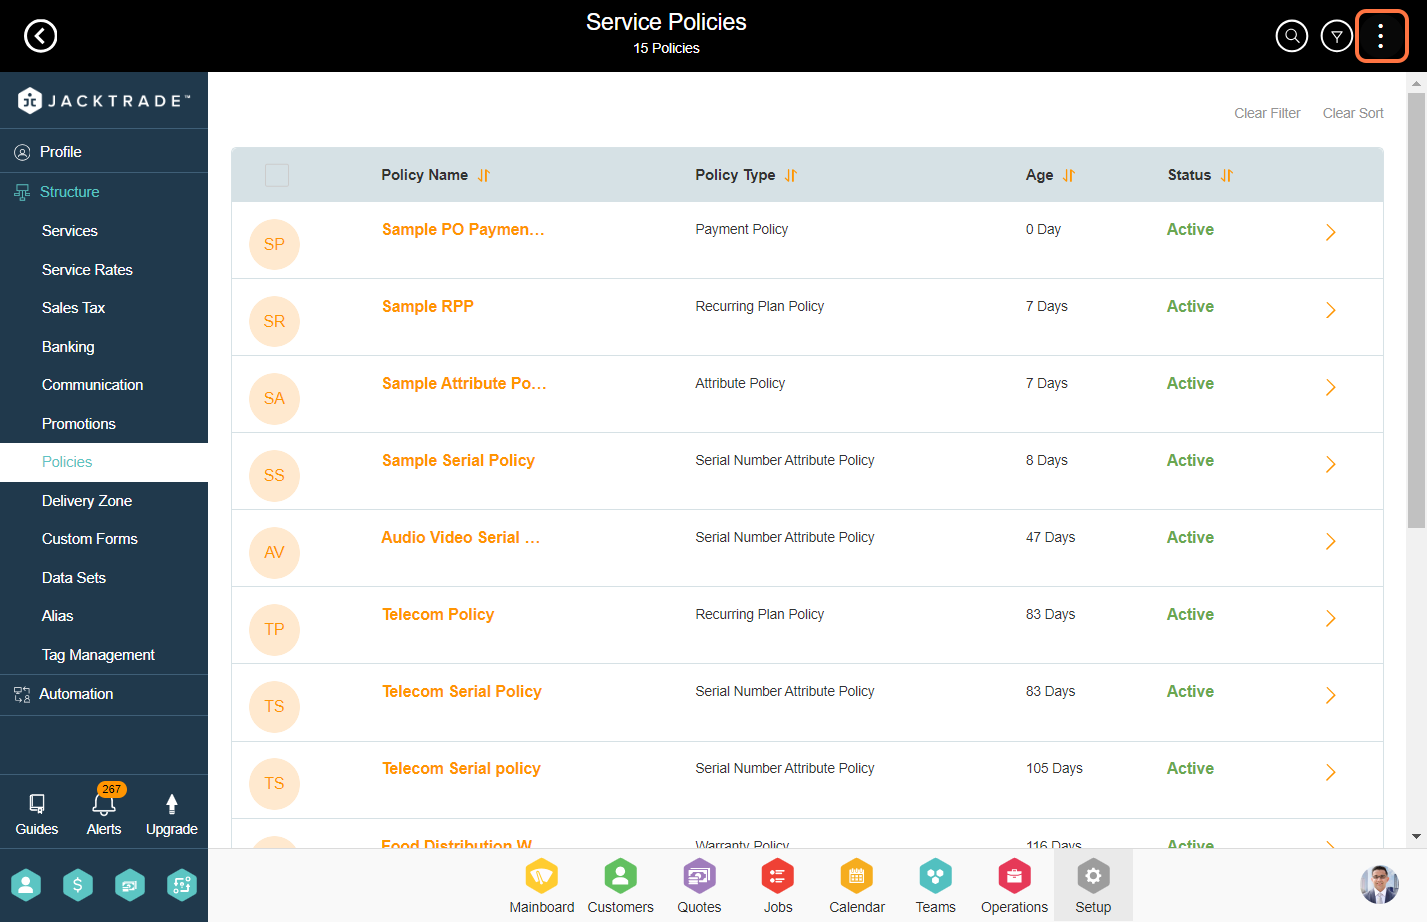
Steps to set up warranty policy.
1. Go to the Setup Module.


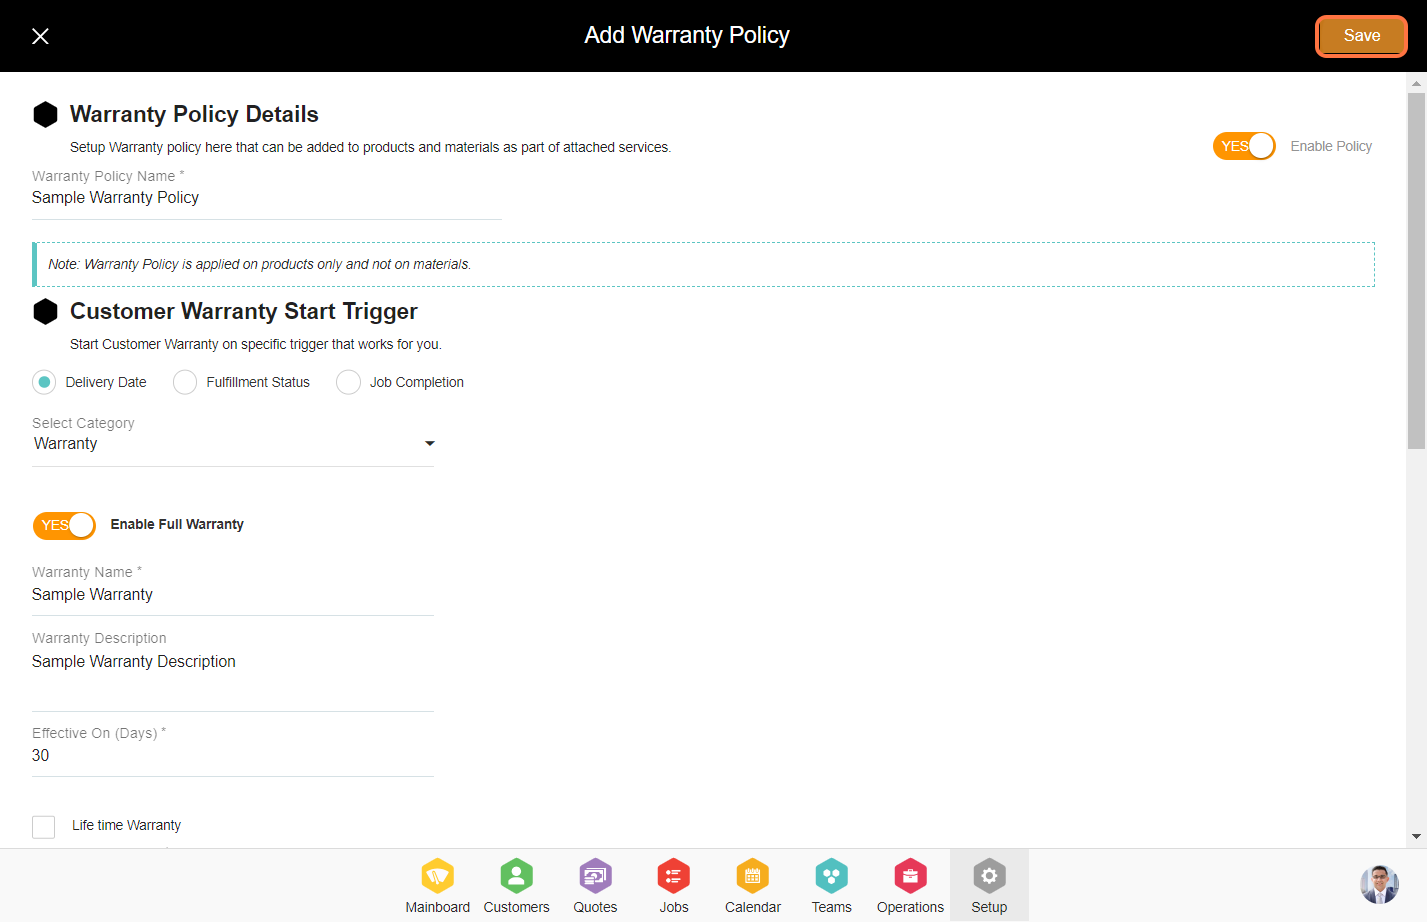
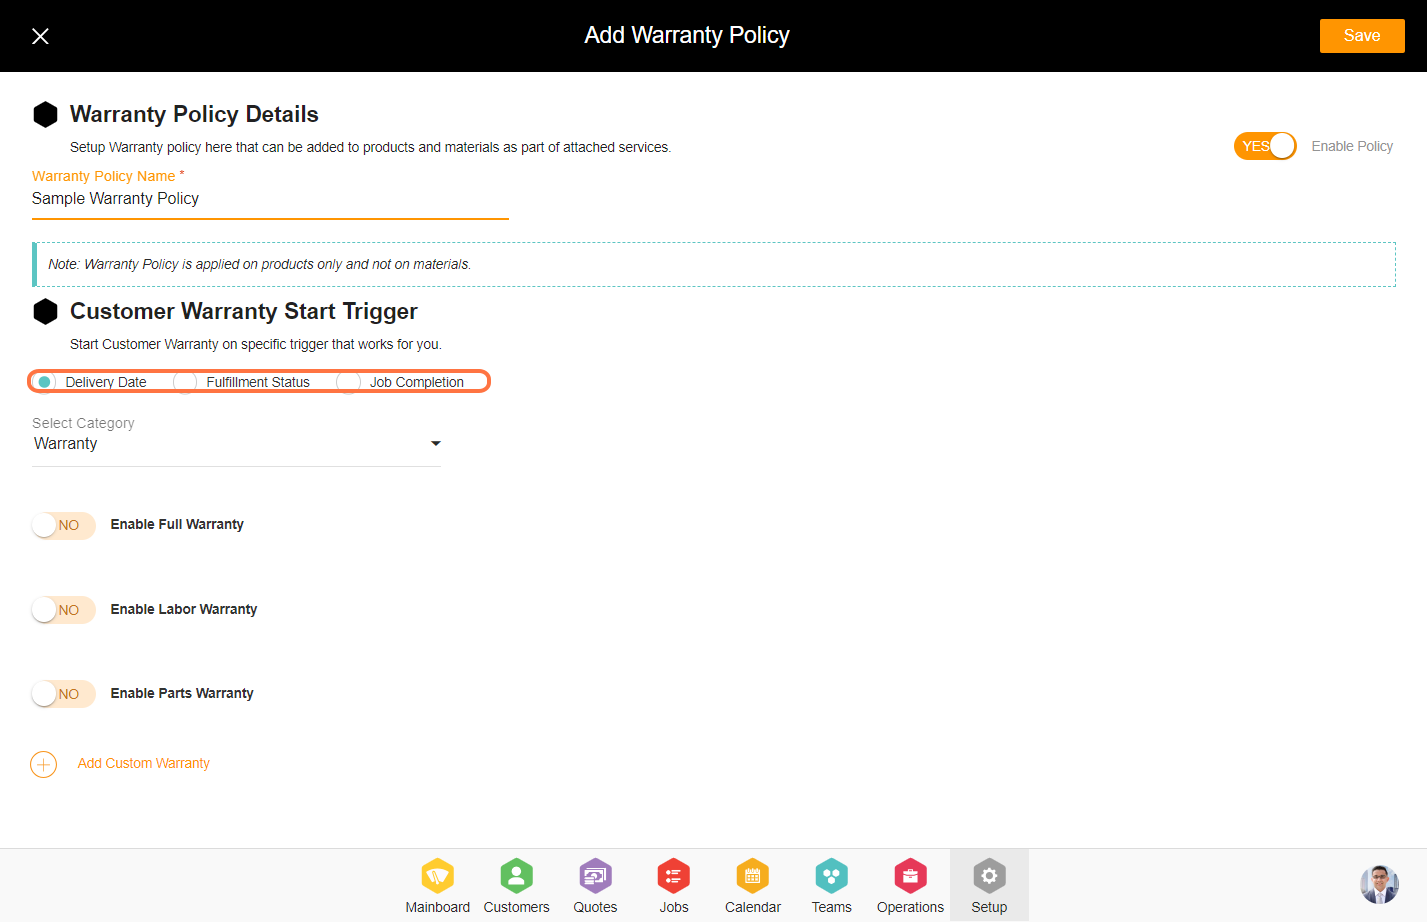
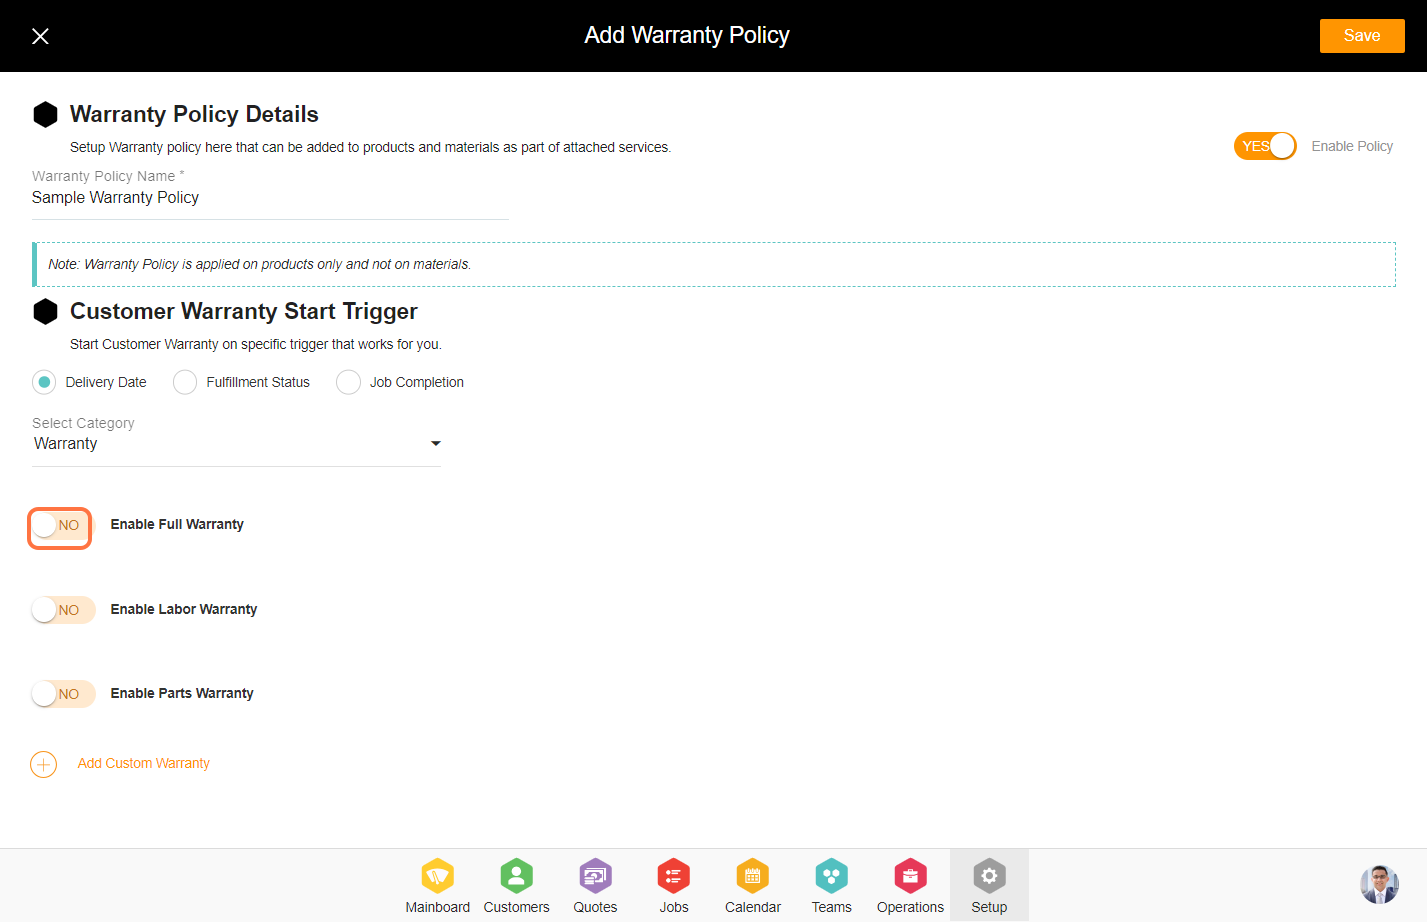
4. Enter the policy name.
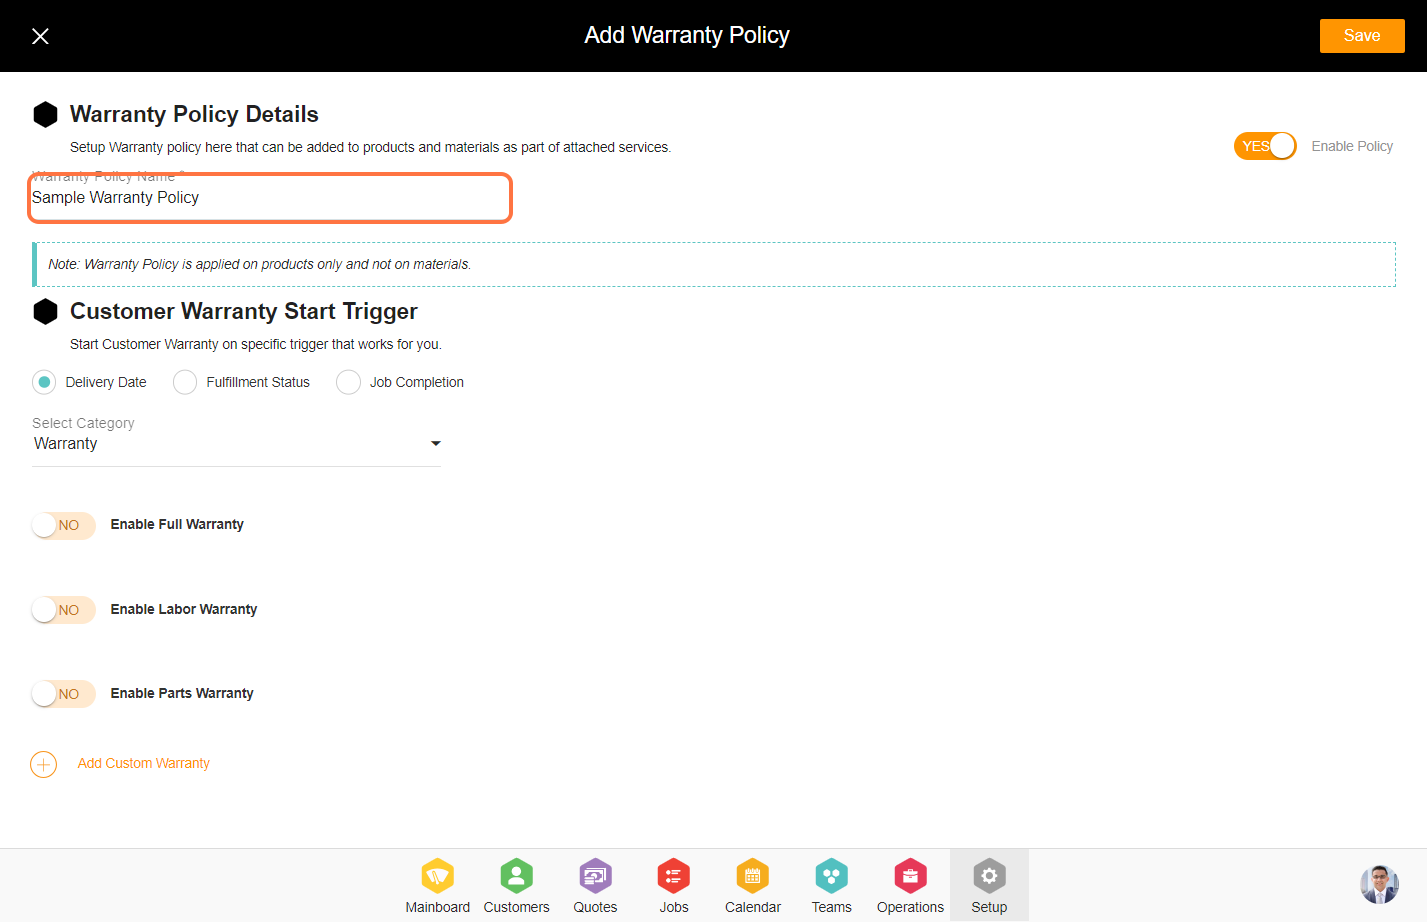
5. Warranty start trigger comprises three distinct types. Select anyone for the policy.
a. Delivery Date - The delivery date for the warranty policy refers to the specific date on which a product is delivered to the customer.
b. Fulfillment Status - The fulfillment status for a warranty policy indicates the current state of compliance or completion regarding the terms and conditions outlined in the warranty agreement. It encompasses whether the obligations stated in the warranty, such as repairs, replacements, or refunds, have been met by the warrantor or the service provider.
c. Job Completion - Job completion for a warranty policy refers to the fulfillment of the obligations outlined within the terms of the warranty agreement by the service provider
6. The warranty category consists of three distinct types. Select anyone for the policy.
a. Warranty - The warranty category within a warranty policy refers to the classification or type of warranty coverage provided for a product or service.
b. Maintenance - The maintenance category within a warranty policy refers to the specific types of maintenance services covered by the warranty agreement for a product or service.
c. SLA - The SLA (Service Level Agreement) category within a warranty policy outlines the specific commitments and performance standards that the warranty provider agrees to meet in terms of service delivery, response times, and resolution of issues related to the warranty coverage.
In this example, we will select the 'Warranty' category.

8. Enter the 'Warranty Name' and 'Description'.
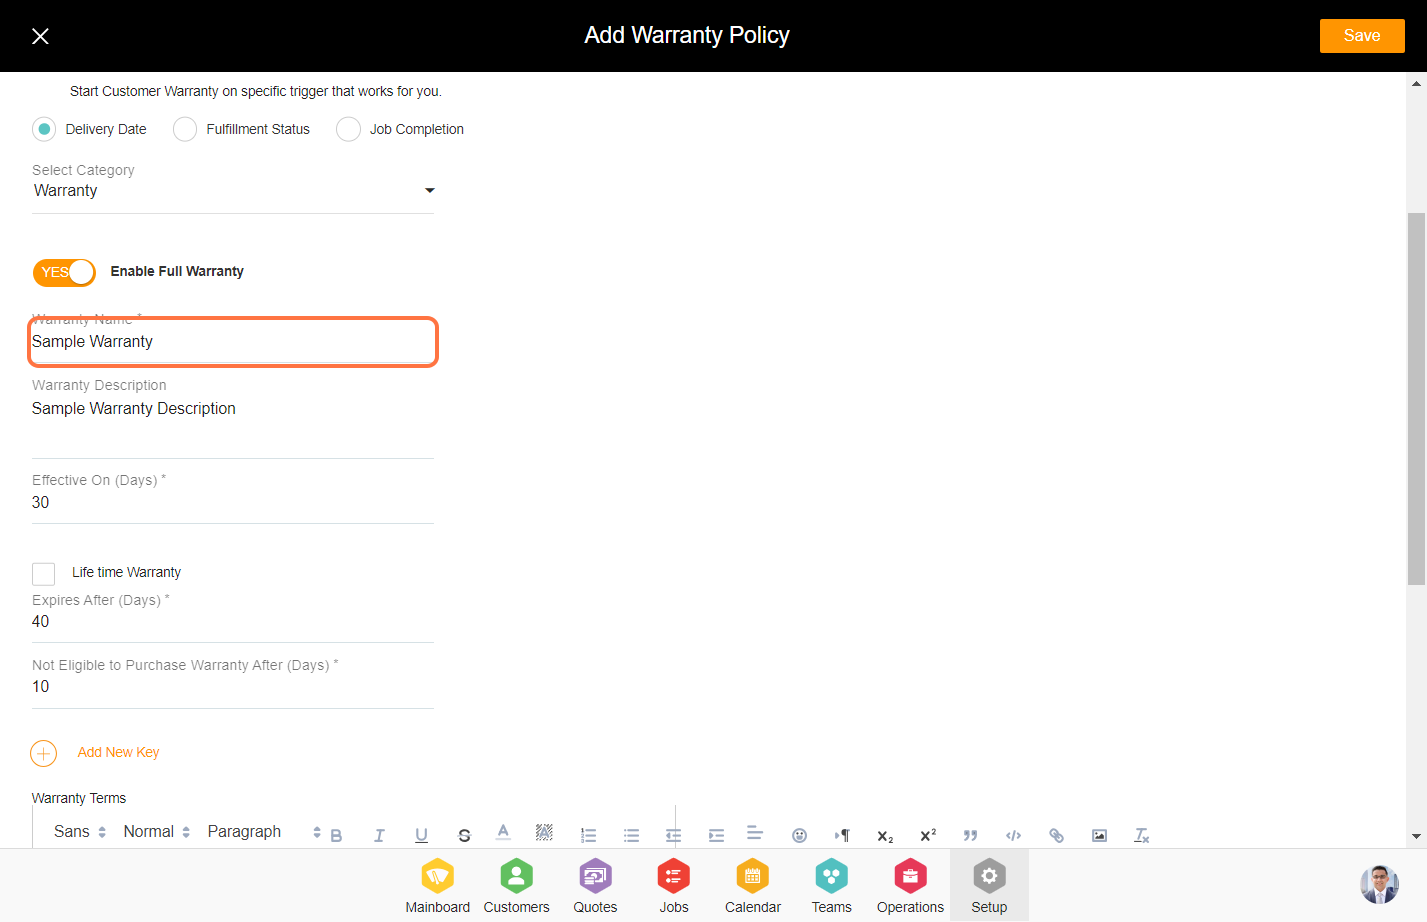
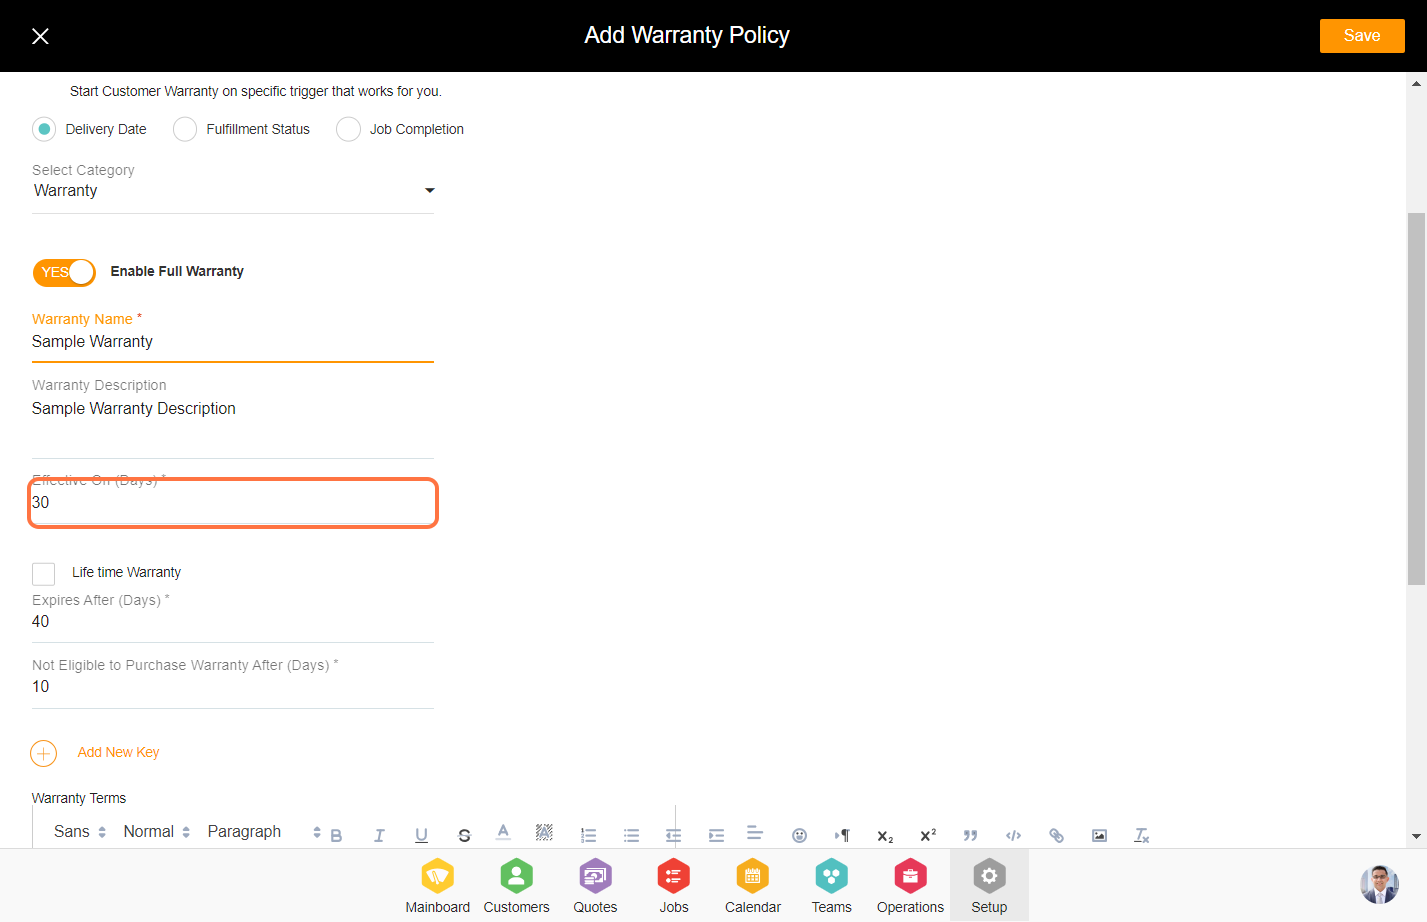
9. Please specify the number of days for the warranty to take into effect.
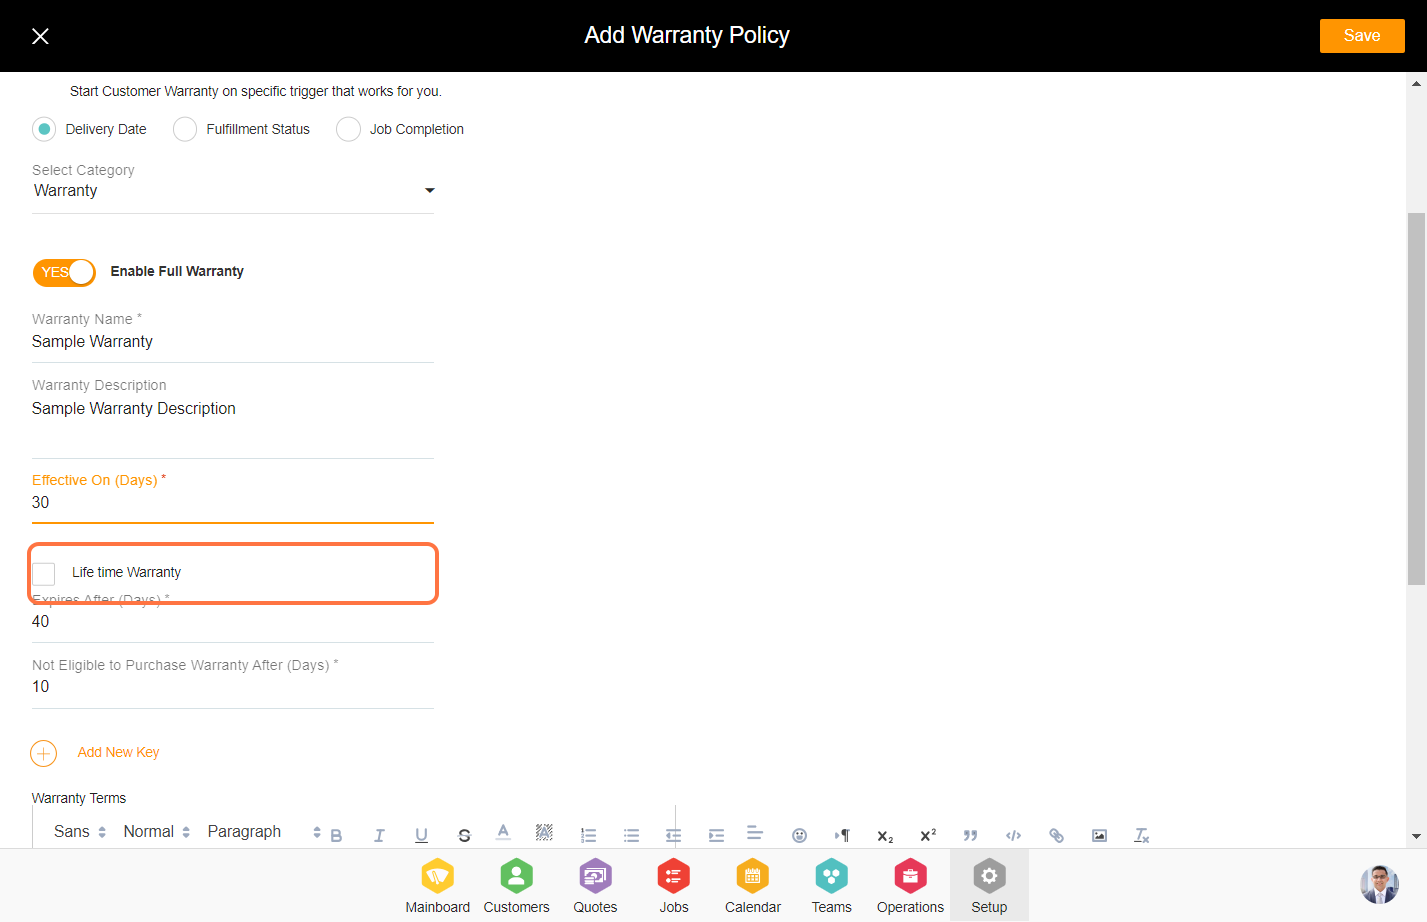
10. If you select this option, the warranty will never expire. If you choose not to select this option, please enter the number of days after which the warranty will expire.
11. Enter the days after the warranty will be not eligible after the purchase of the product.
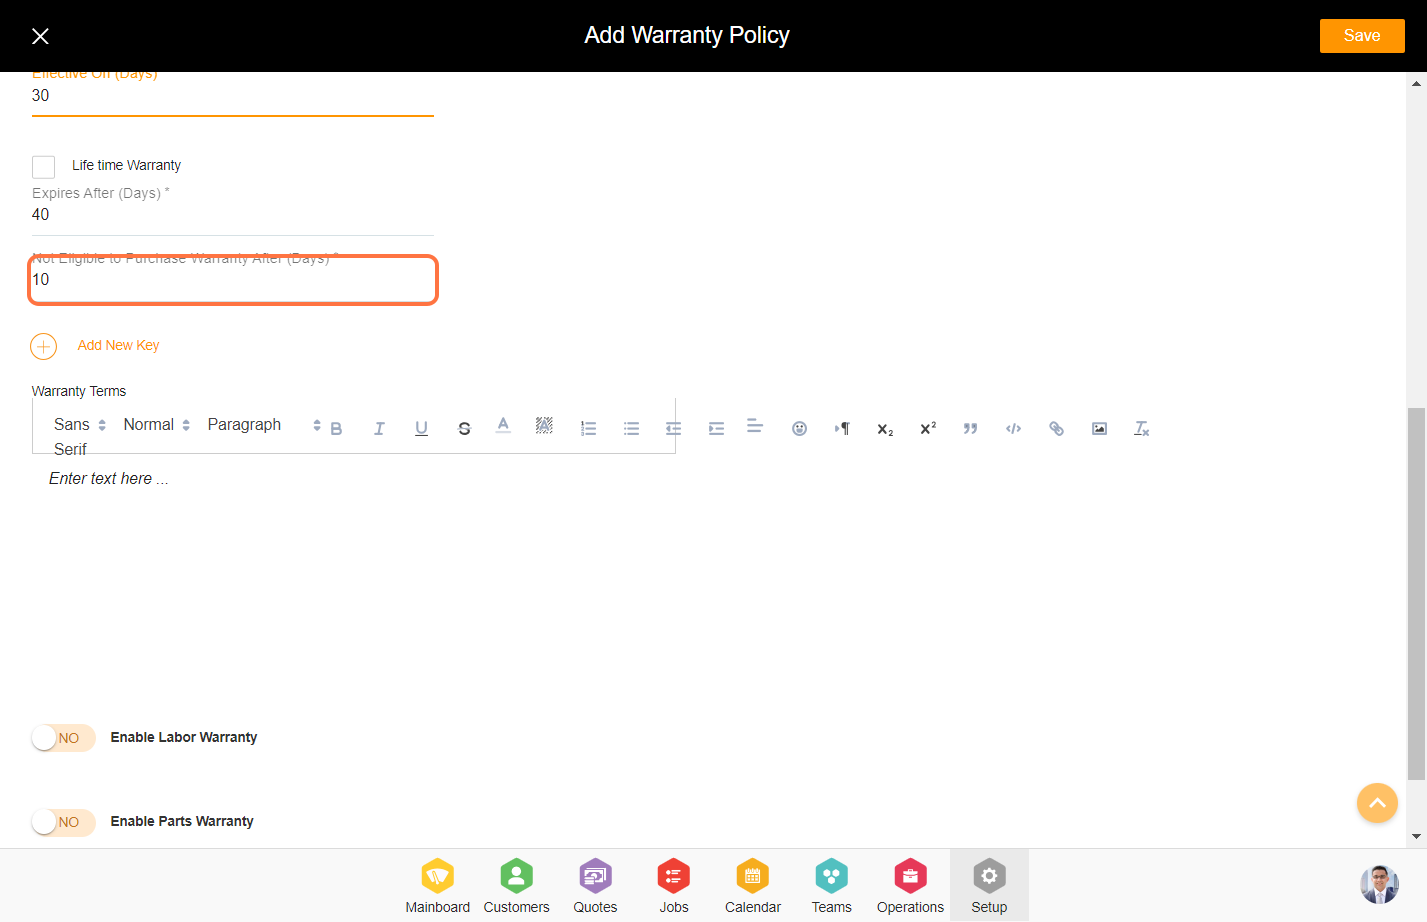
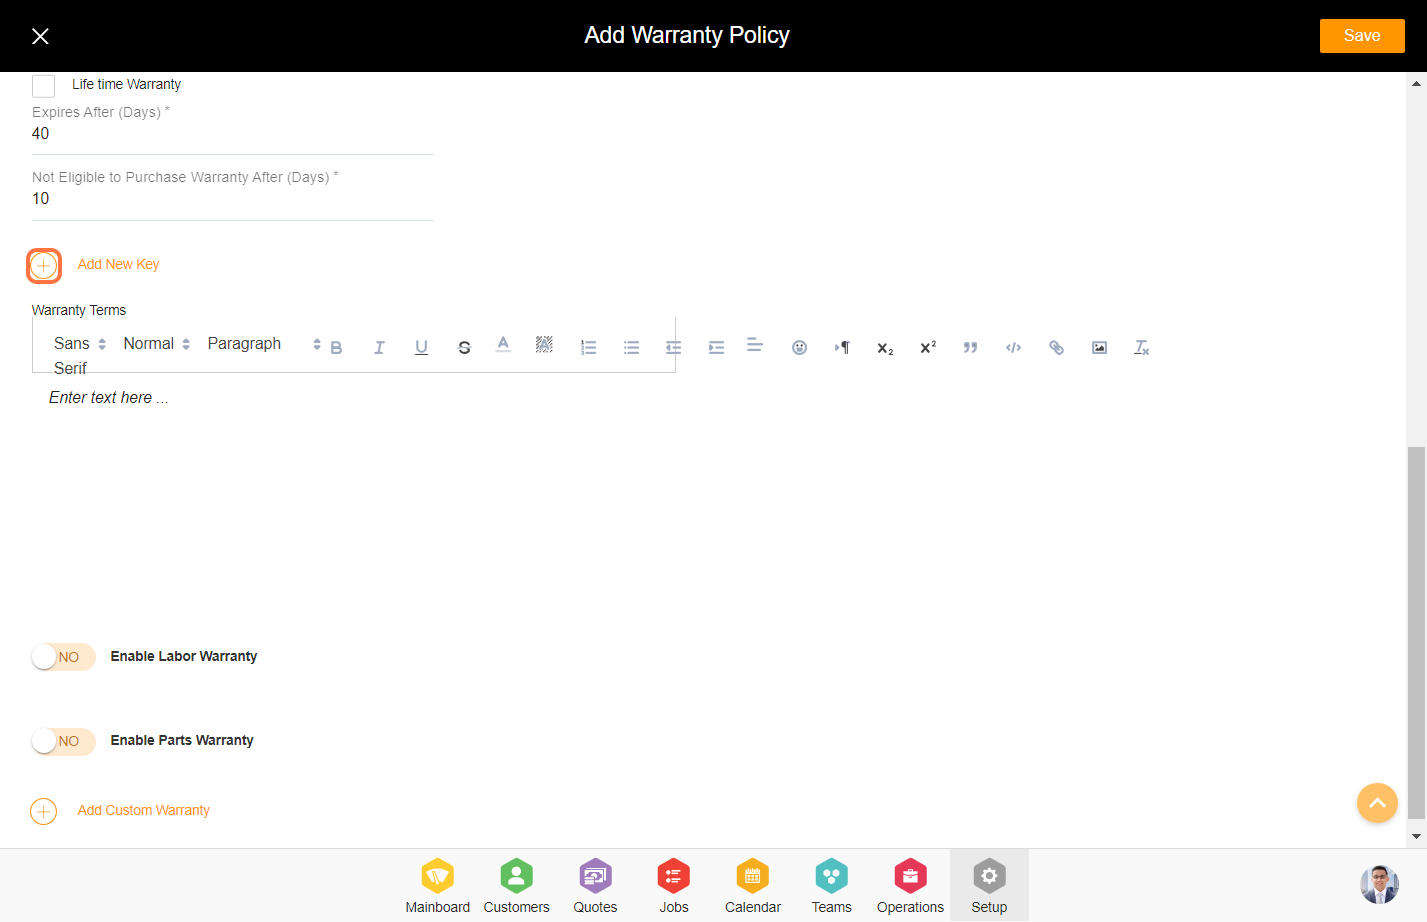
12. Click on 'Add New Key' to insert the additional key for the warranty policy.
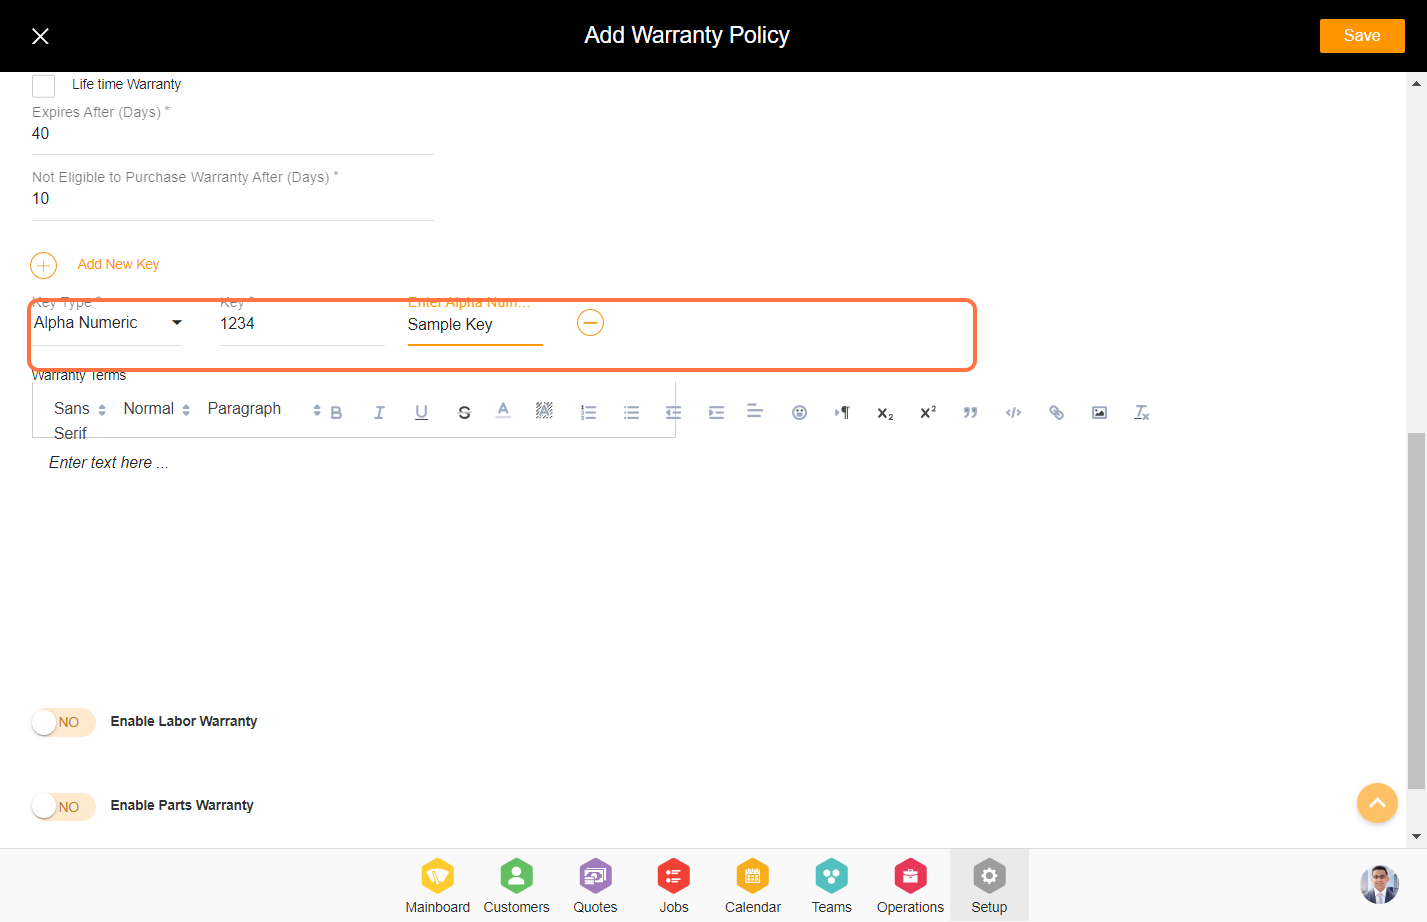
13. Enter the 'Warranty Terms'.

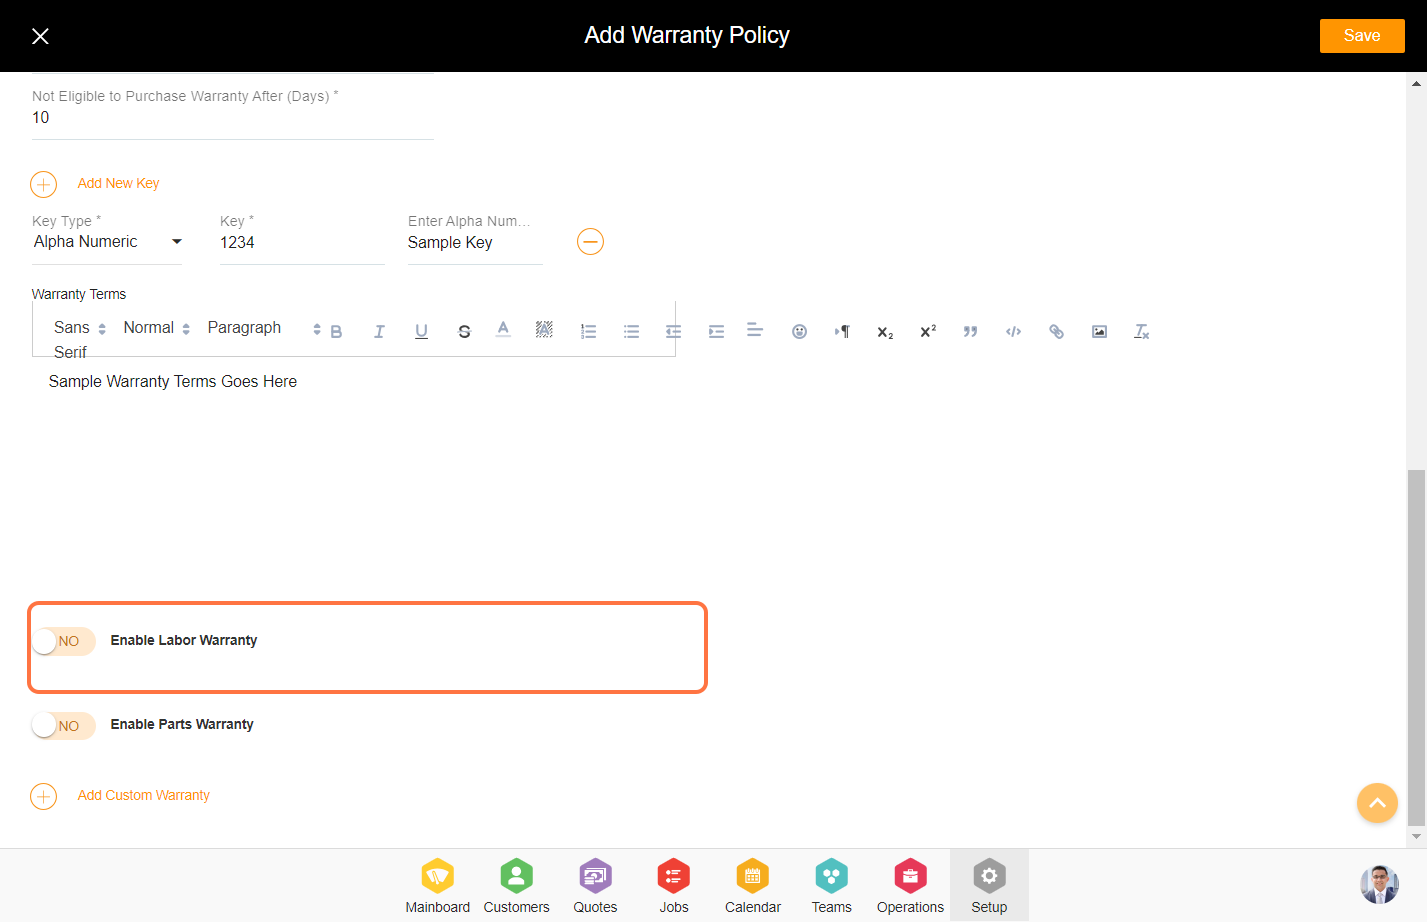
14. By selecting this option, you can input the data for the Labor and Parts Warranty in the same manner as described above.
15. You can insert the custom warranty data by clicking on 'Add Custom Warranty'.
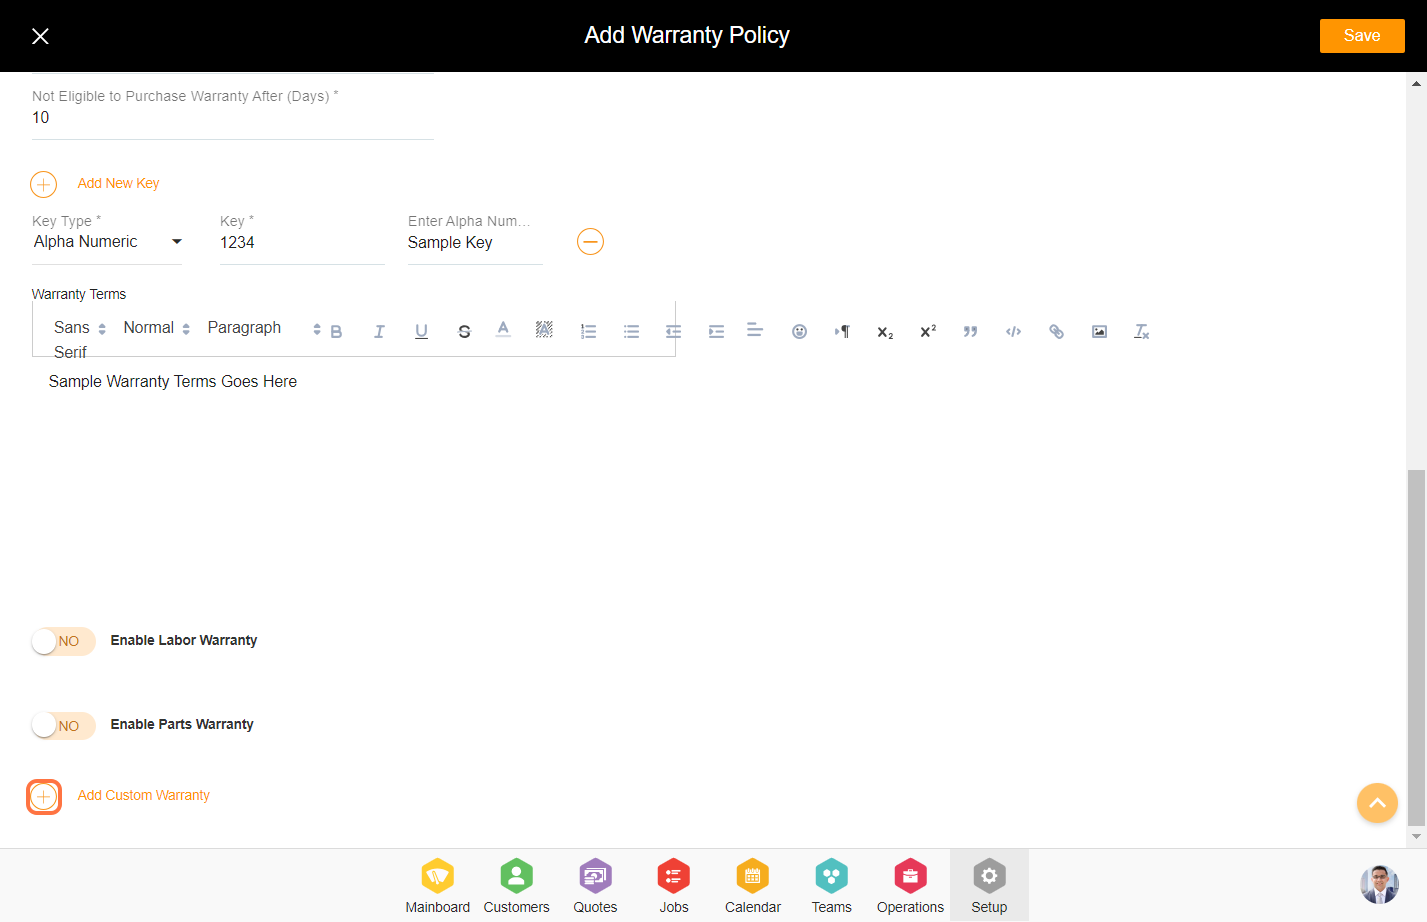
16. Click on 'Save' to create the warranty policy.