Creating Recurring Payment Policy - A step-by-step guide.
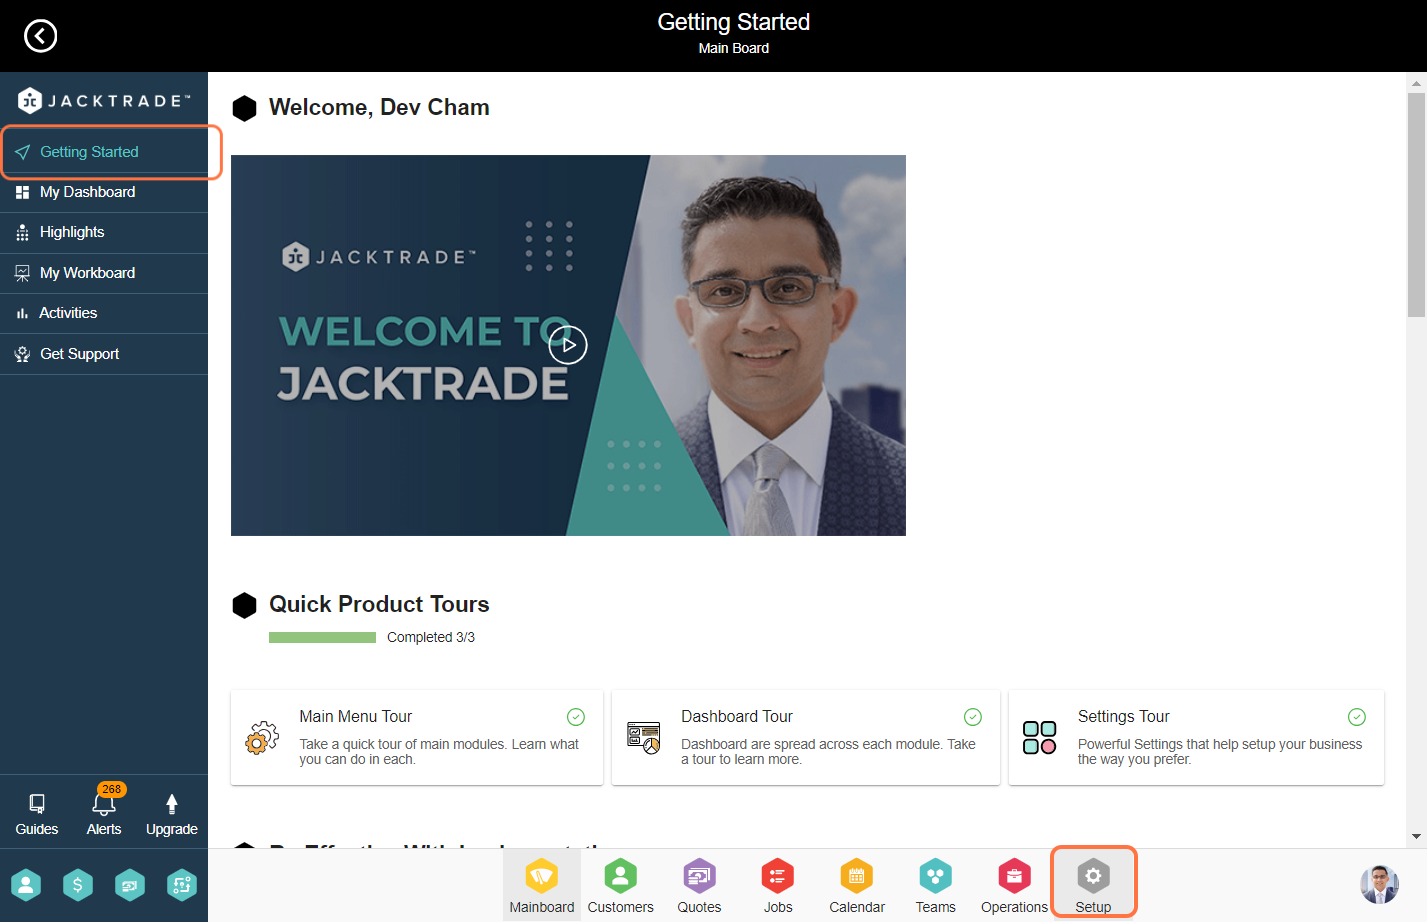
1. Go to the Setup Module.

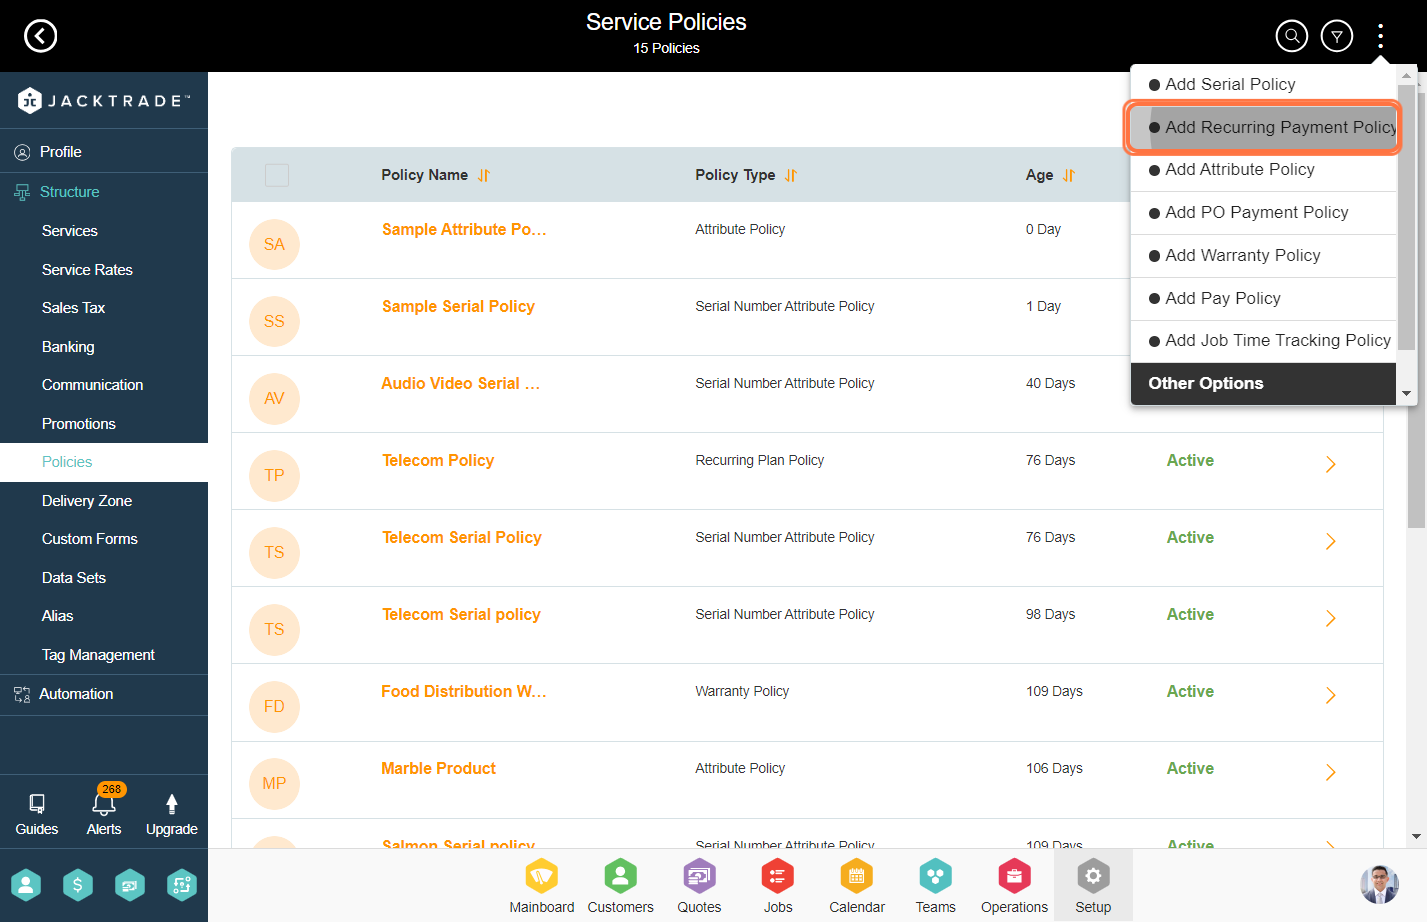
3. Click on the Options Menu (3 dots), and select 'Add Recurring Payment Policy'.

4. Enter the plan name. We recommend to keep the plan names unique so that plans can be differentiated easily under Quotes and Jobs when you are creating recurring services.
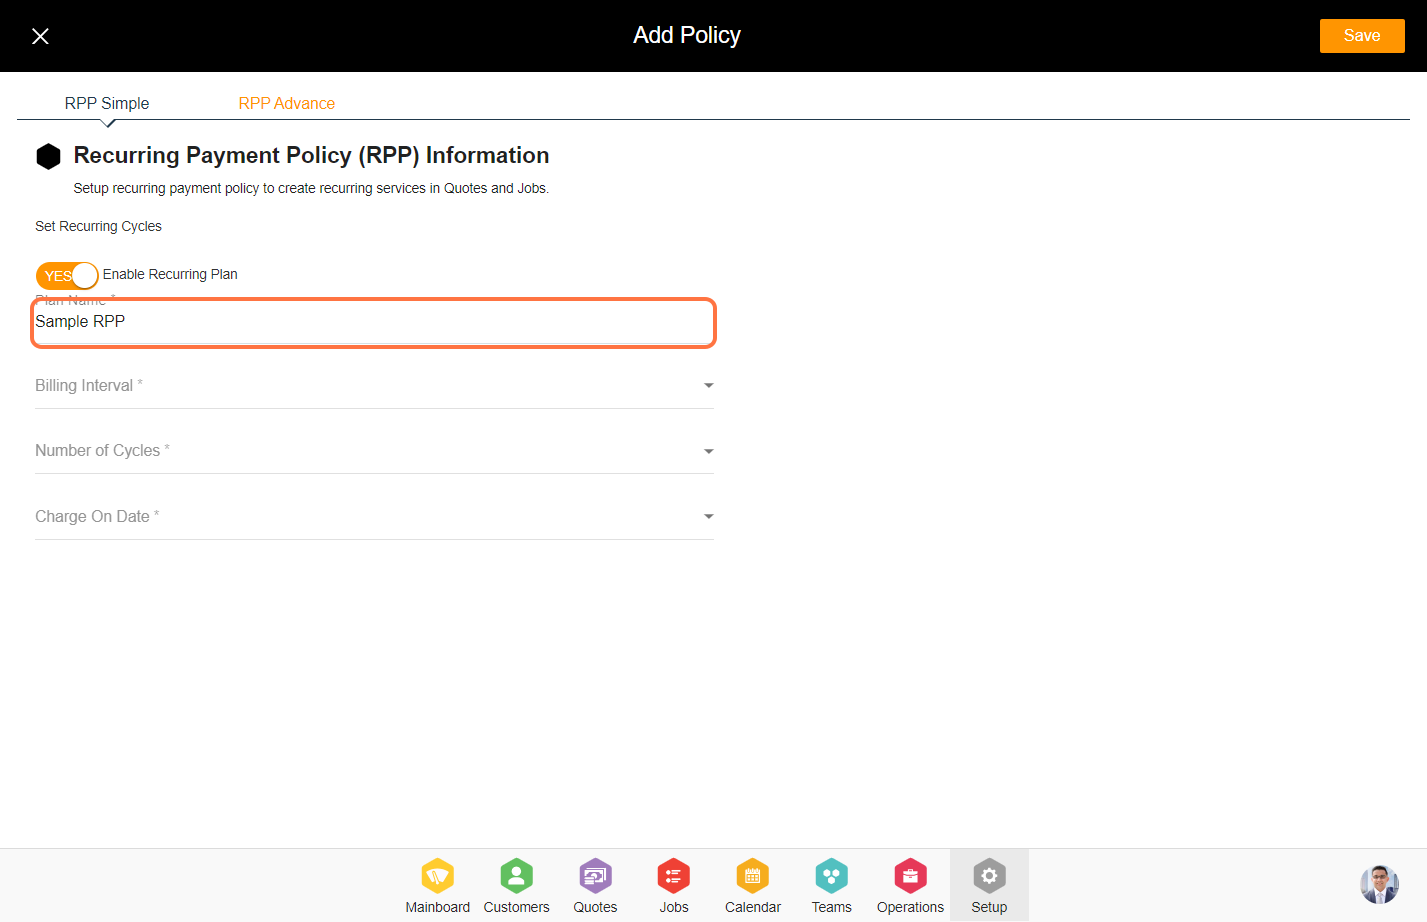
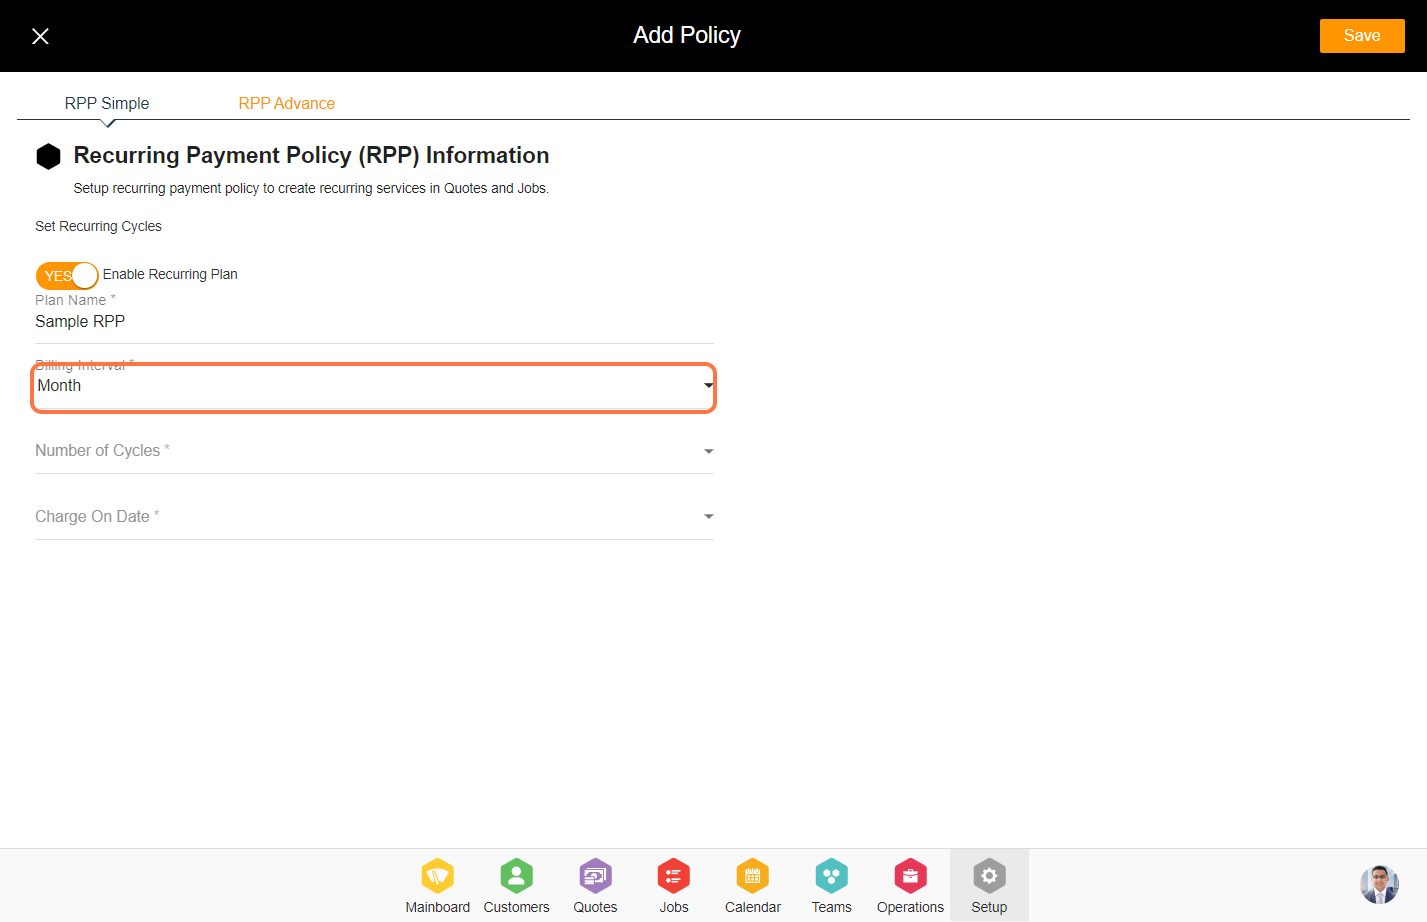
5. Select the billing interval for the recurring policy you wish to implement.
Note: Billing Interval consists of Day, Week, and Month.
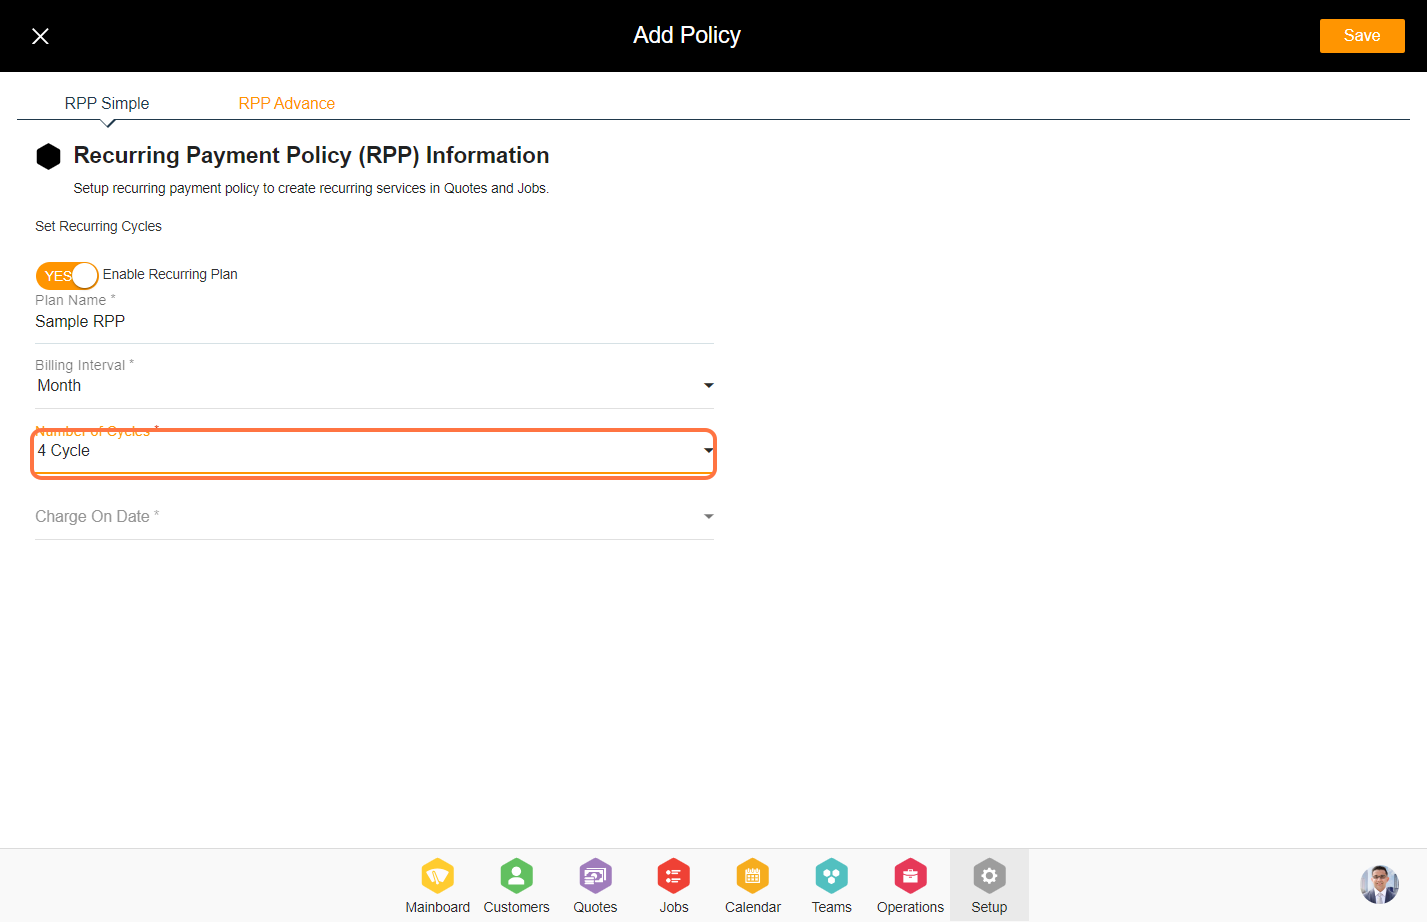
6. Select the cycles you want to add to the policy.
Note: You can insert up to 36 cycles per recurring payment policy.
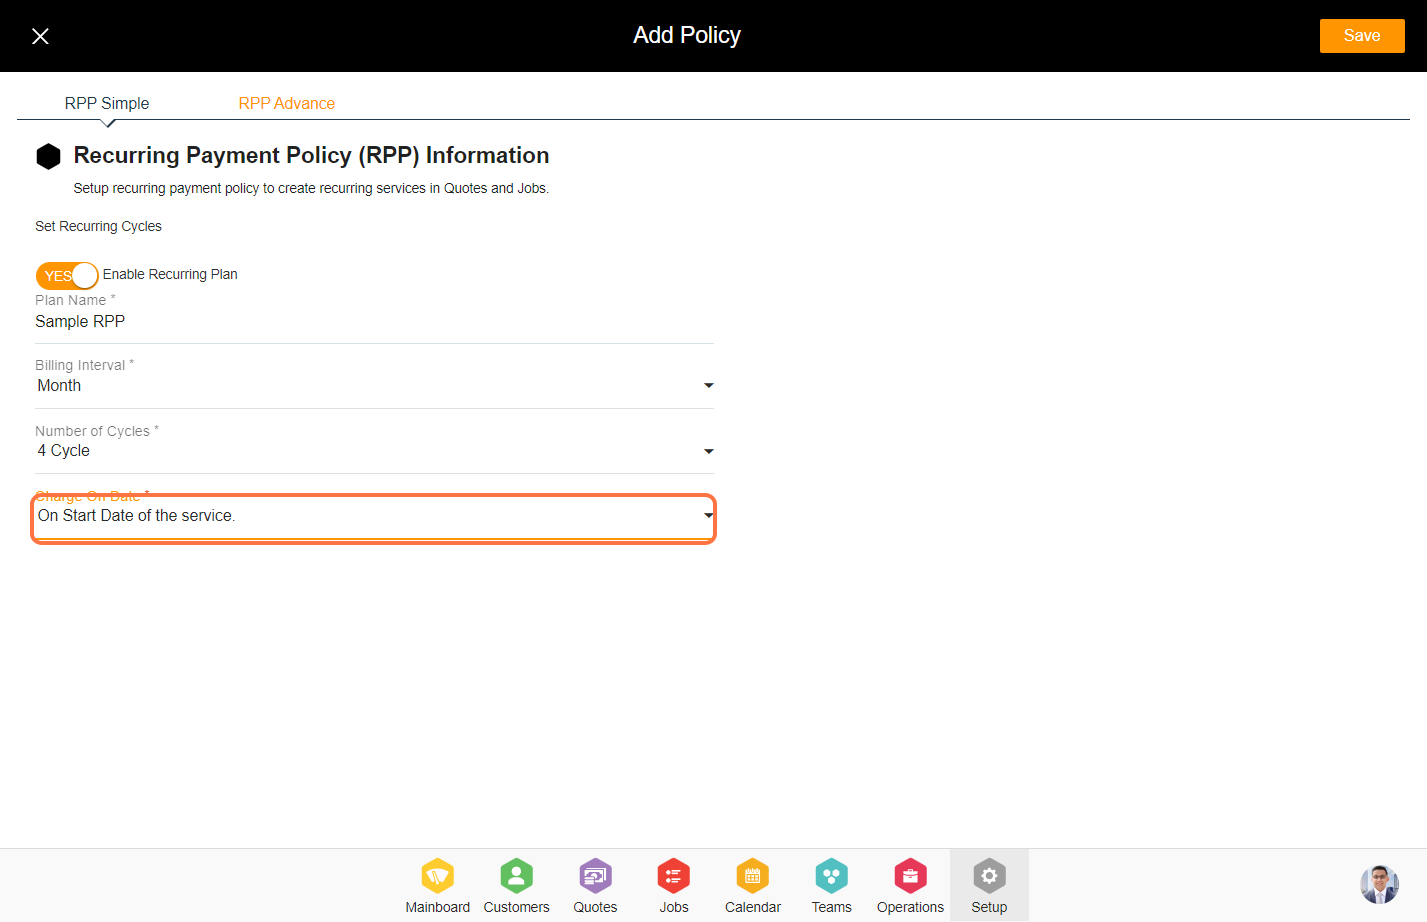
7. Select the option for a charge date on the recurring service.
Note: Charge on date consists of multiple types select anyone for the policy.
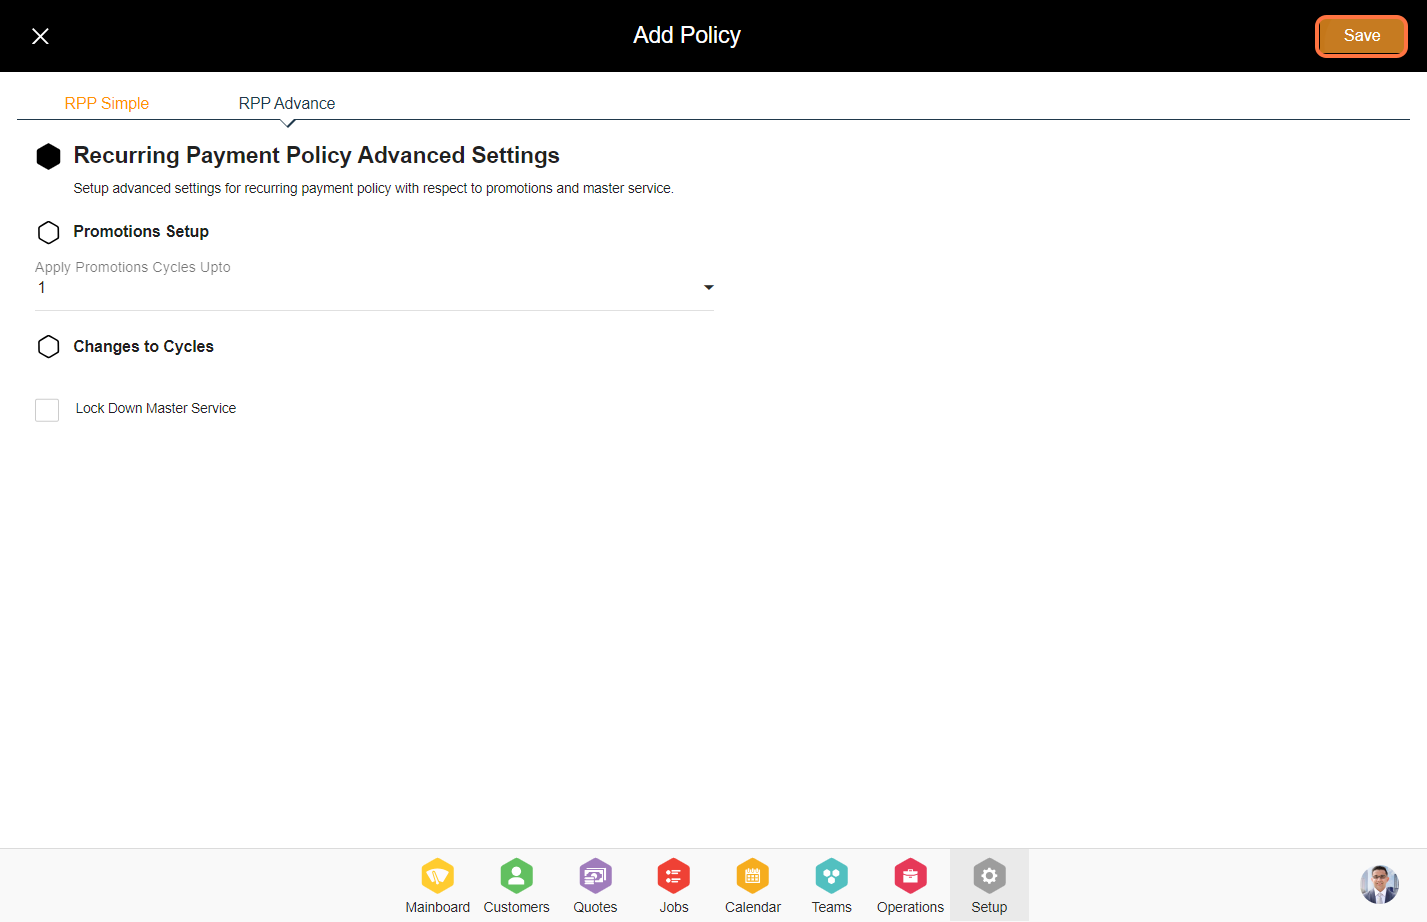
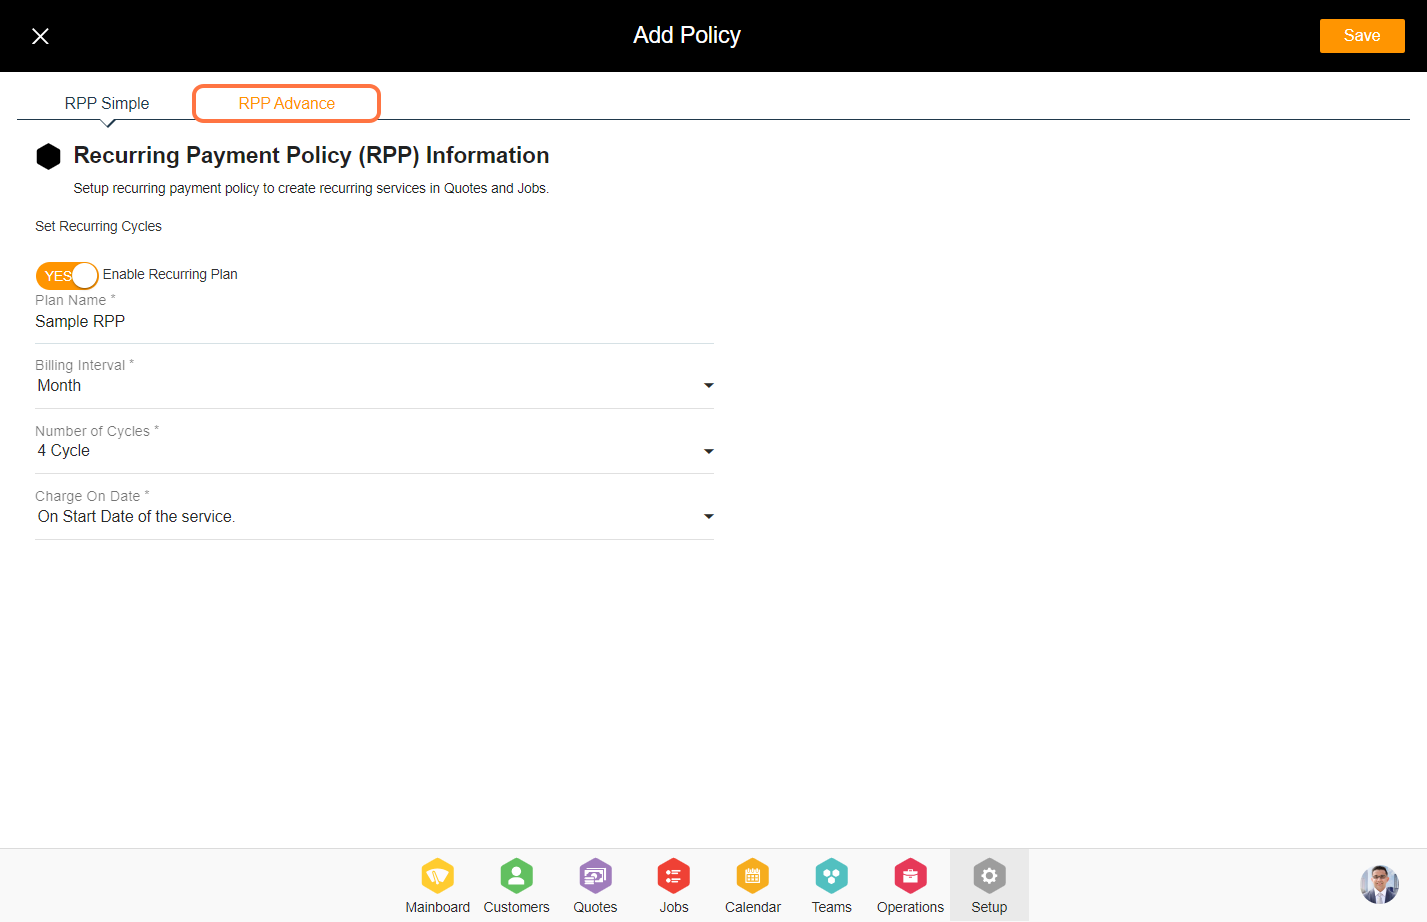
8. Click on the 'RPP Advance' tab to setup advance settings on the policy. Advance settings are optional.
9. Enter how many promotions can be applied per cycle.
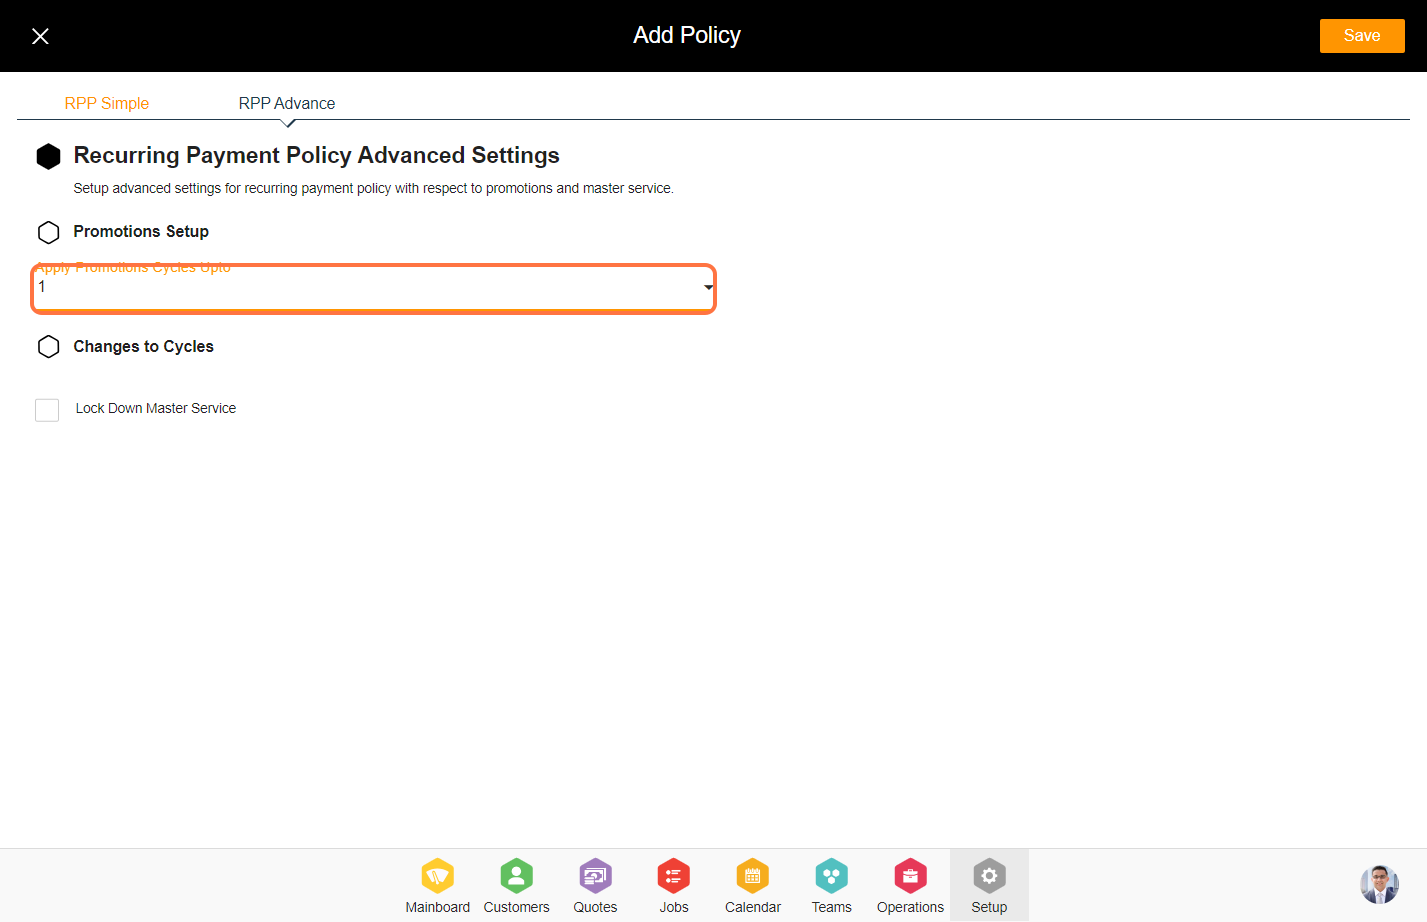
10. You can choose to lock or keep the master service open. If this flag is checked then, the master service of the recurring service will be locked and you cannot make any changes to it once the quote is converted to job.

11. Click on 'Save' to create the recurring payment policy.