Steps to configure an attribute policy.
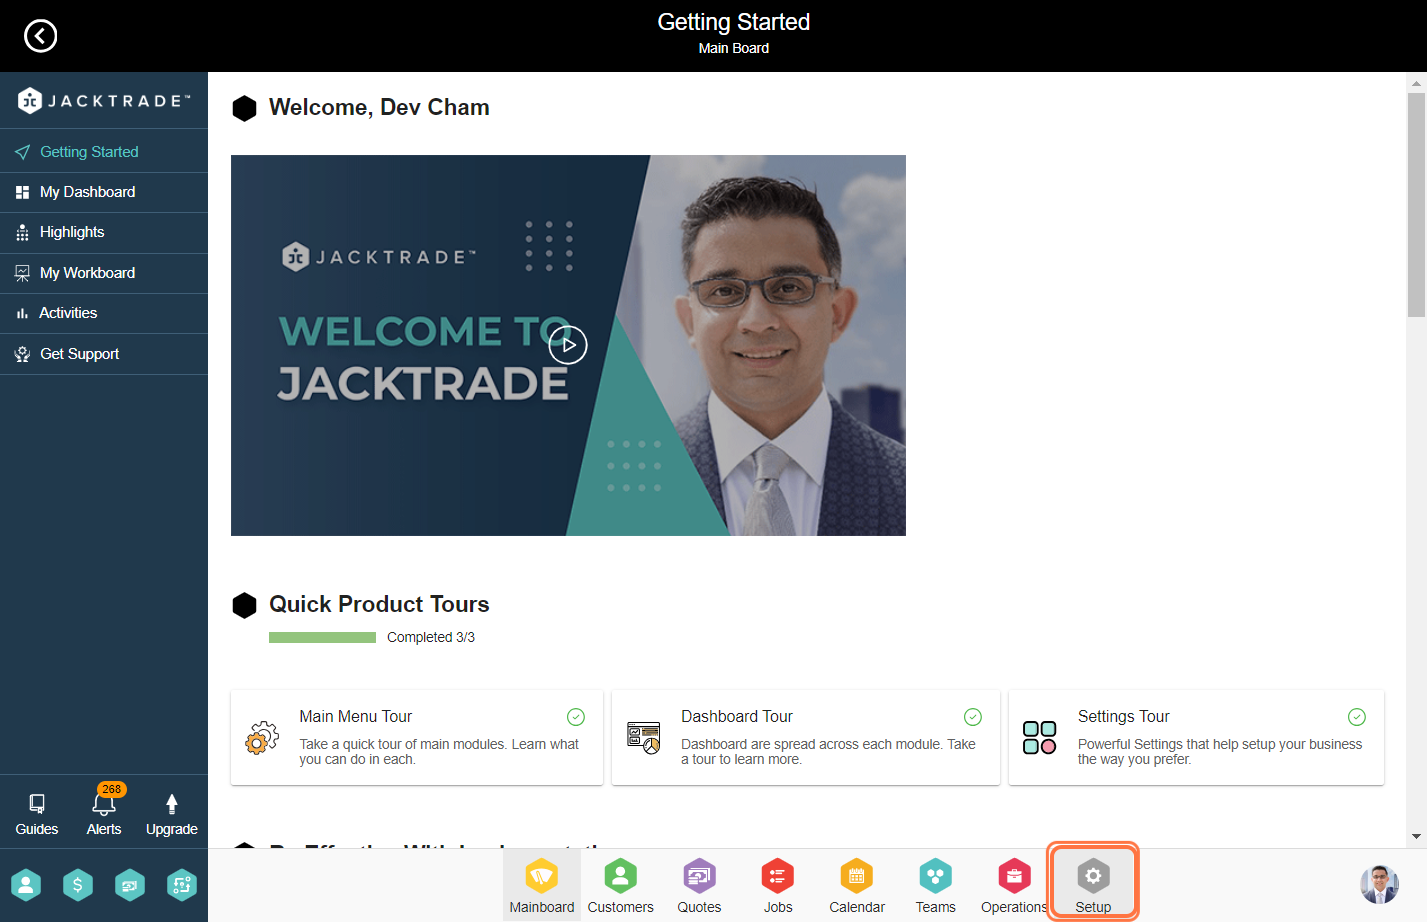
1. Go to the Setup Module.

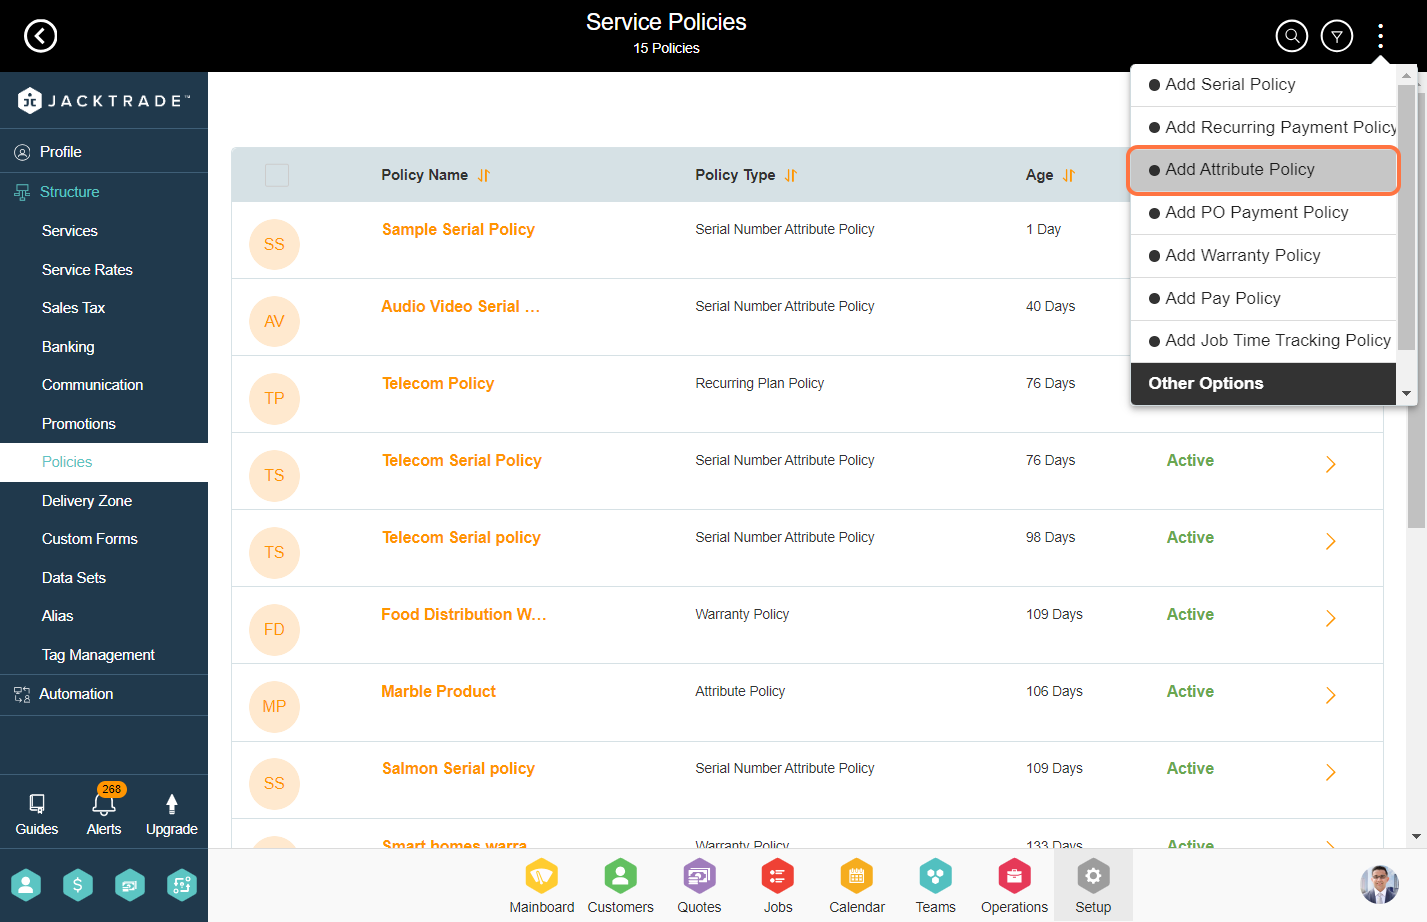
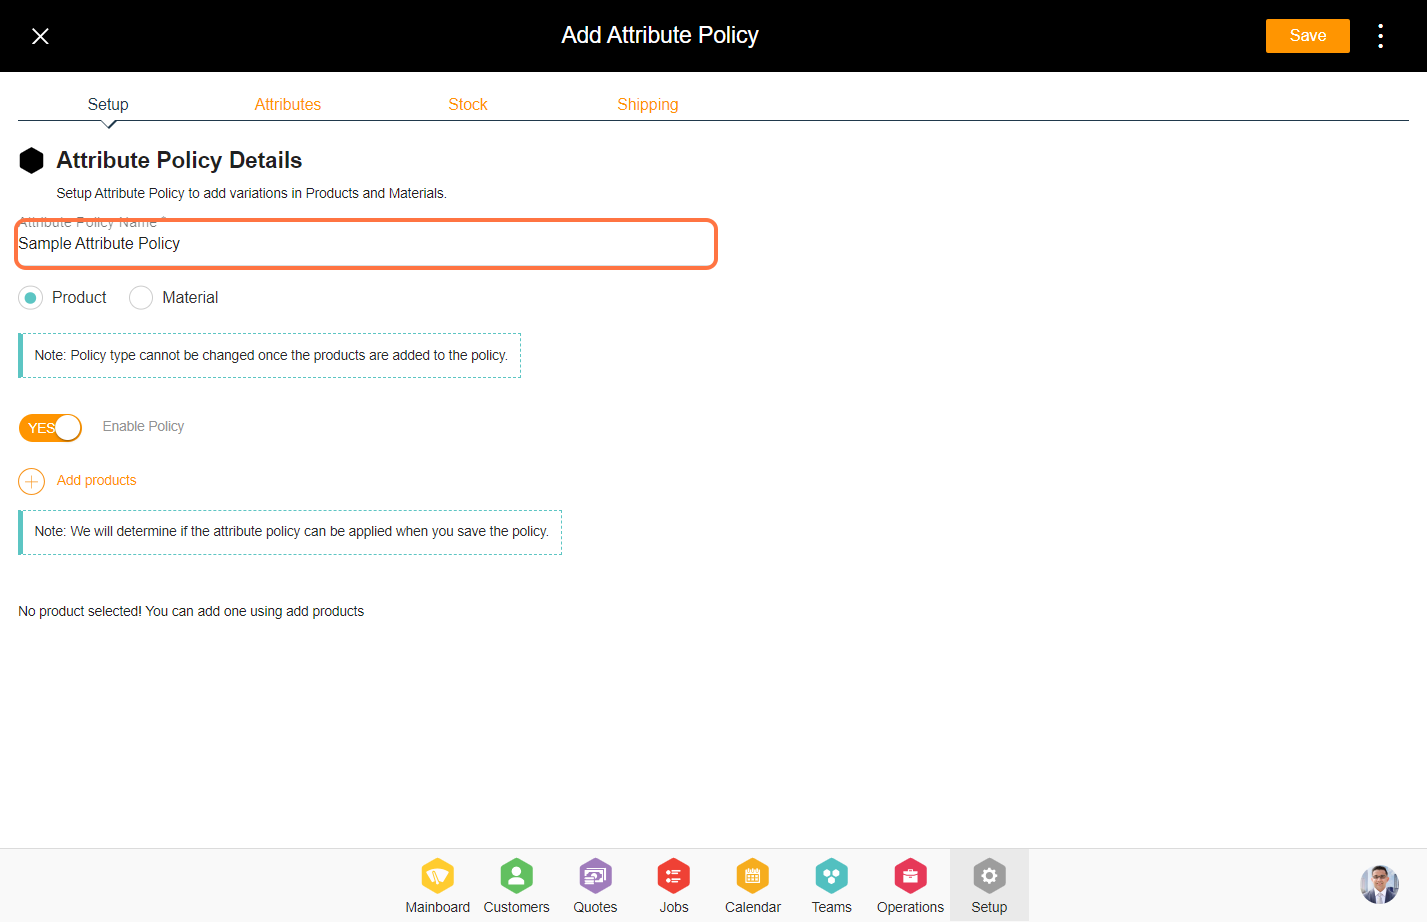
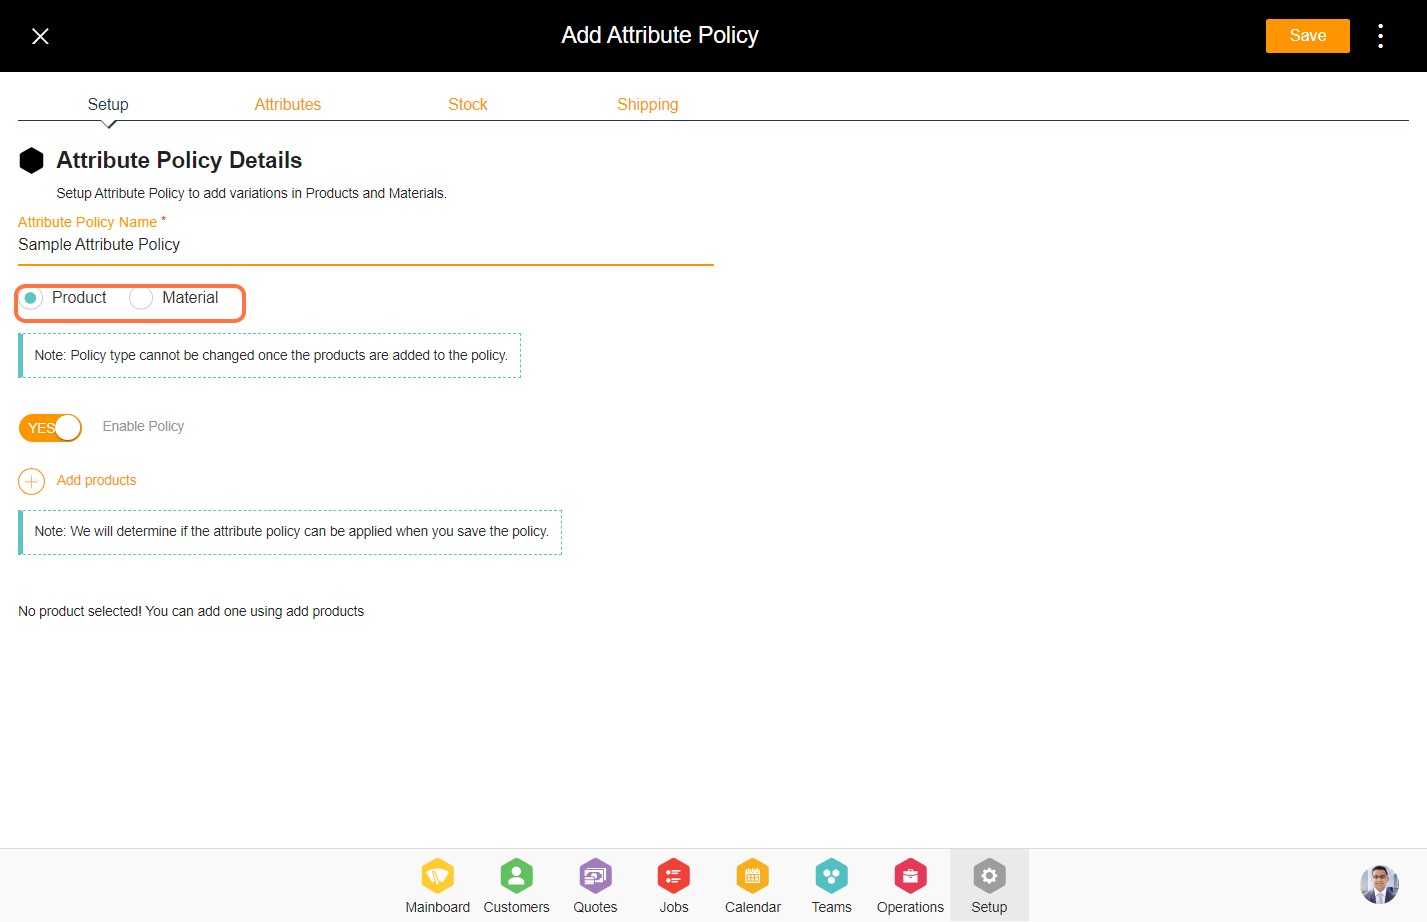
4. Enter the policy name and select if the policy needs to be applied for either products or materials.
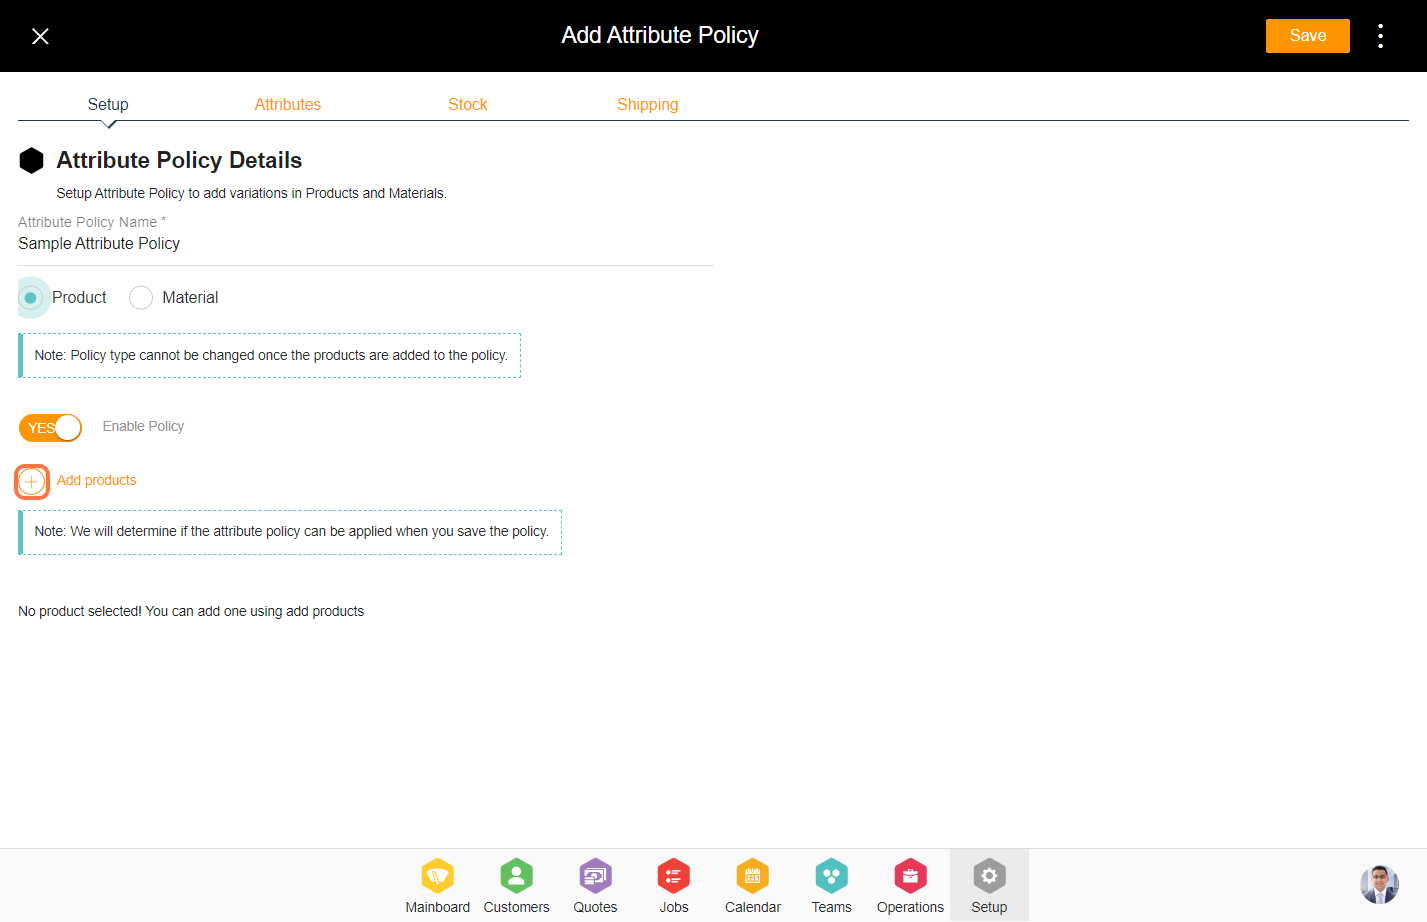
5. Click 'Add Products' to include the products in the attribute policy. You can add products directly to this policy or else associate the policy with product configuration as well.
6. Filter the products with parent and child catalogs and select the products. Click 'Add' from the bottom to add the selected products.

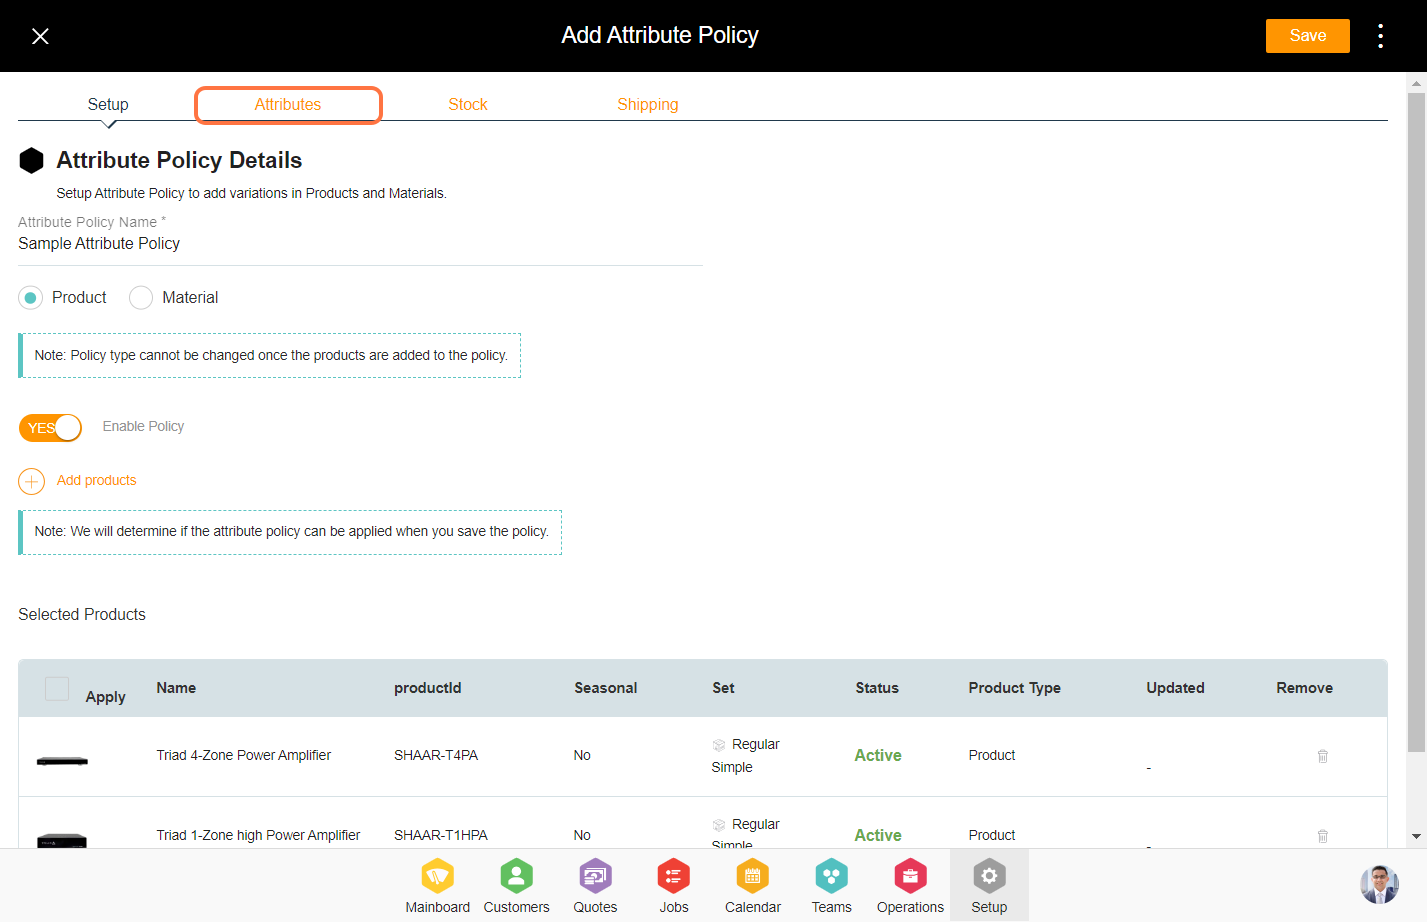
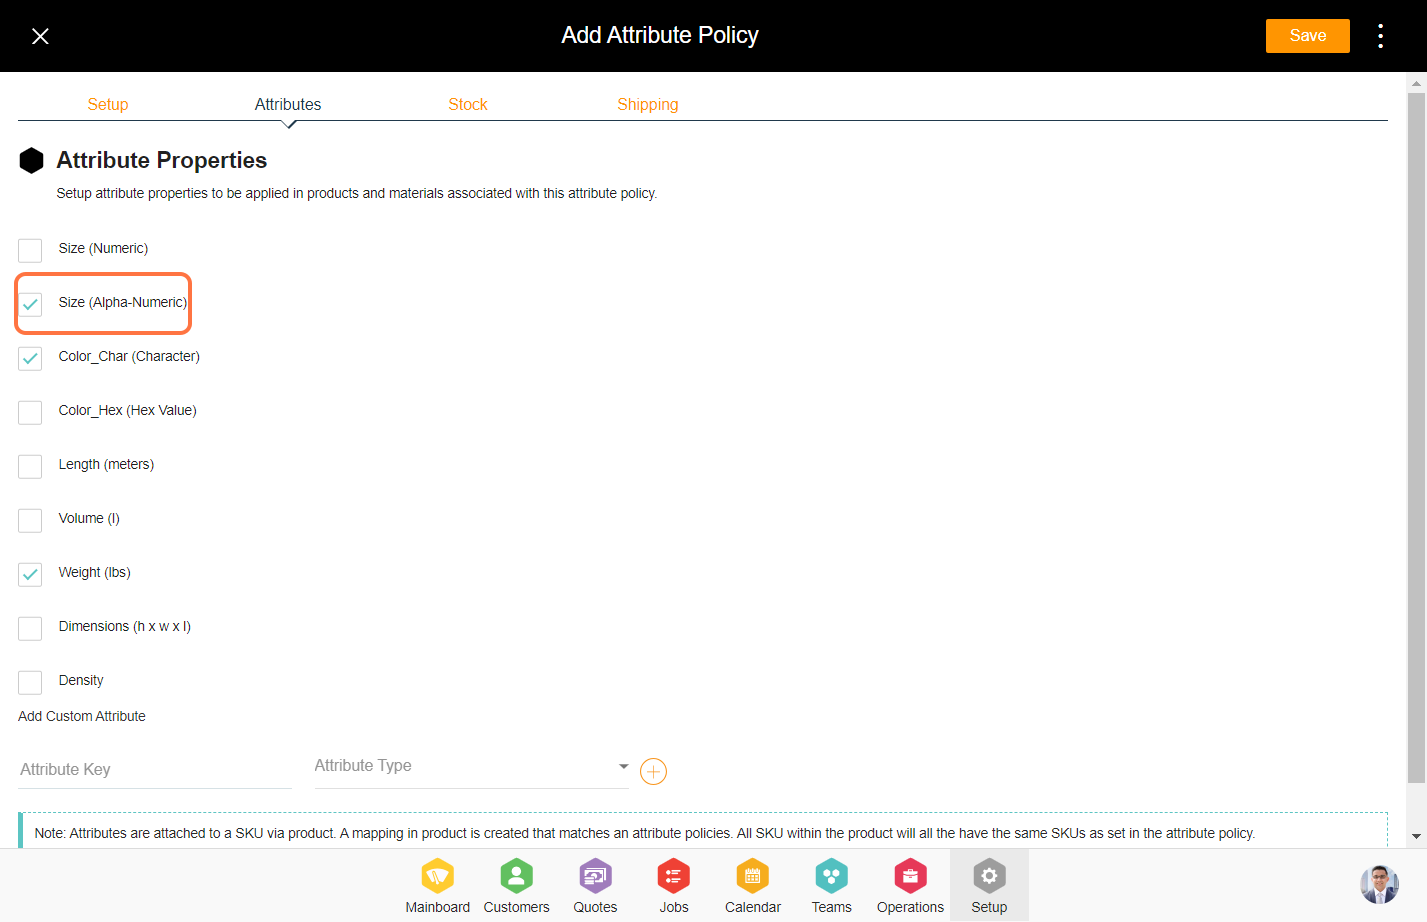
7. Click on the 'Attributes' tab from the top.
8. There are nine pre-built attributes for the attribute policy. You can select the ones that you need or add custom attributes additionally.
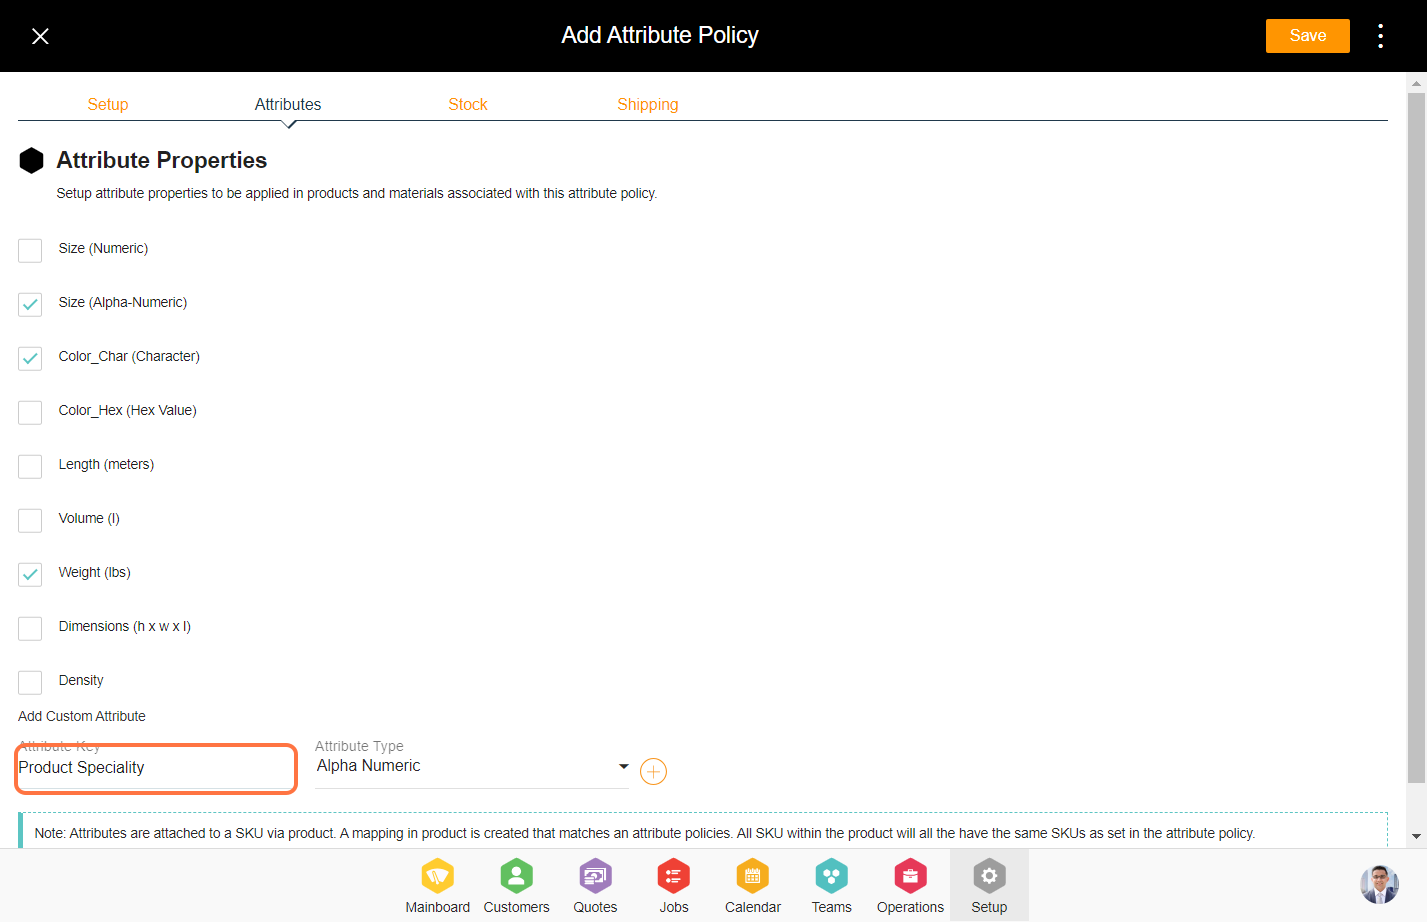
9. Please add the required custom attribute by entering the attribute key details and attribute type under the custom attribute section.
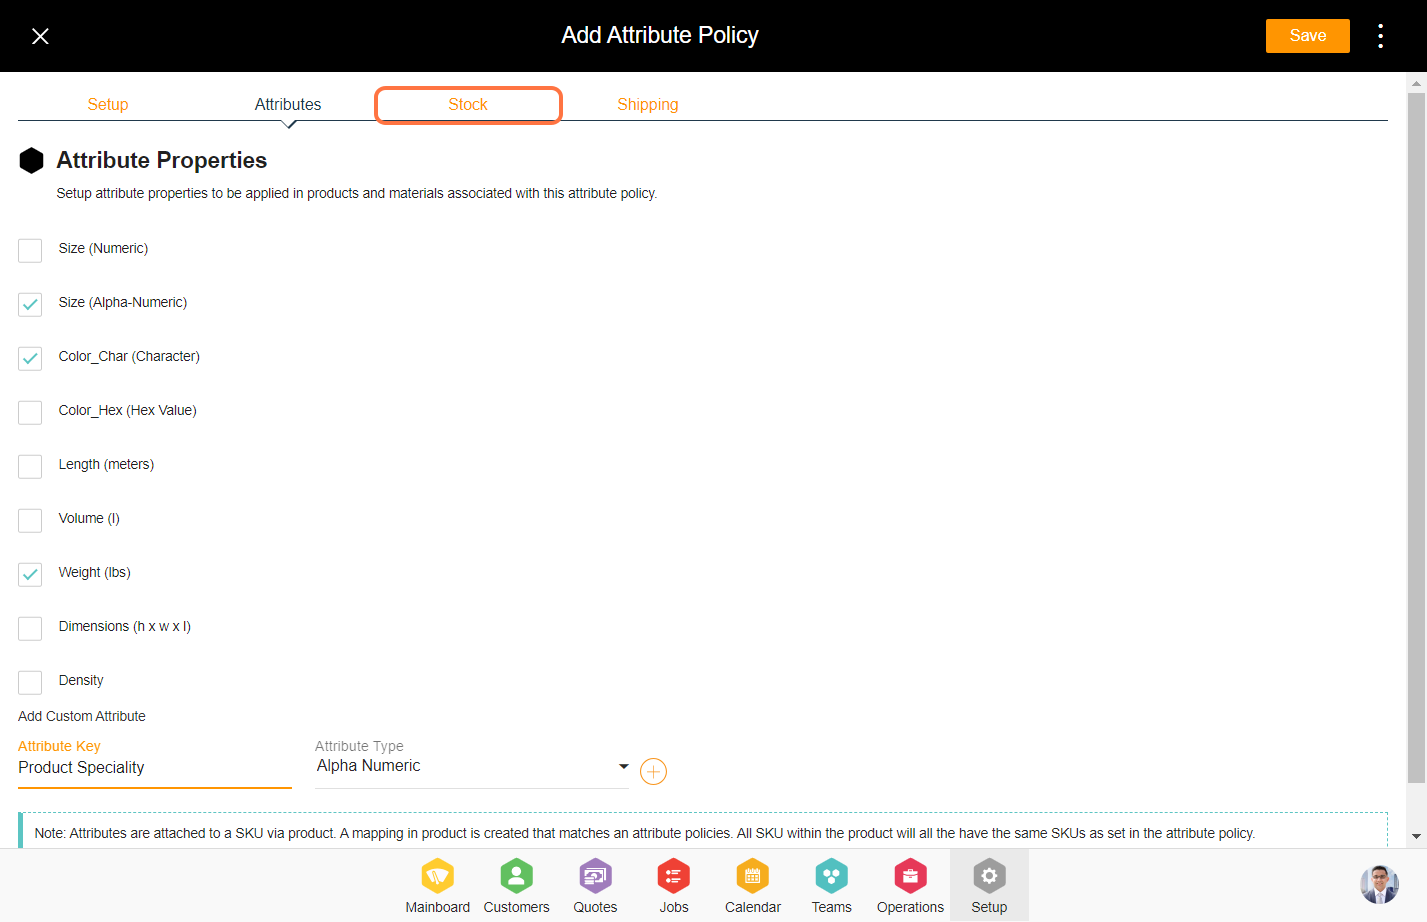
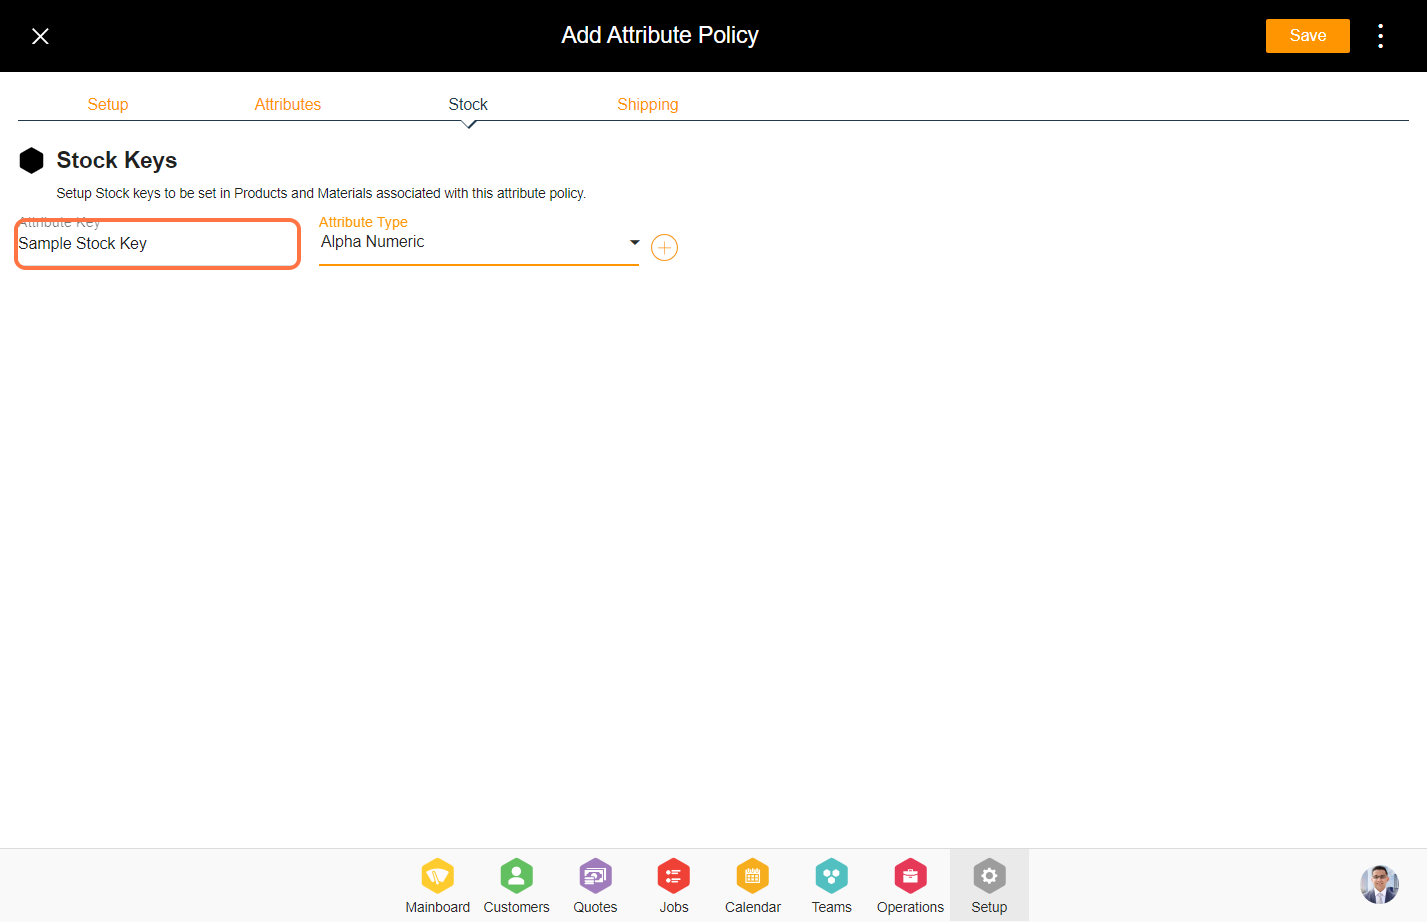
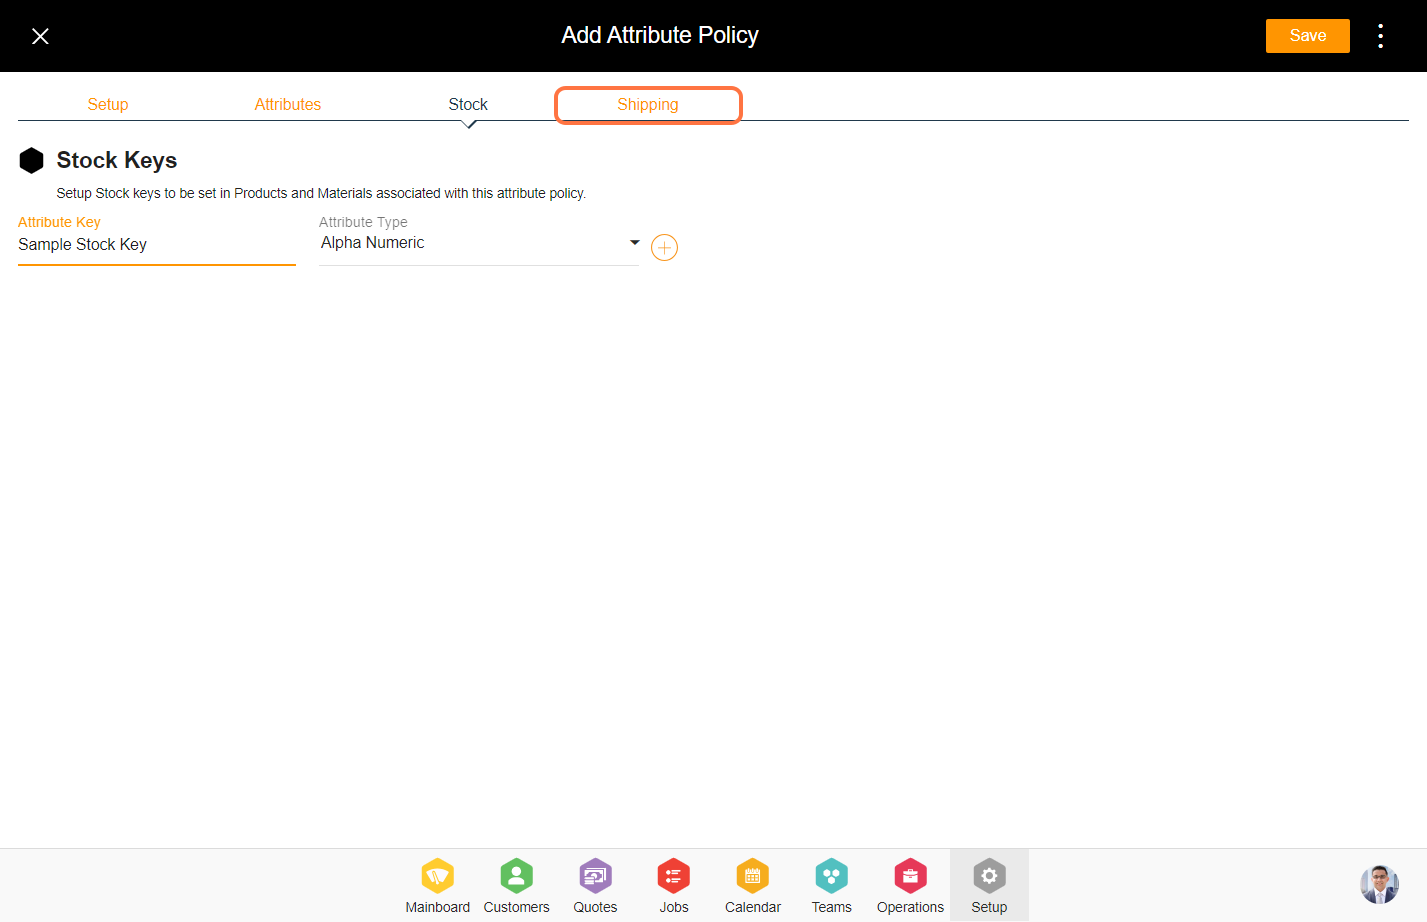
10. Select the 'Stock' tab from the top.
11. Enter the attribute details for the stock.
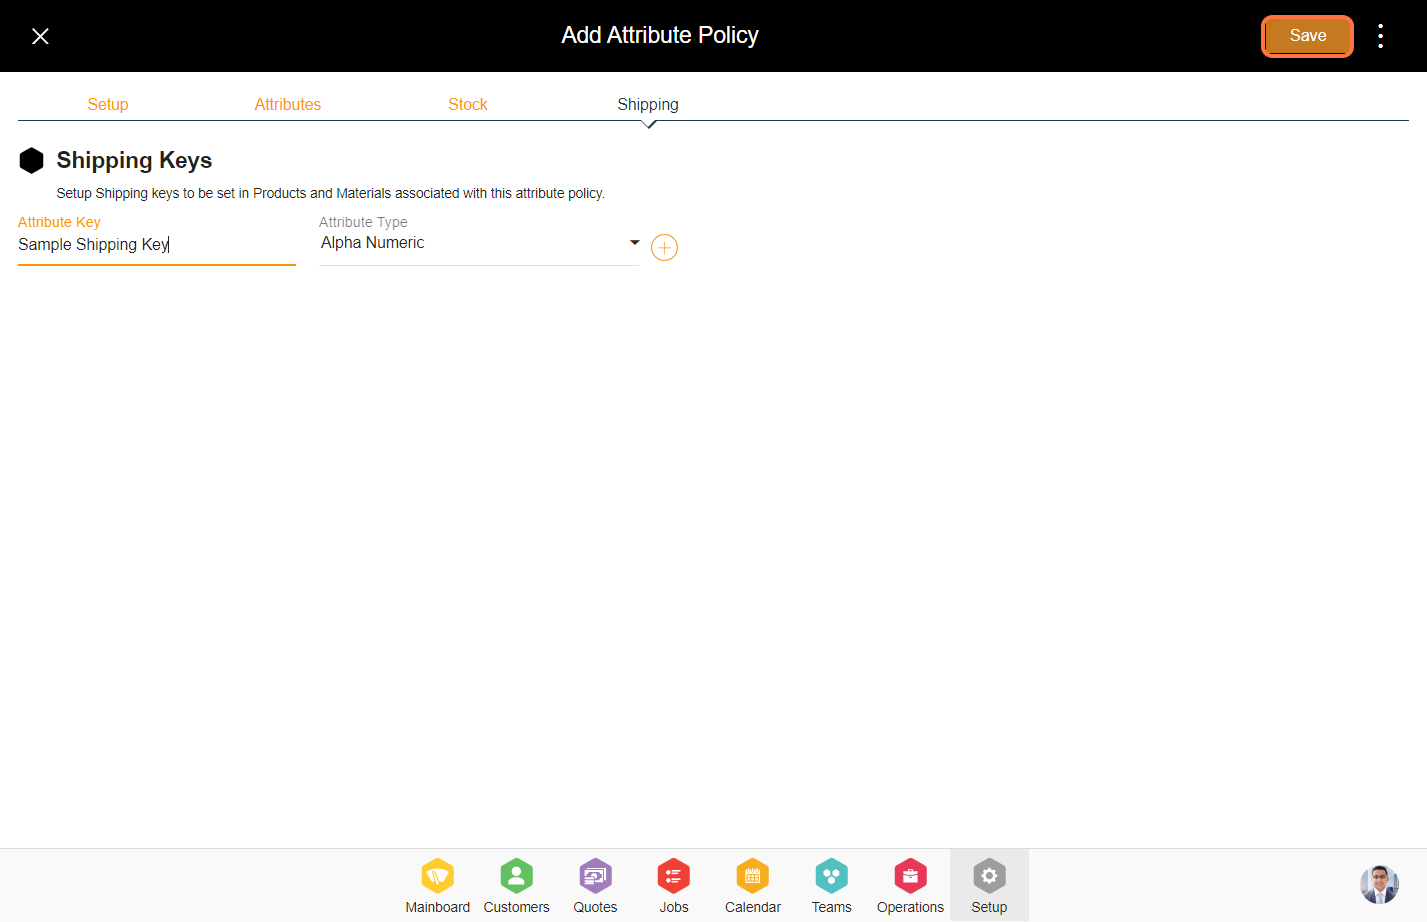
12. Select the 'Shipping' tab from the top.
13. Enter the attribute details for the shipping.
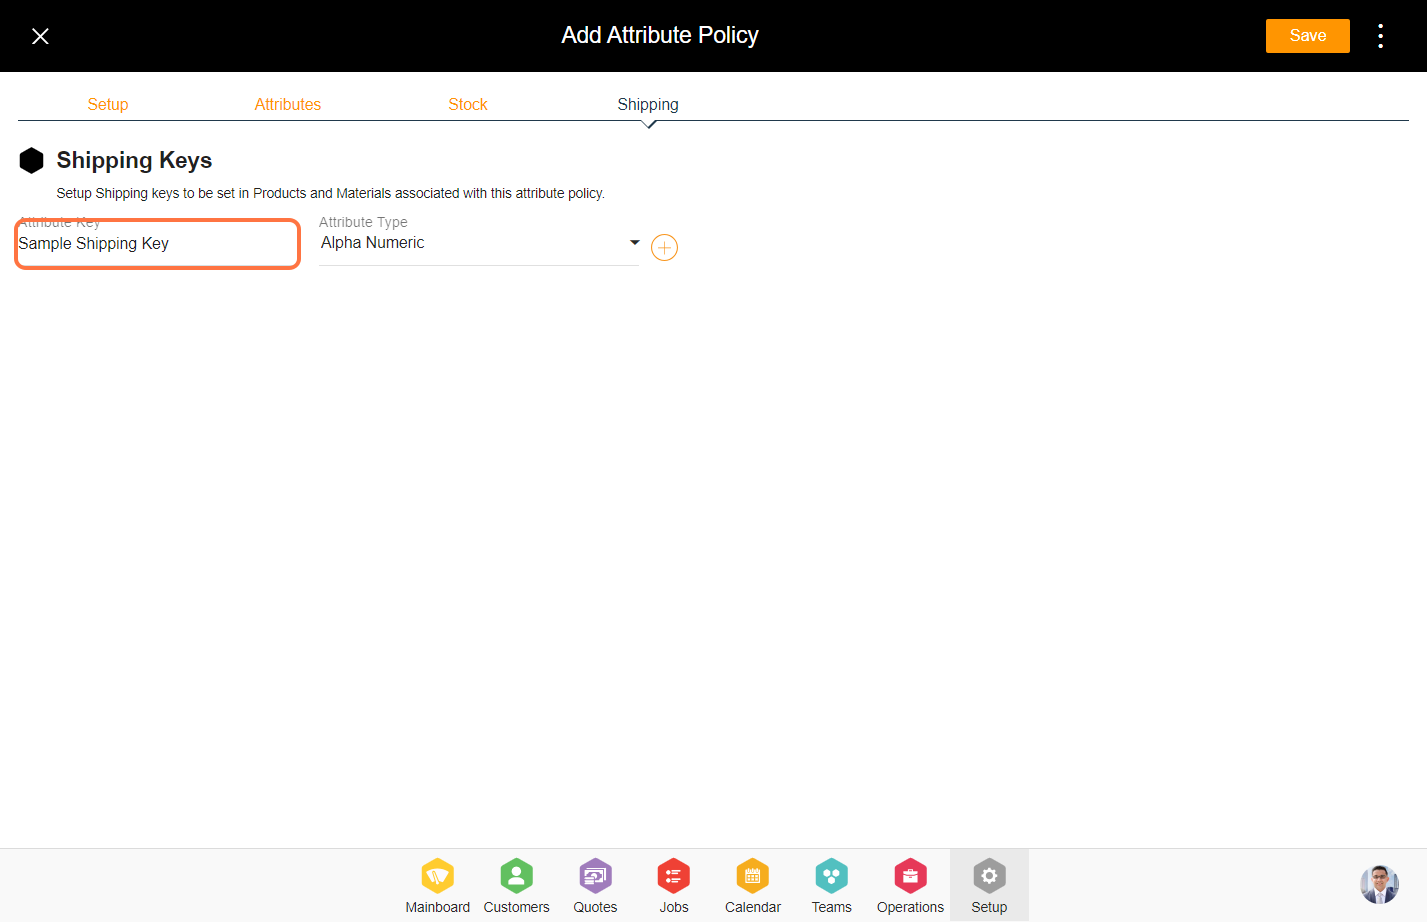
14. Click on 'Save' to create the attribute policy.