Guidelines to Add Serials to SKU: A step by step guide
1. Go to the Operations module.


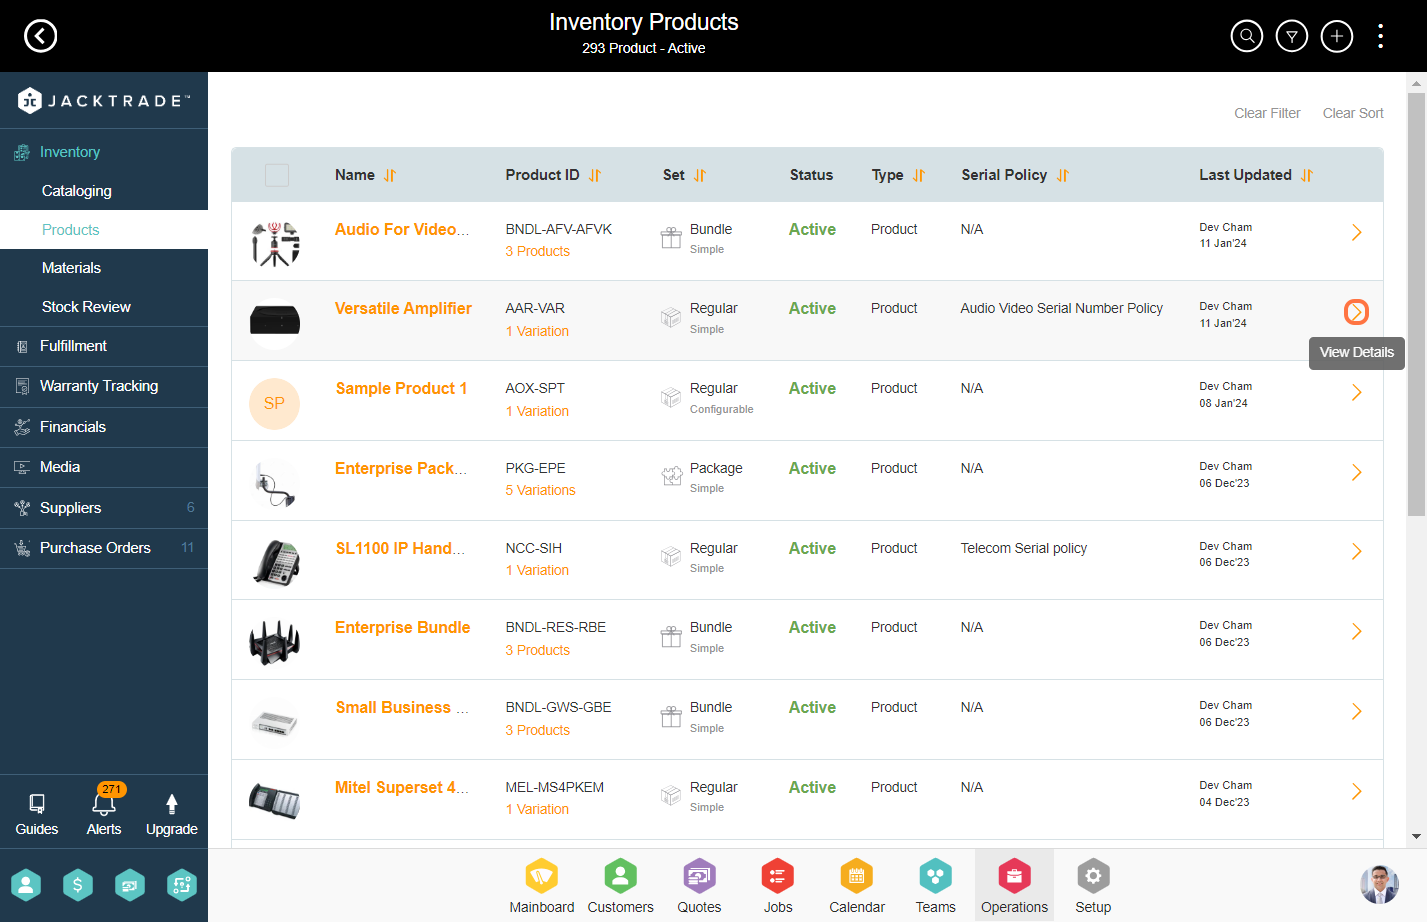
3. You have the option to either create a new product or select an existing one. In this case, we will opt for a product that already has the serial policy attached.
Note: You can identify if a serial policy is mapped with the product or not from the product list. If the serial policy is mapped, then under the Serial Policy column you see the policy name otherwise it will show N/A.
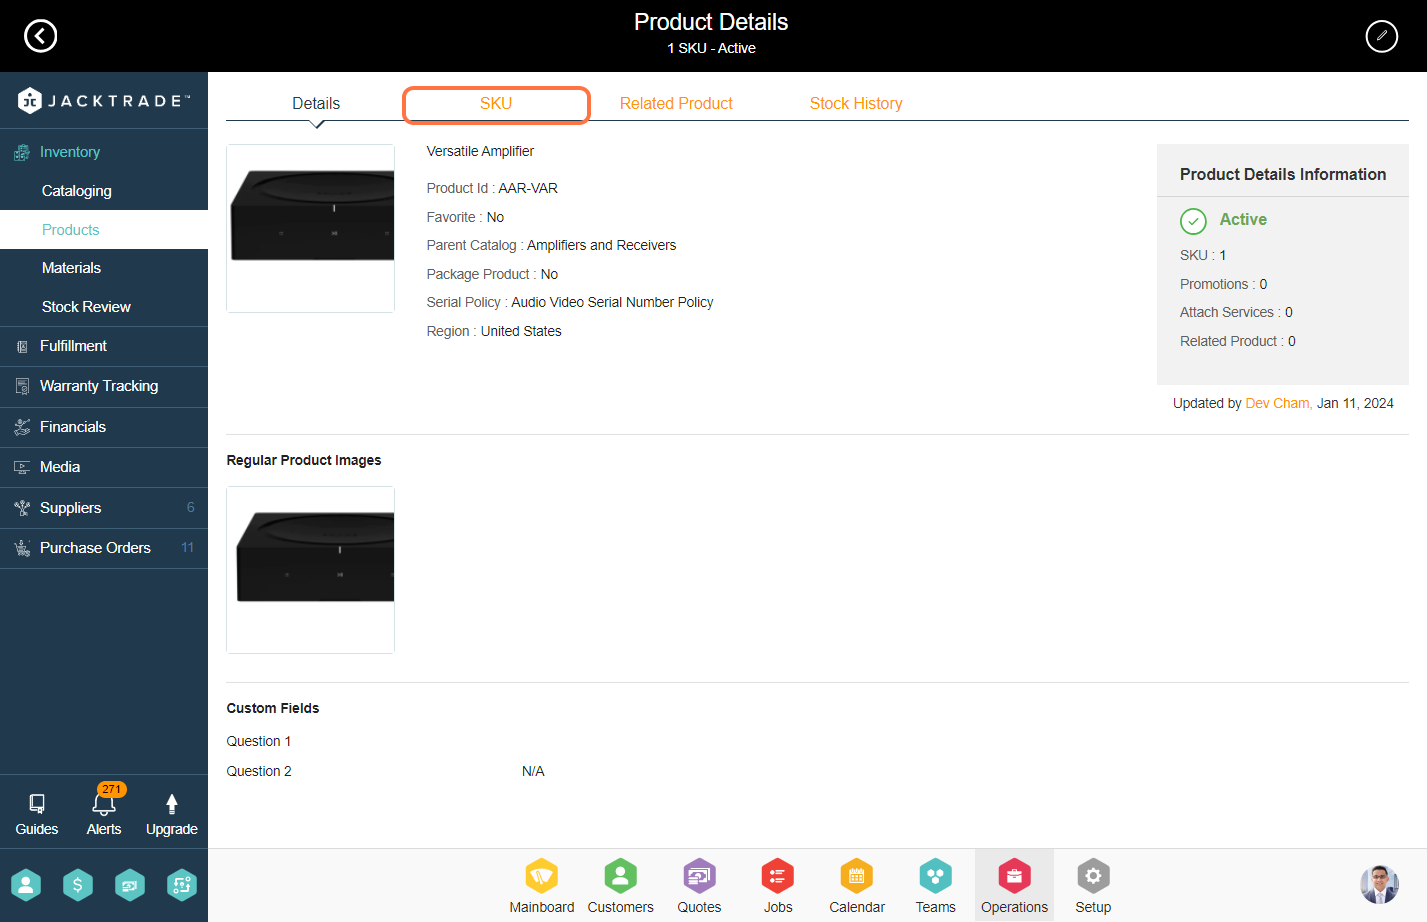
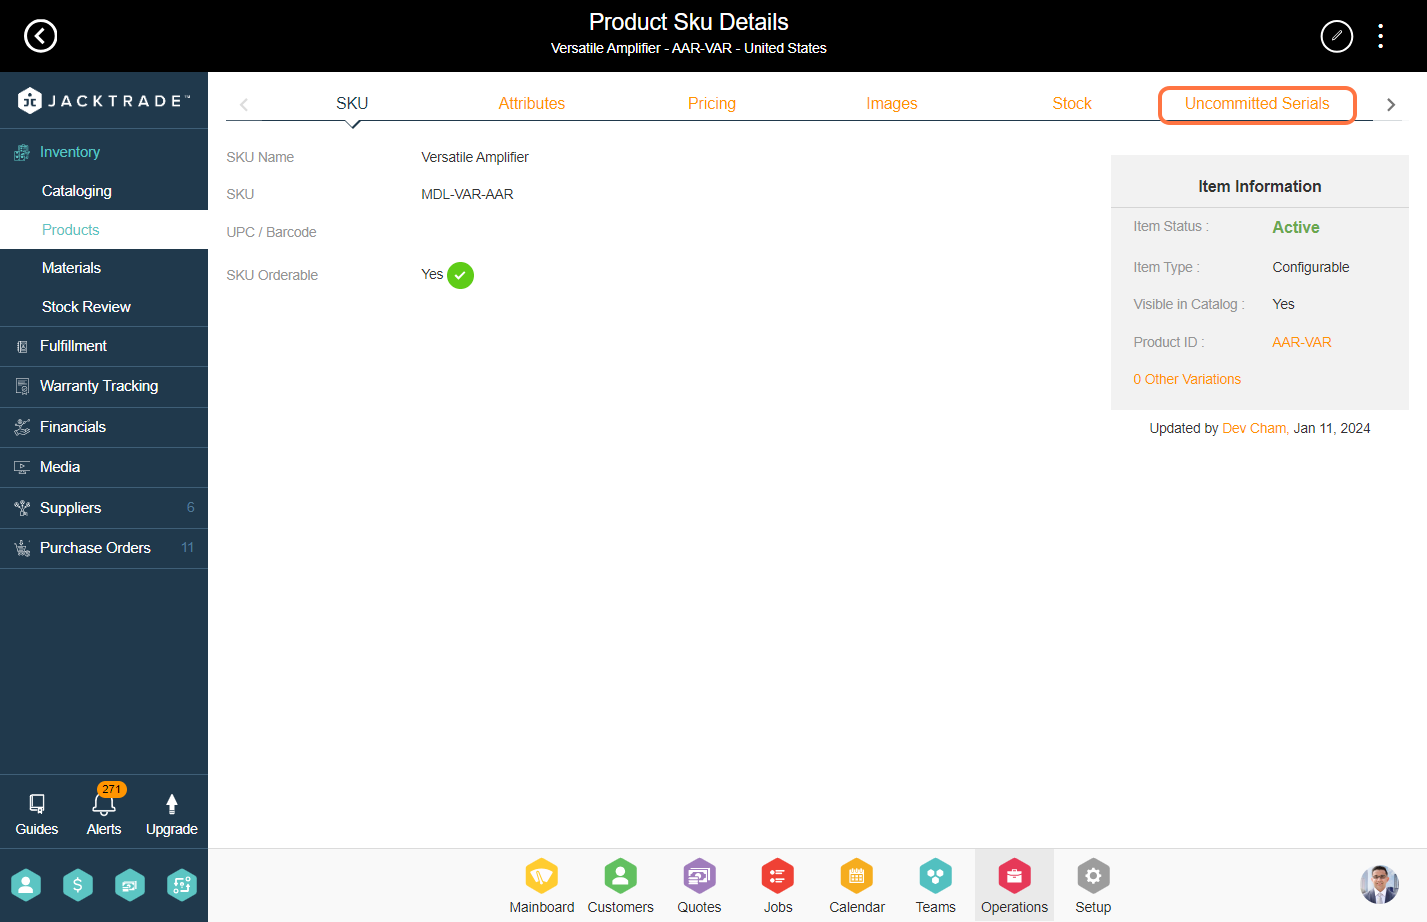
4. Click on the 'SKU' tab from the top.
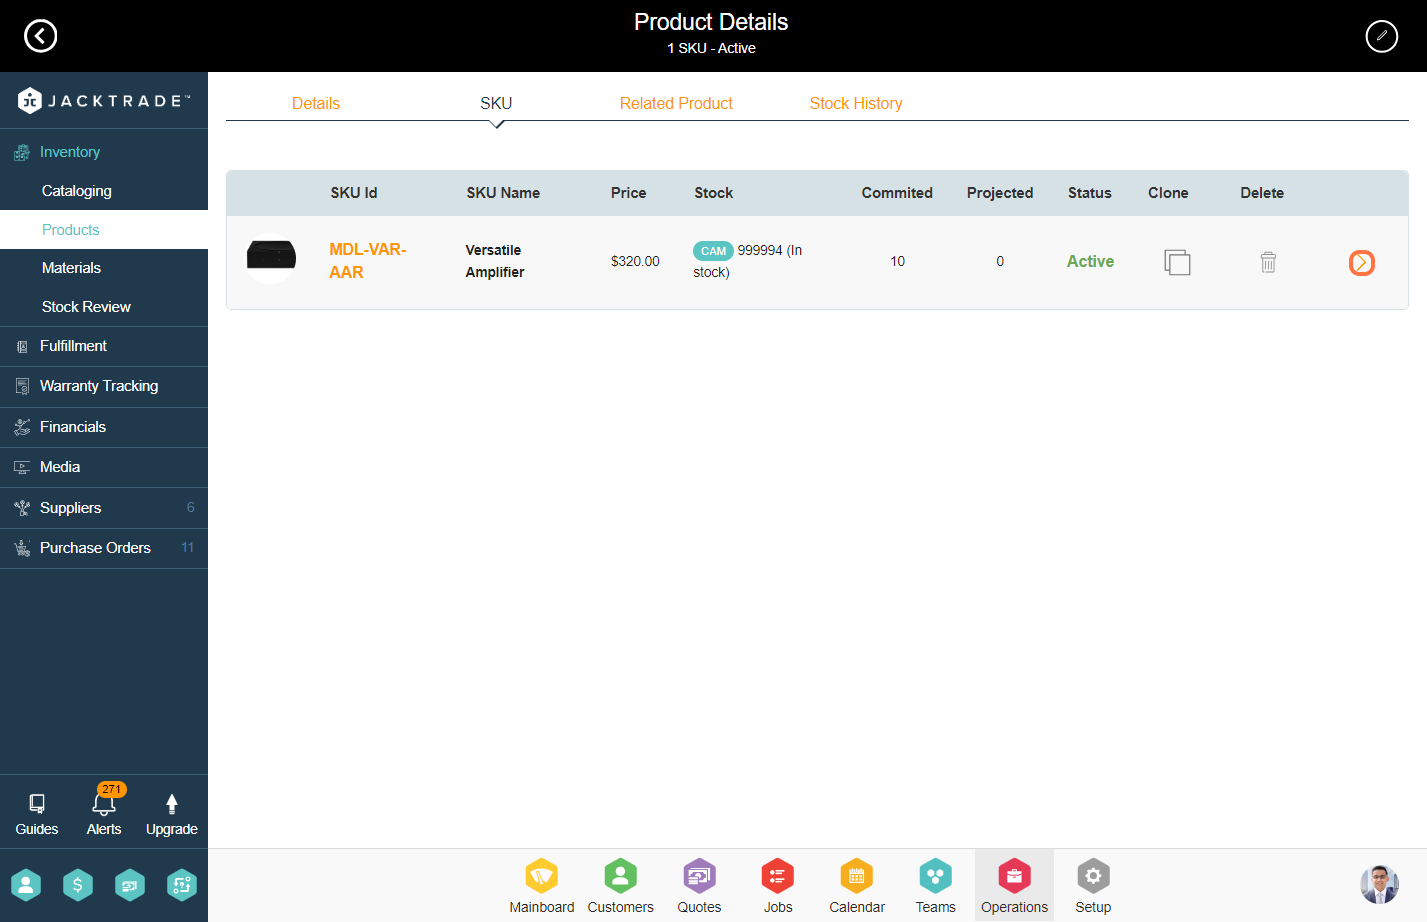
5. Select the SKU that has been associated with the product.
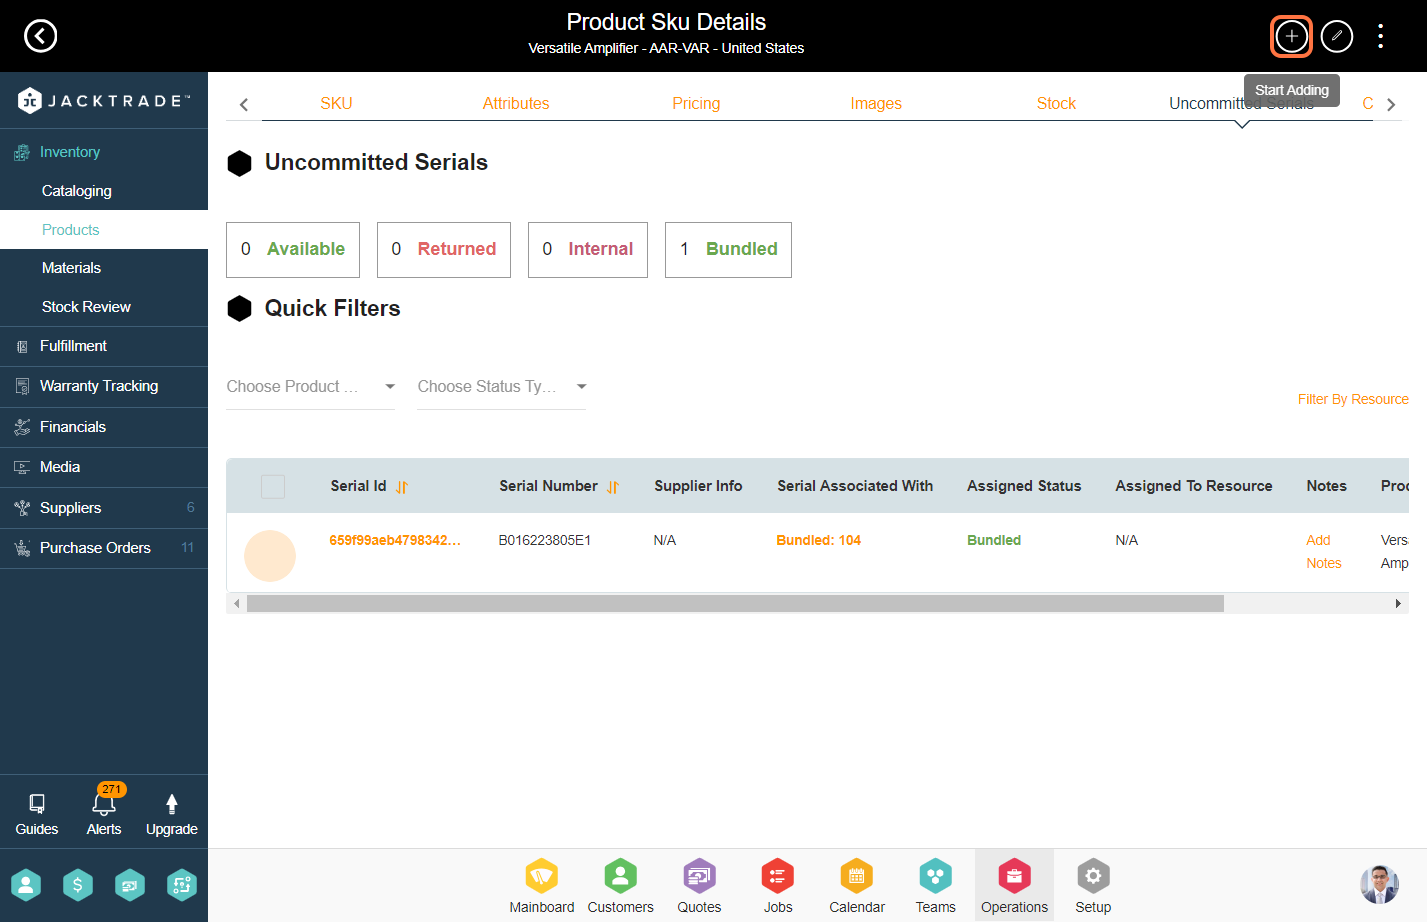
6. Click on 'Uncommitted Serials' from the top.
7. Click on the "Add" icon to input the new serial number.
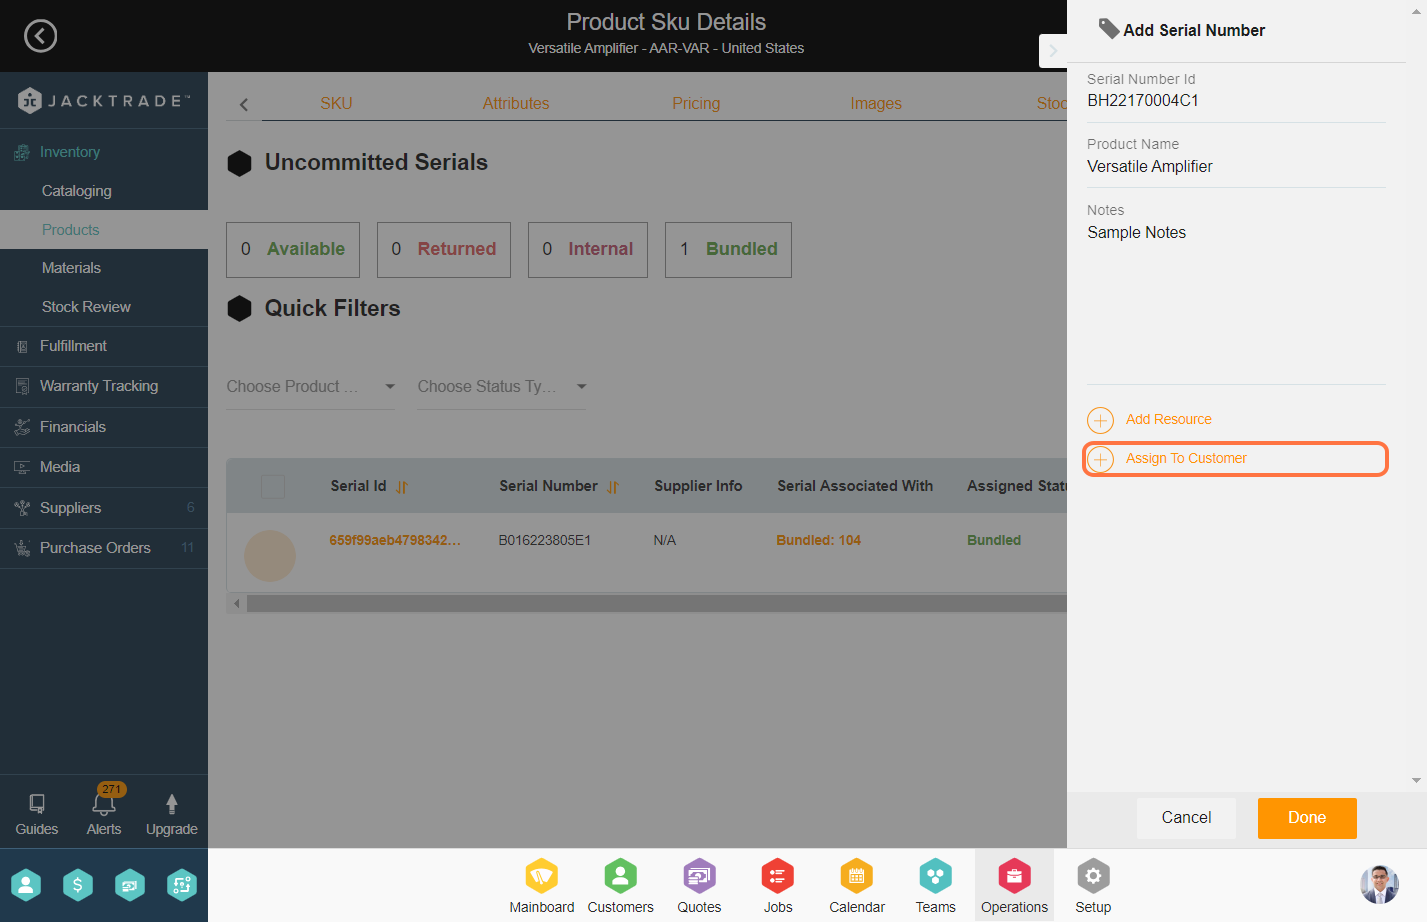
8. Enter the details in the Serial Number, Product Name, and Notes. You may see more fields here depending on the serial policy configuration.
Note: Learn 'How to configure the serial policy'.

9. You can link a resource to the serial, and in the quotes, that serial will not be available for fulfillment.

10. You can associate a customer with the serial, and that serial will be exclusively available for that particular customer.
Note: For a particular serial, you can select only one option, either Add a Resource or Assign it to a Customer.
Once you are done with the configuration click on add to create the serial.