Guidelines to add a resource - A step-by-step guide
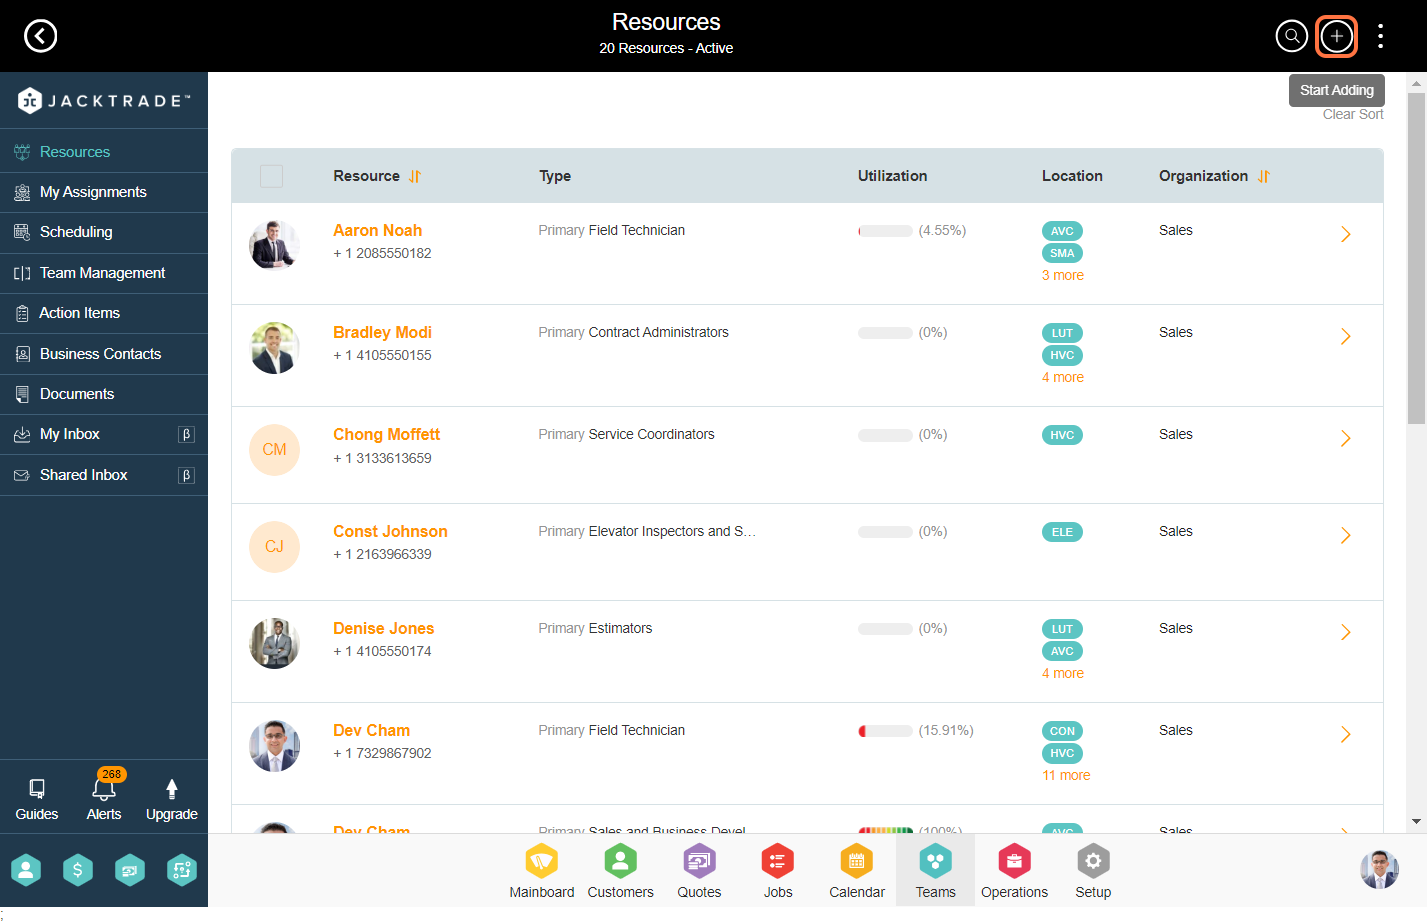
1. Go to the Team's module.

2. Click on the 'Add Icon'.
3. Within the user profile accordion, Enter the essential information such as first name, last name, and phone number as these fields are mandatory, the remaining fields are optional.

4. Within the user login accordion, provide resource email, access role info, and resource status.
Note: When you enter the email you will see if the email is available or unavailable to add to the business. Select resource status as active when you are adding the resource

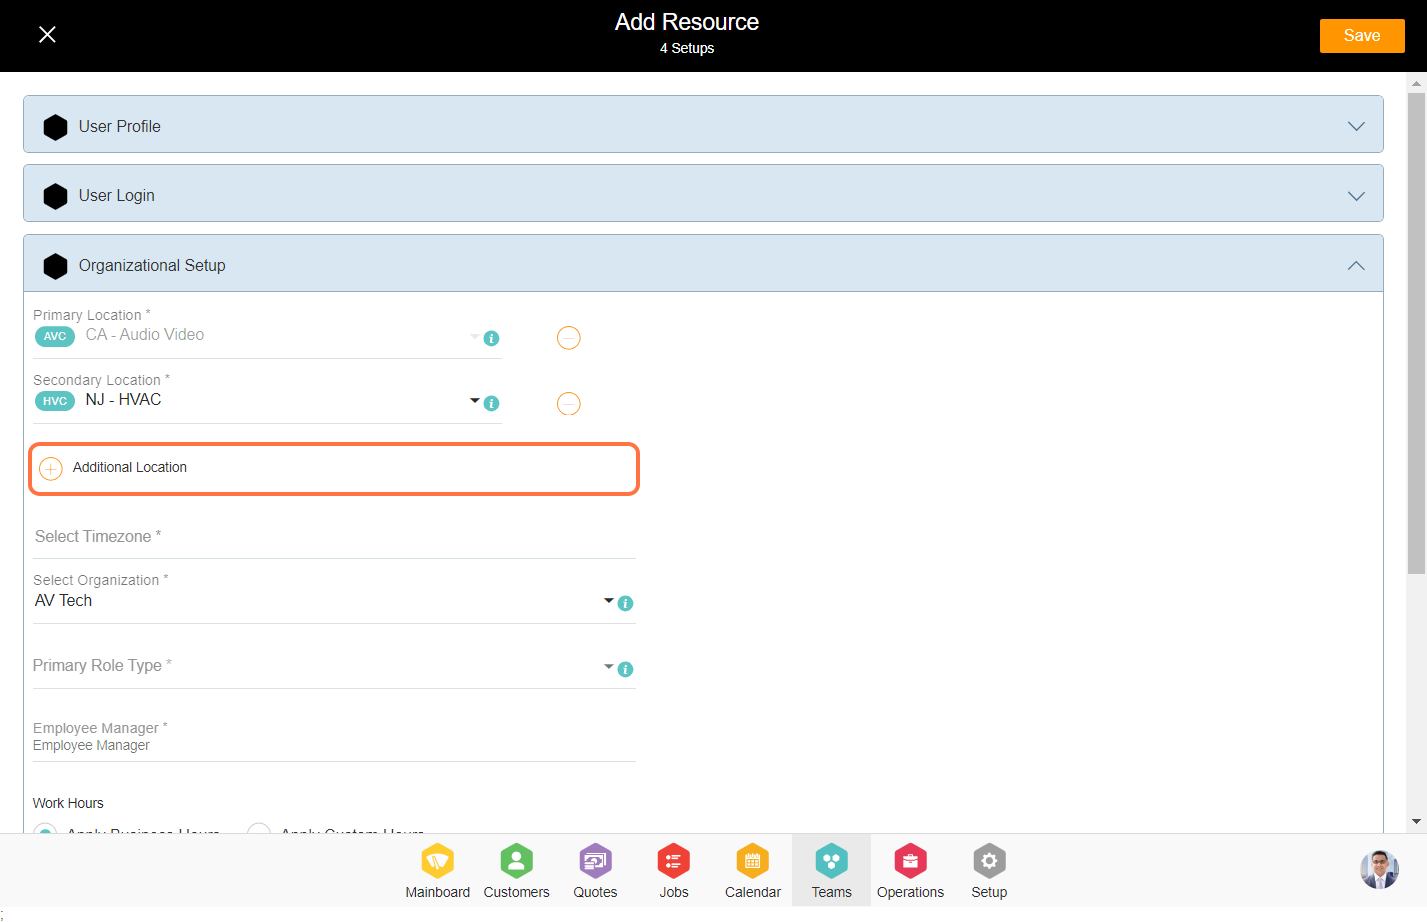
5. To add a new location for the resource, click on "Additional Location" and select the desired location from the options which is set in the business.
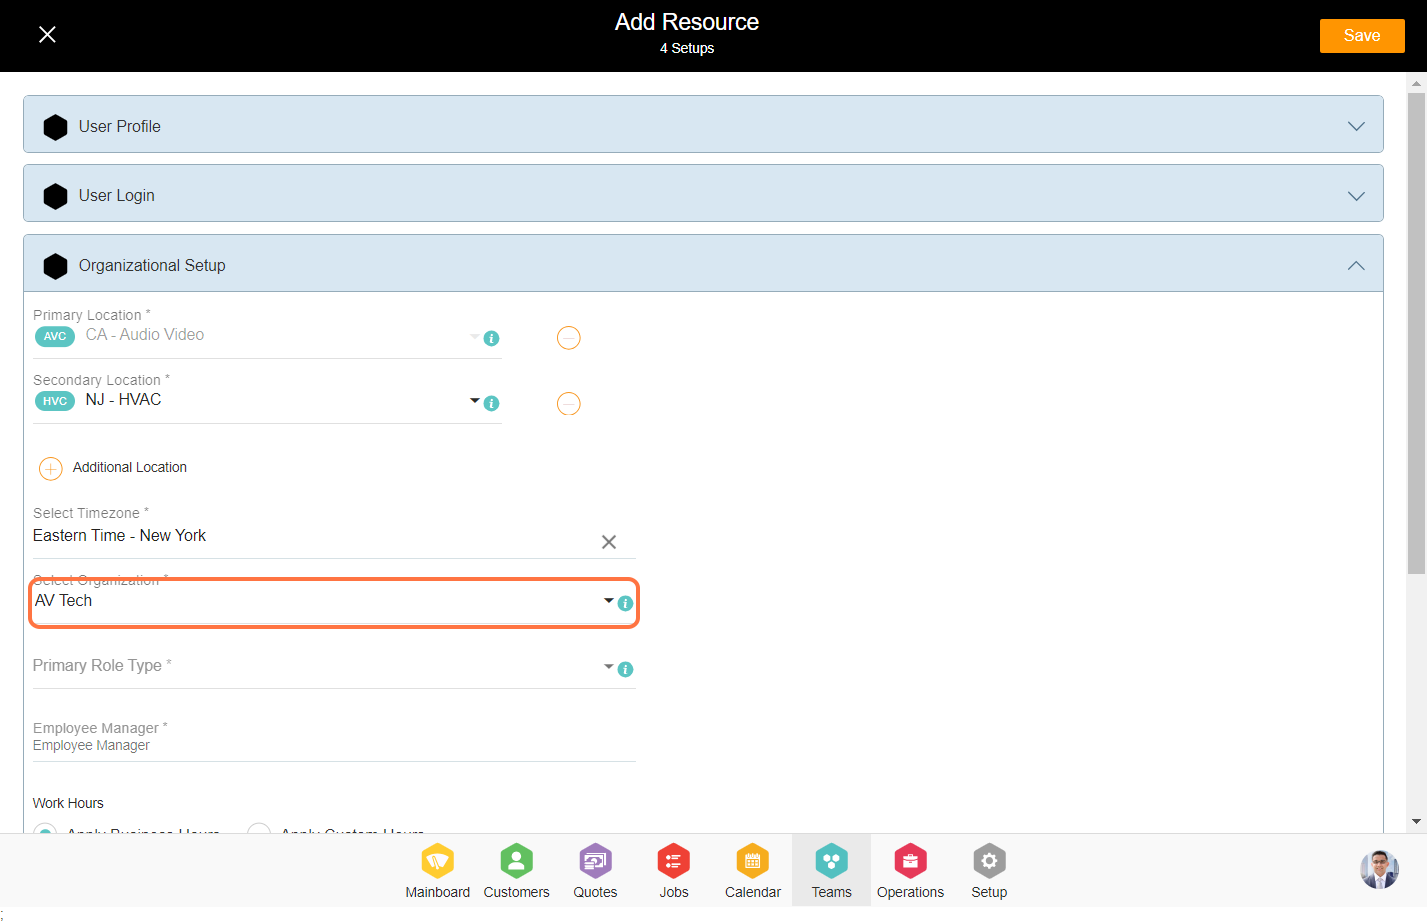
6. Select the timezone and select the organization configured in the setup module.
Note: To set the organization in the business, Go to Setup --> Structure --> Services --> Organizations.
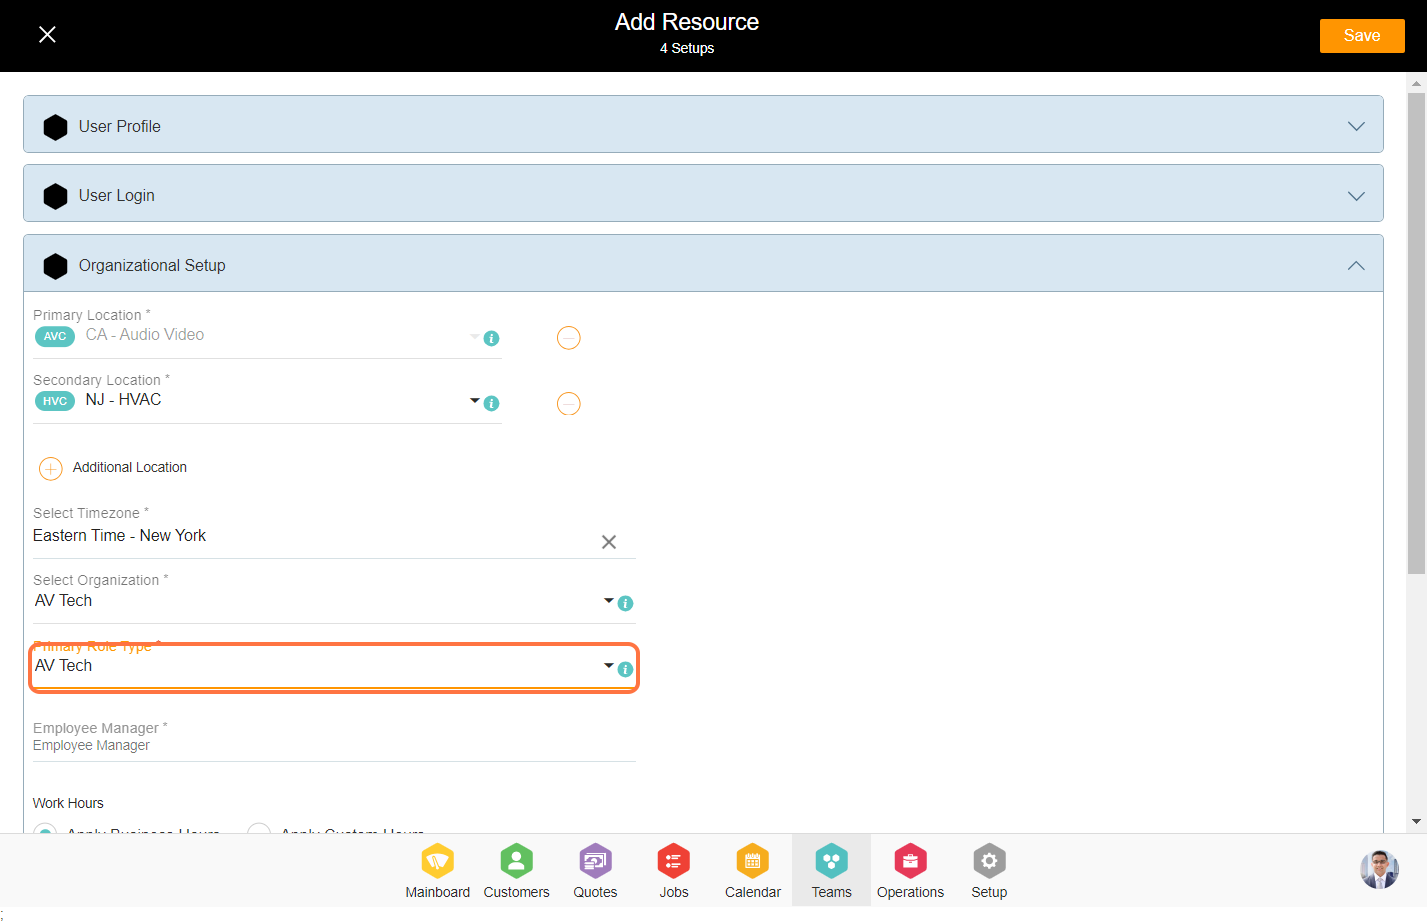
7. Select the primary role type configured in the setup module.
Note: To set the resource role type in the business, Go to Setup --> Structure --> Services --> Business Services --> Resource Types.
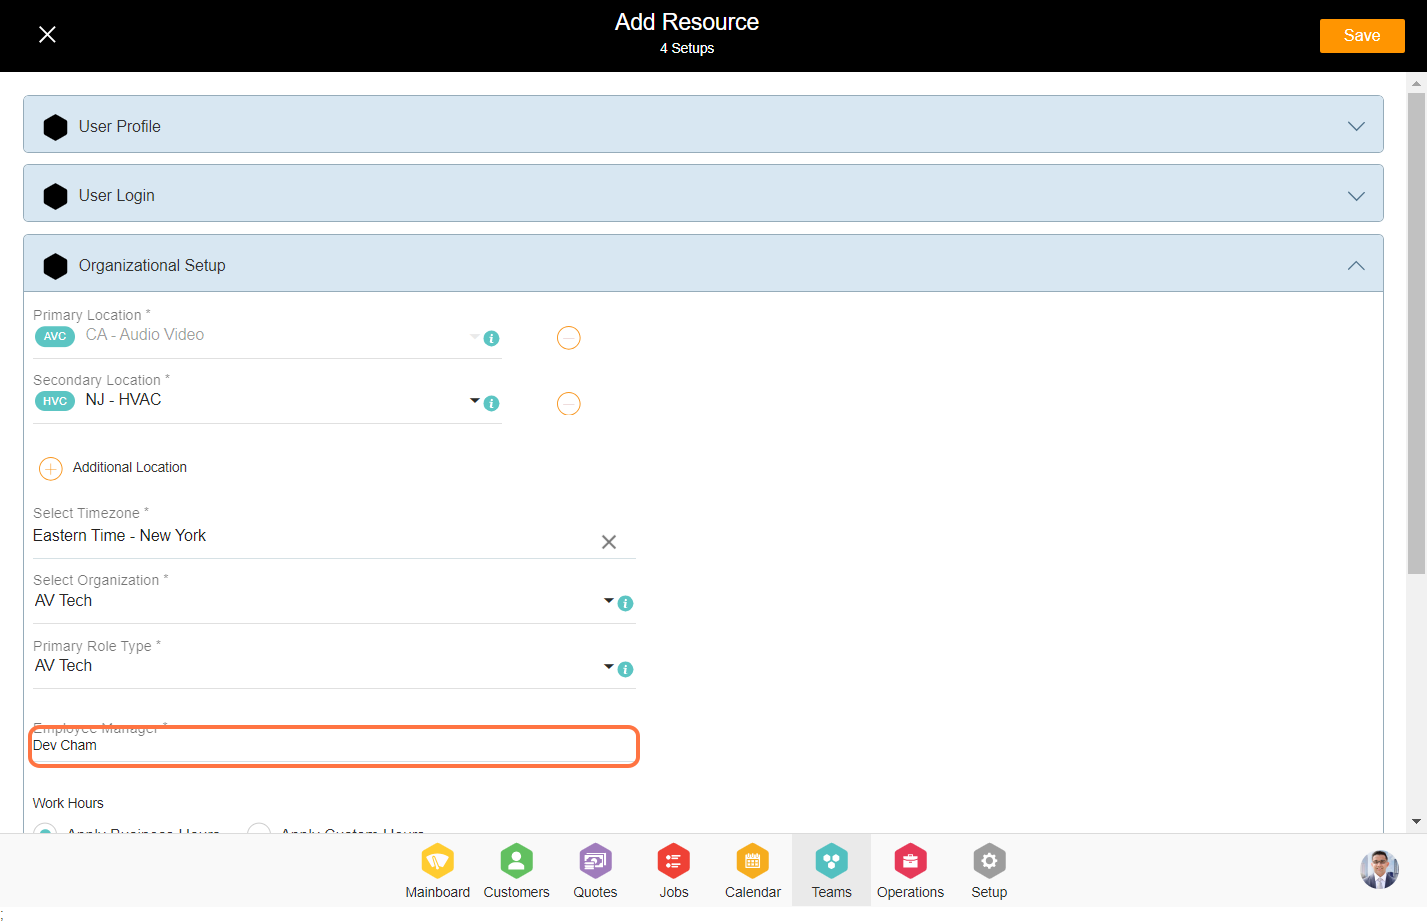
8. The Employee Manager is the individual to whom the resource will report. Please select the manager from the business.
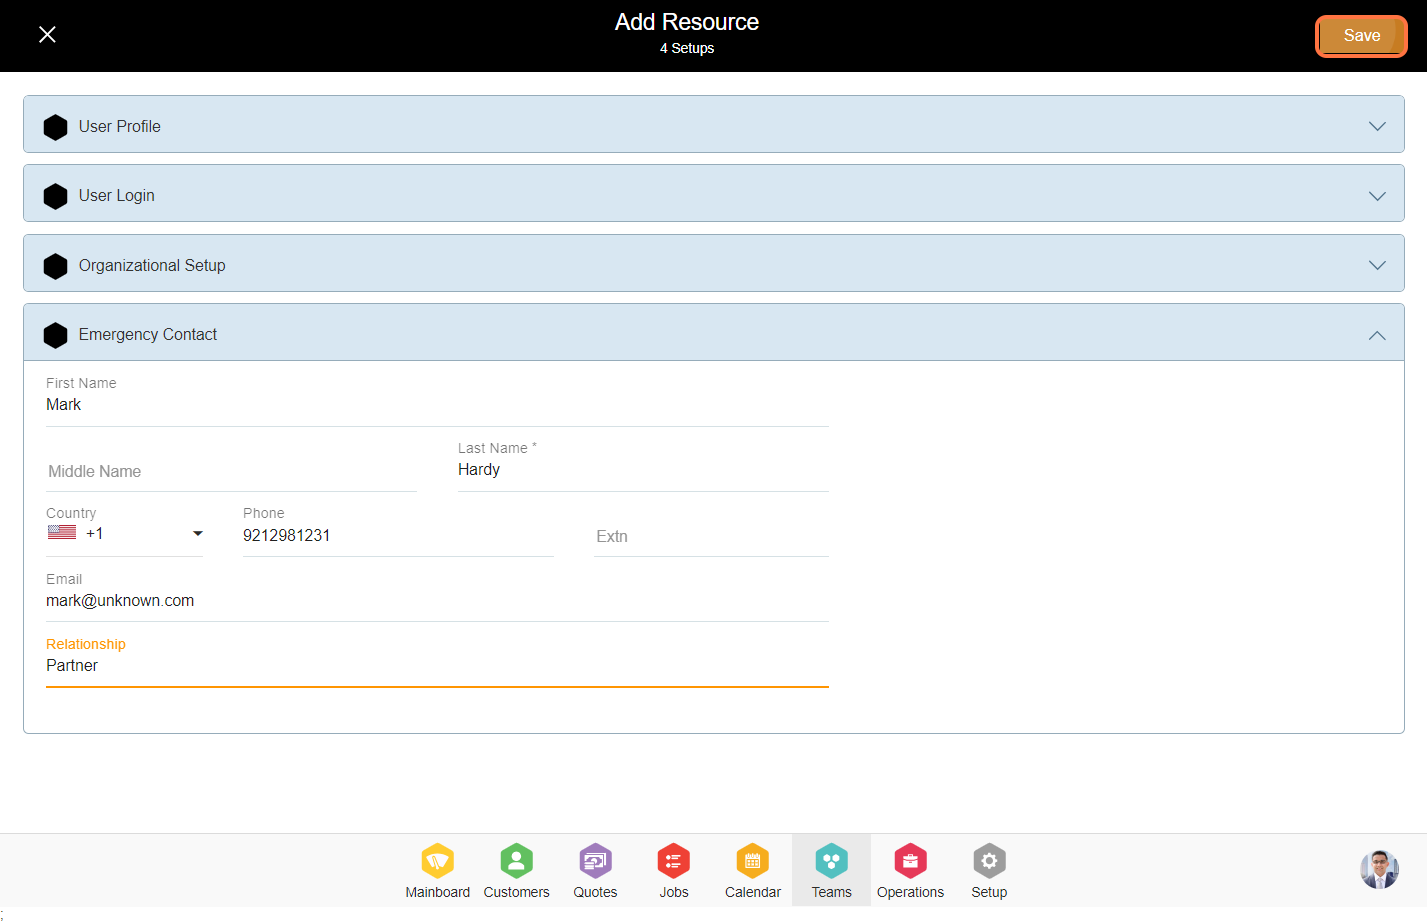
9. Enter the emergency contact details.