Adding SKU to the Product: A Step-by-Step Guide
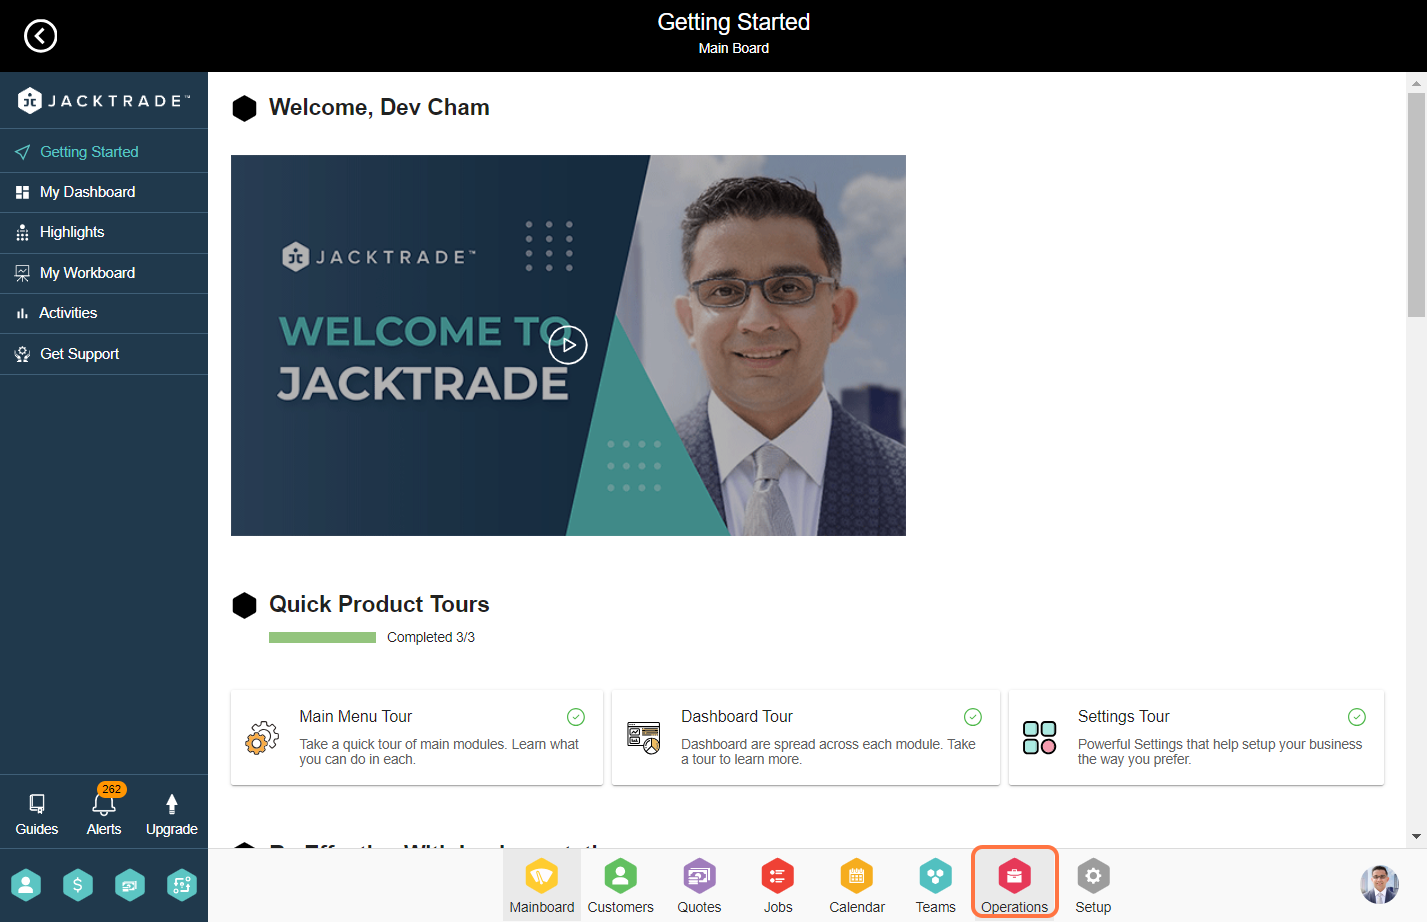
1. Go to the Operations module.

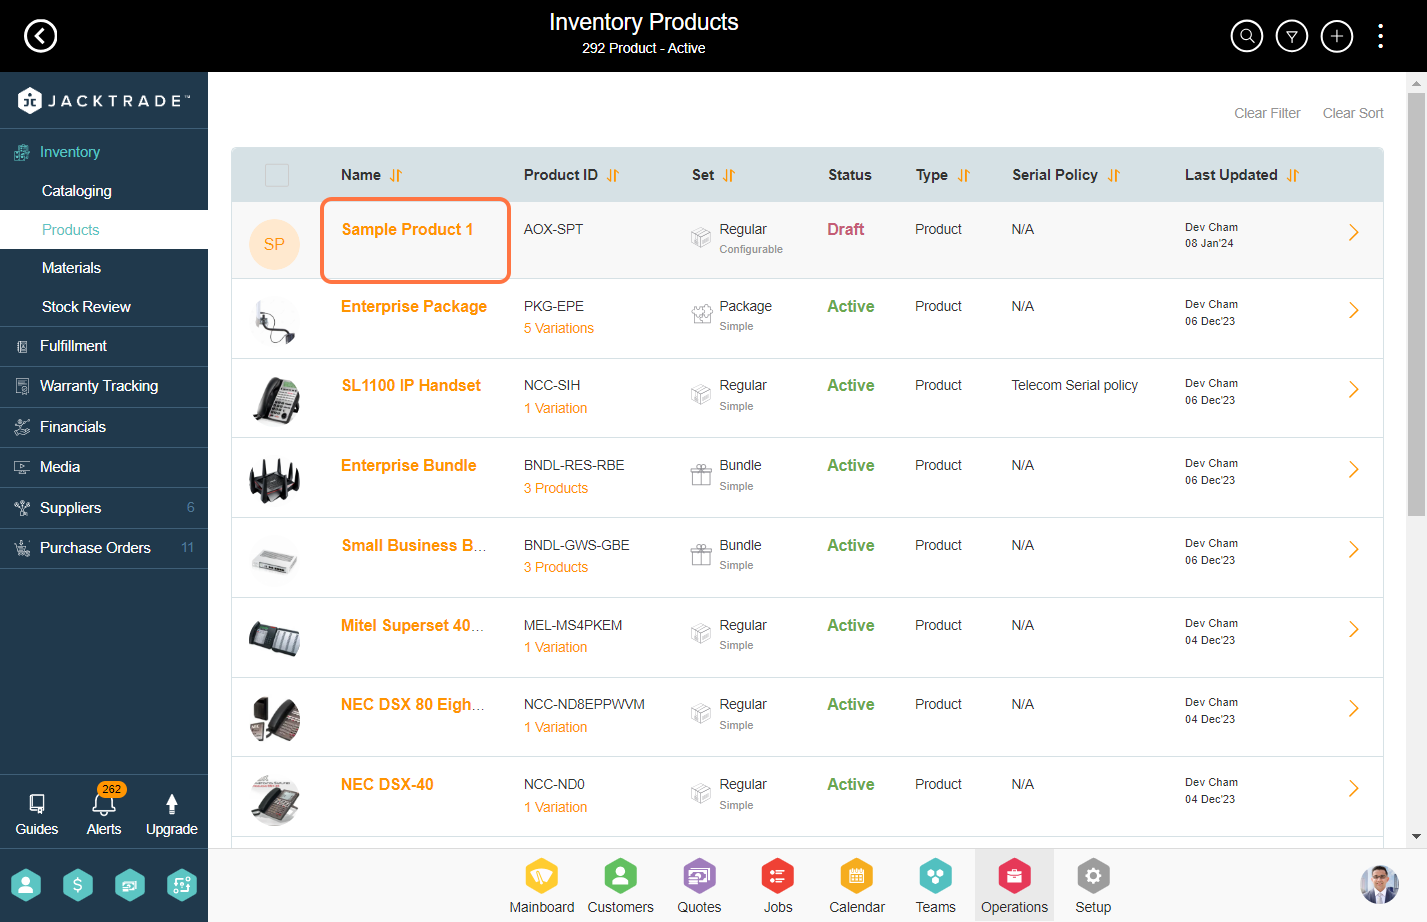
3. Select either add a new product on top right or choose an existing product in which you wish to add an SKU.

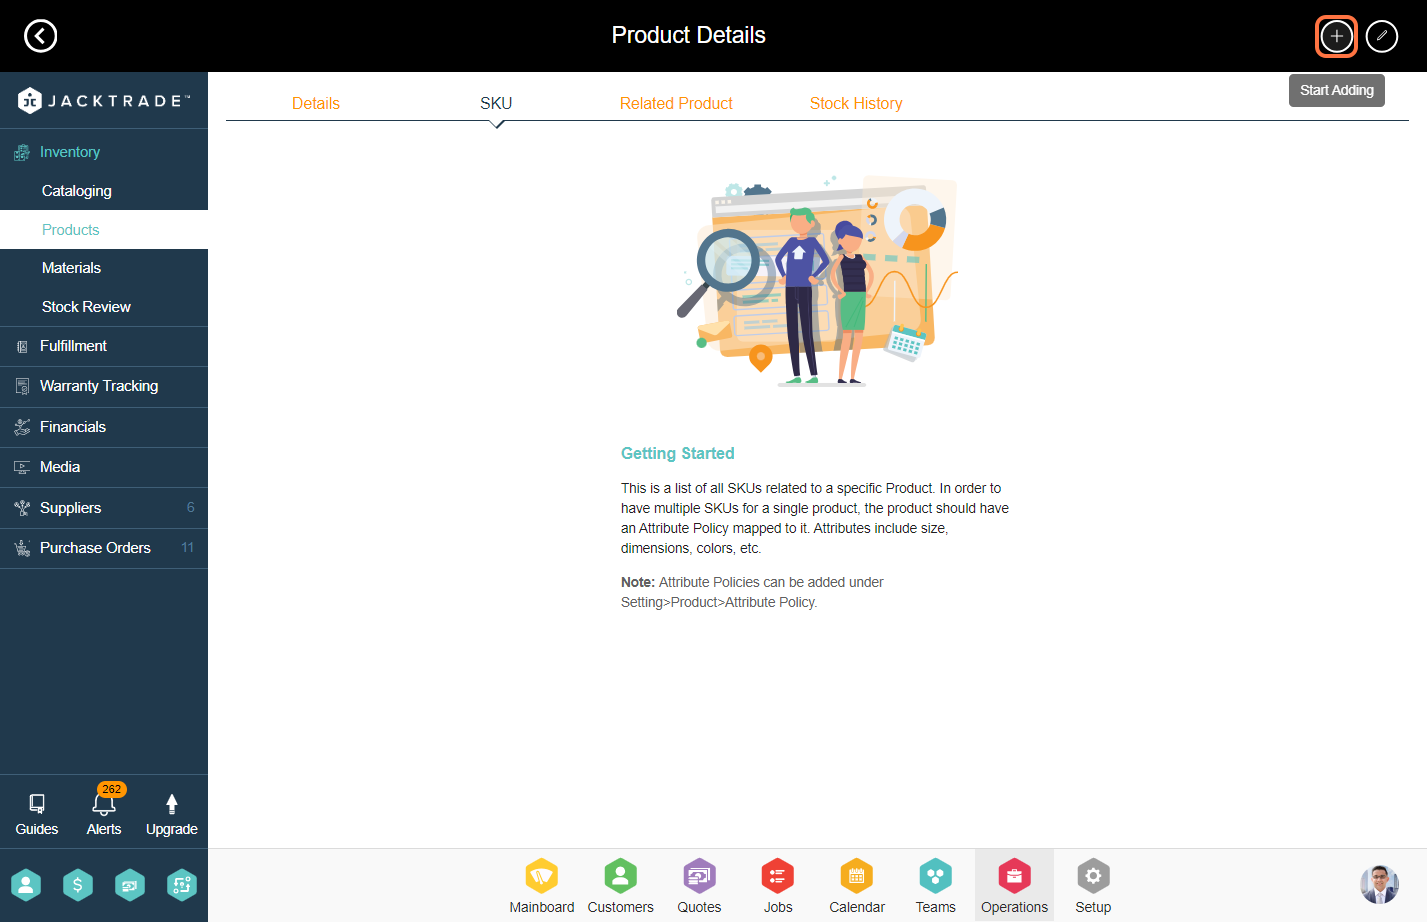
5. Click on the 'Add' icon to start adding SKU to this product.
Important Note: To add multiple SKUs, you need to add 'Attribute Policy' to the product.
6. Enter the SKU Name, SKU ID, and UPC/Barcode details in the SKU Details tab. SKU name has to be unique and SKU number is system generated for unique identification of the SKU.

7. Enter the 'Attribute' details in the Attributes tab. These keys are based on the attribute policy assigned to the product.

8. Enter the product pricing details in the pricing tab.

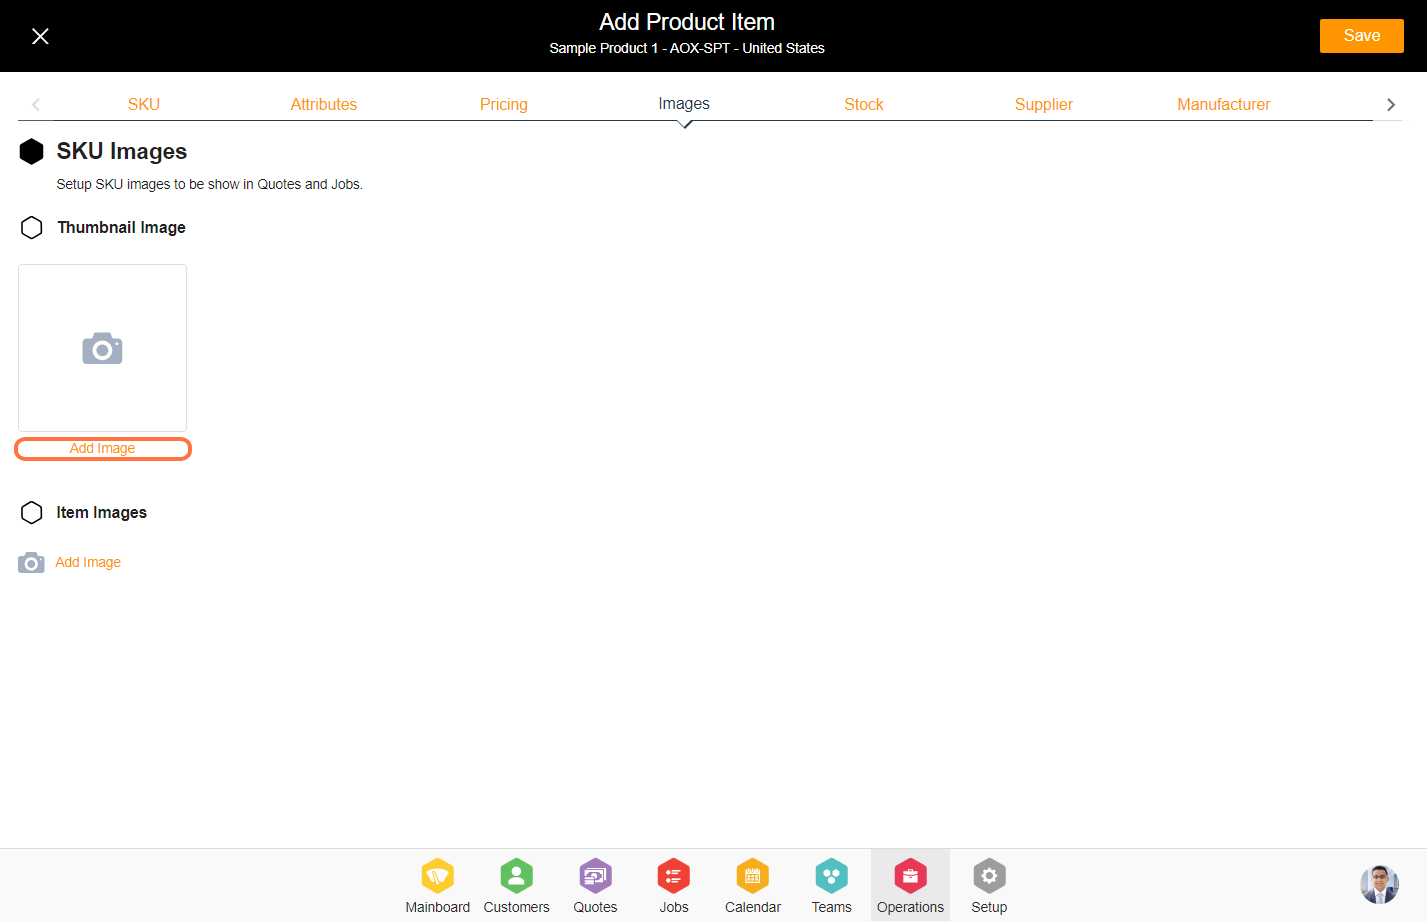
9. Upload SKU images in the images tab. Click on the 'Add Image' option to start adding images. Up to 5 images can be added here. If no image is added, the SKU will reference the product image in Quotes and Jobs.
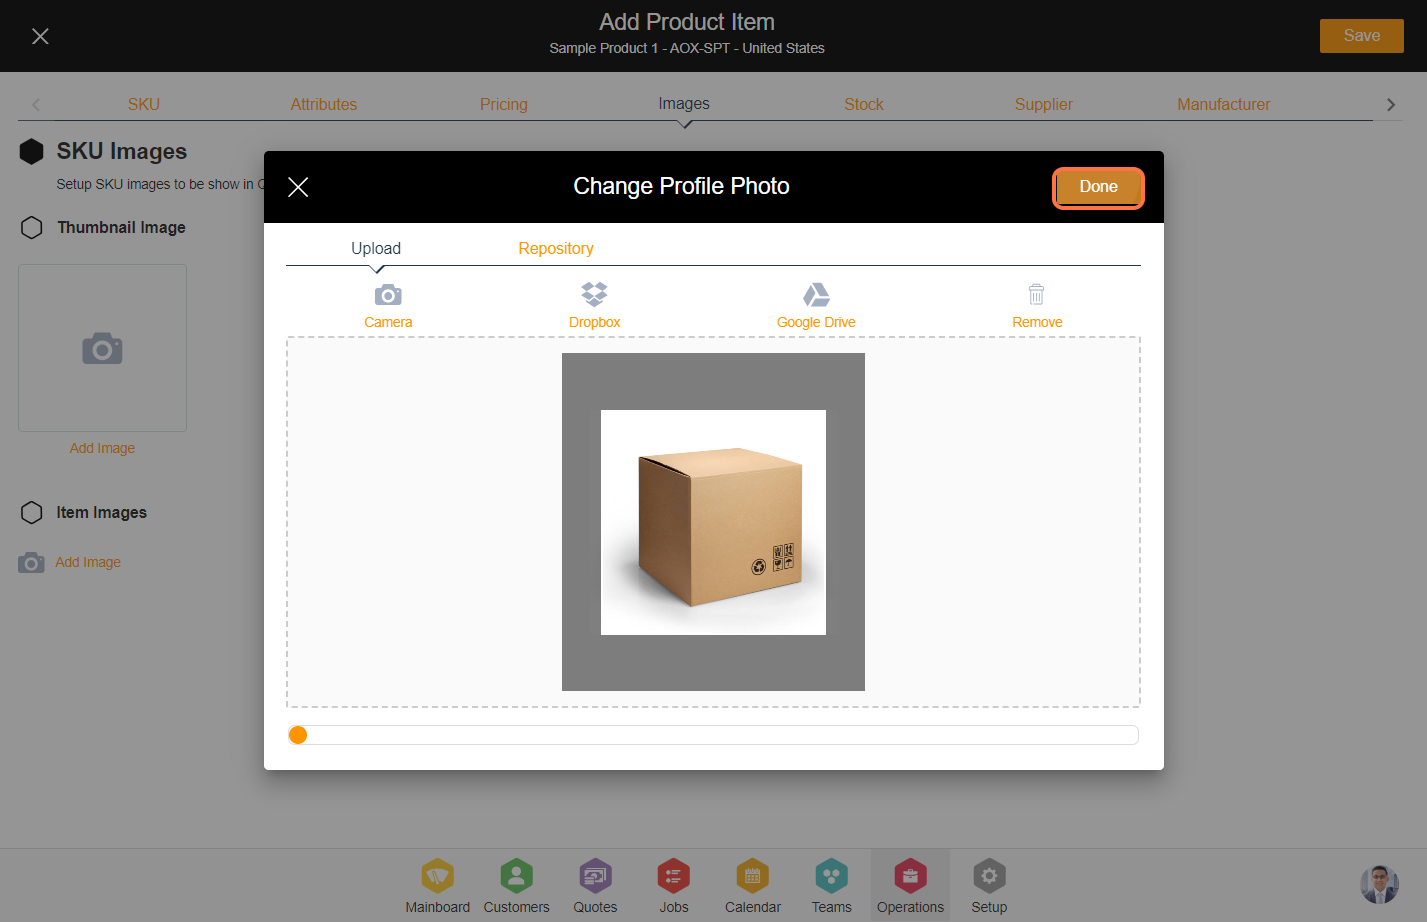
10. You can upload the image either from your local system, Dropbox, or Google Drive.

11. Click on done to add the image
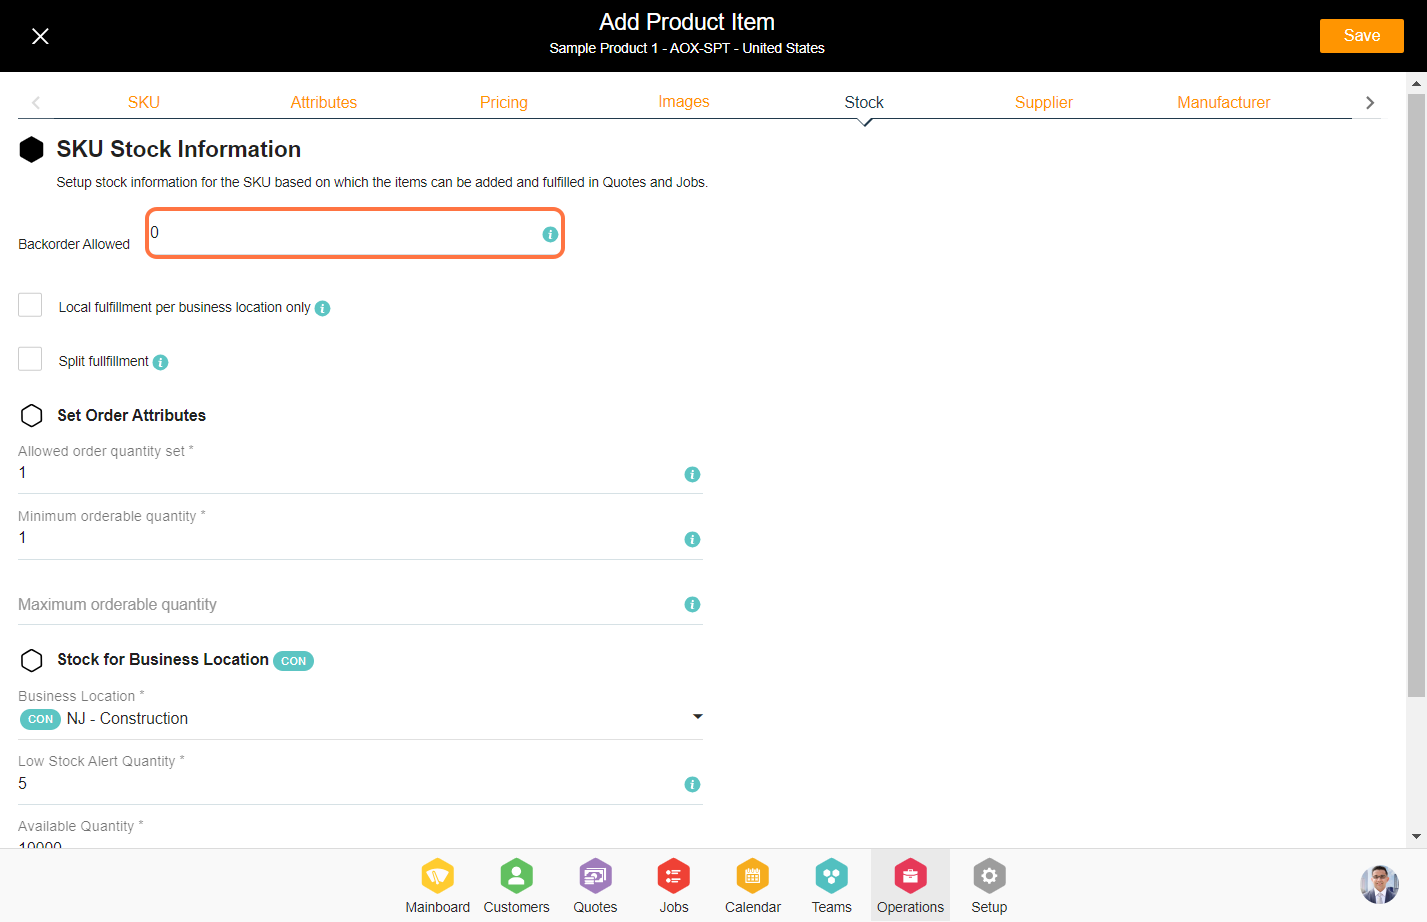
12. In the stock information section, enabling backorders allows customers to make purchases even if the product is currently out of stock.
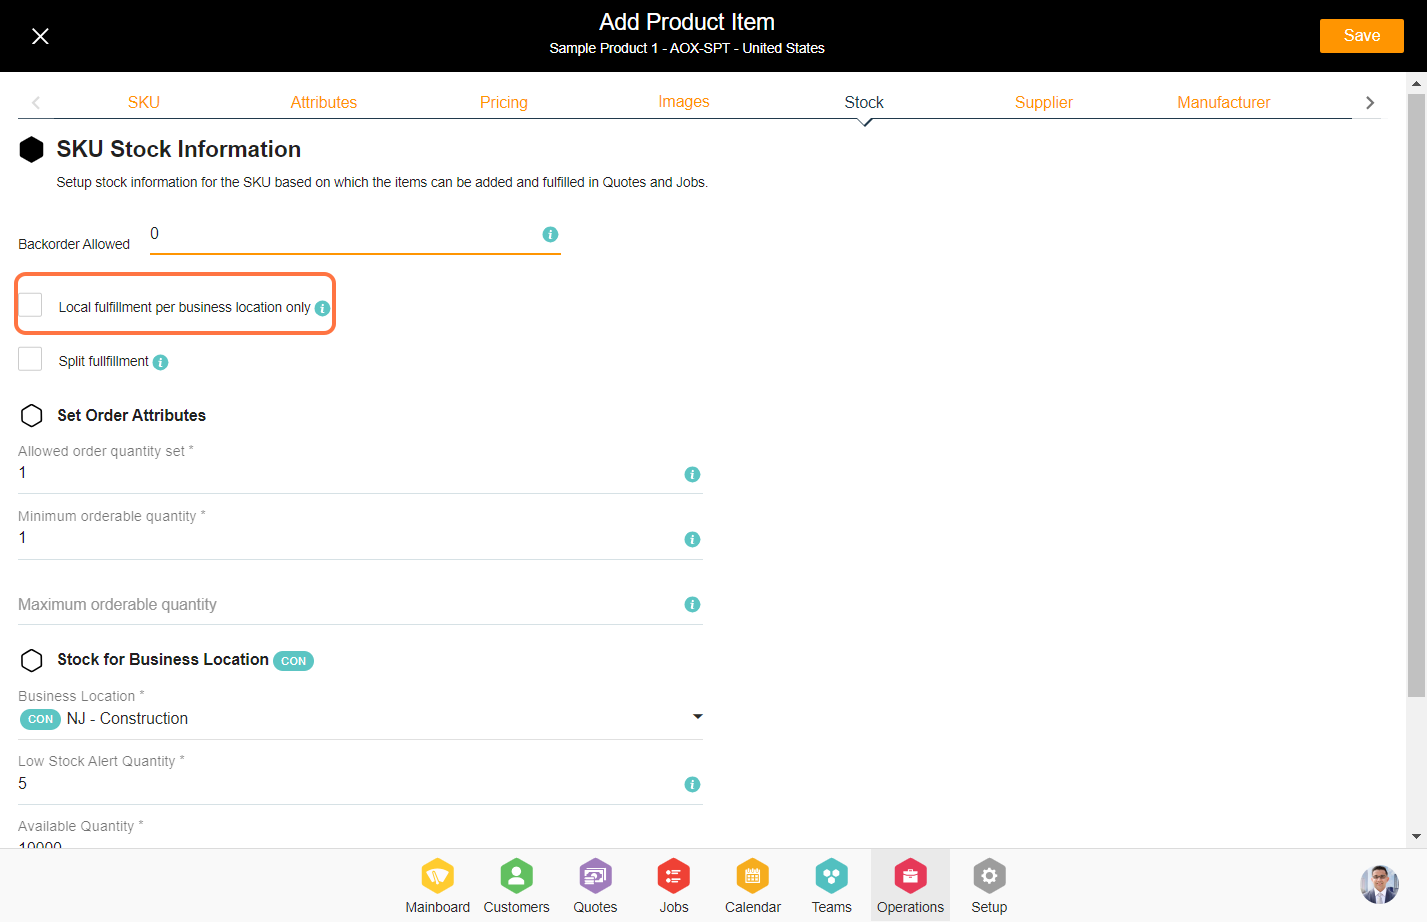
13. In JackTrade, regular products come with fulfillment options.
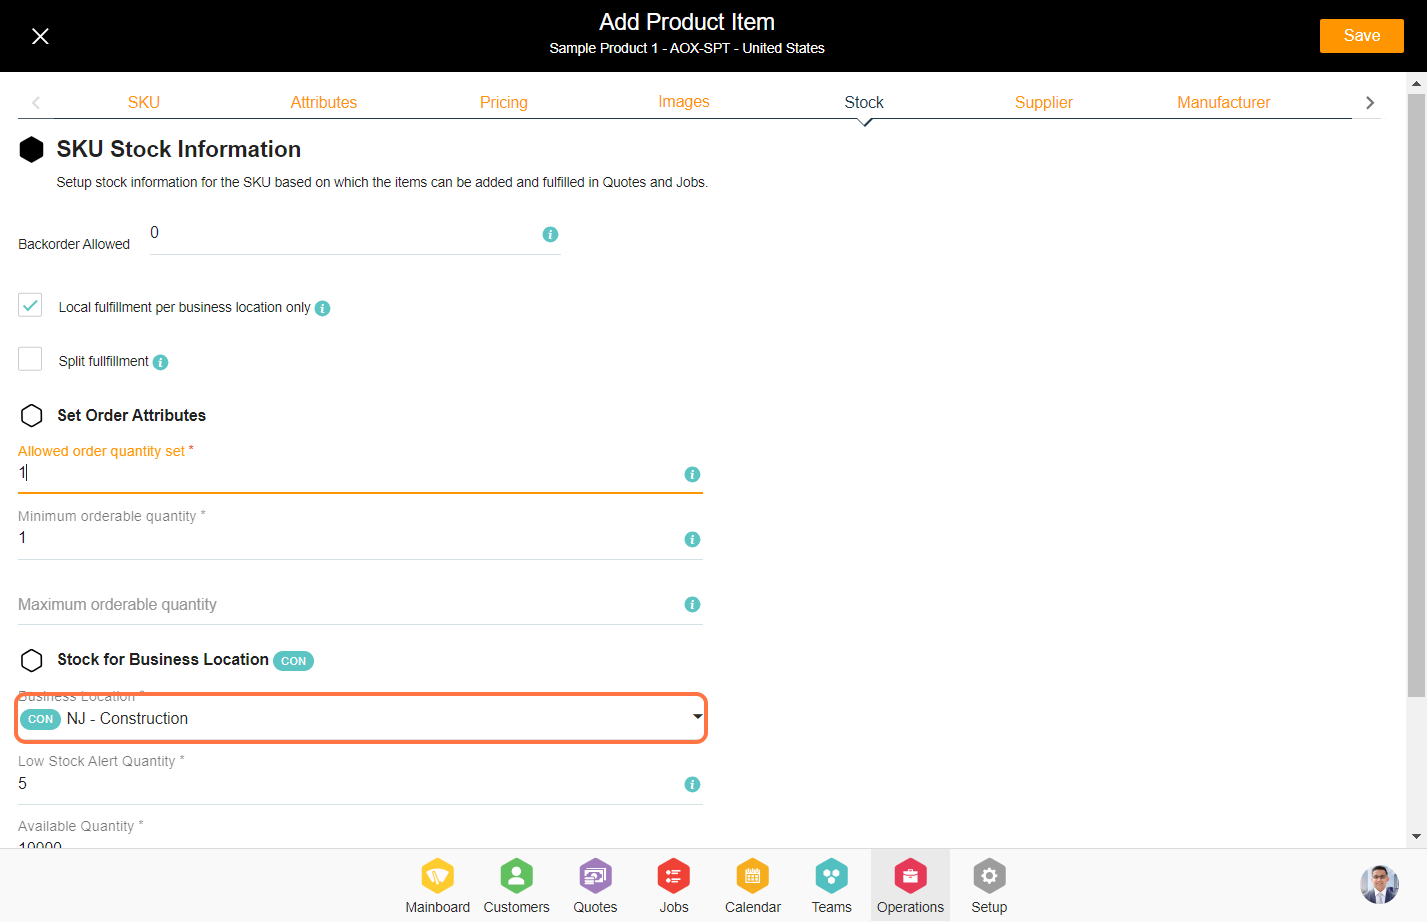
a. Local Fulfillment - Local Fulfillment flags need to be enabled if you want this item to be fulfilled in only the same business location as that of the associated quote or job.
b. Split Fulfillment - Split Fulfillment allows you to fulfill the products partially from different business locations.
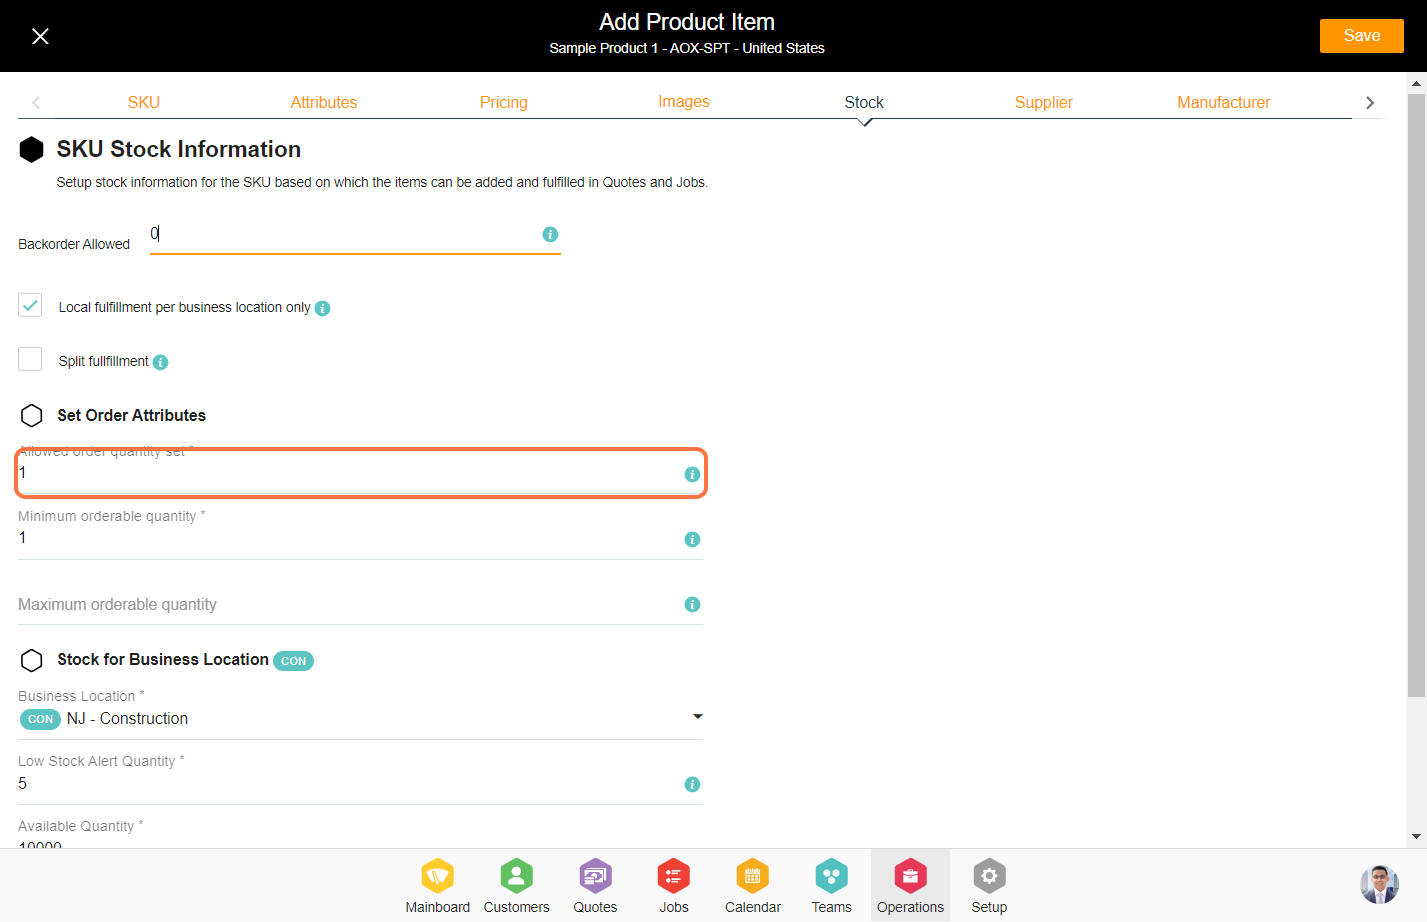
14. Configuring order details enables you to specify the order quantity set, minimum orderable quantity, and maximum orderable quantity.
16. In the Supplier tab, associate the supplier with the product SKU by selecting the assign supplier icon and entering the required information in the provided fields.


18. After clicking on 'Save,' you will be presented with two options: 'Add SKU Only' or if you want to activate the product as well after adding the SKU. Select whichever option fits best as per your business needs.
