Introduction to tagging
Tagging plays a crucial role in organizing, categorizing, and managing data. Tags are labels or keywords assigned to specific elements, such as documents, tasks, or users, to provide additional context and facilitate efficient information retrieval. Tags can trigger automated actions or workflows. For example, a tagged item could automatically be assigned to a specific team member or initiate a predefined process, streamlining repetitive tasks and reducing manual intervention.
The most dominant use of tagging is segmenting the contacts based on the tags. Tagging users based on roles, departments, or expertise facilitates targeted communication. It ensures that messages or updates reach the relevant individuals, fostering effective collaboration within the platform.
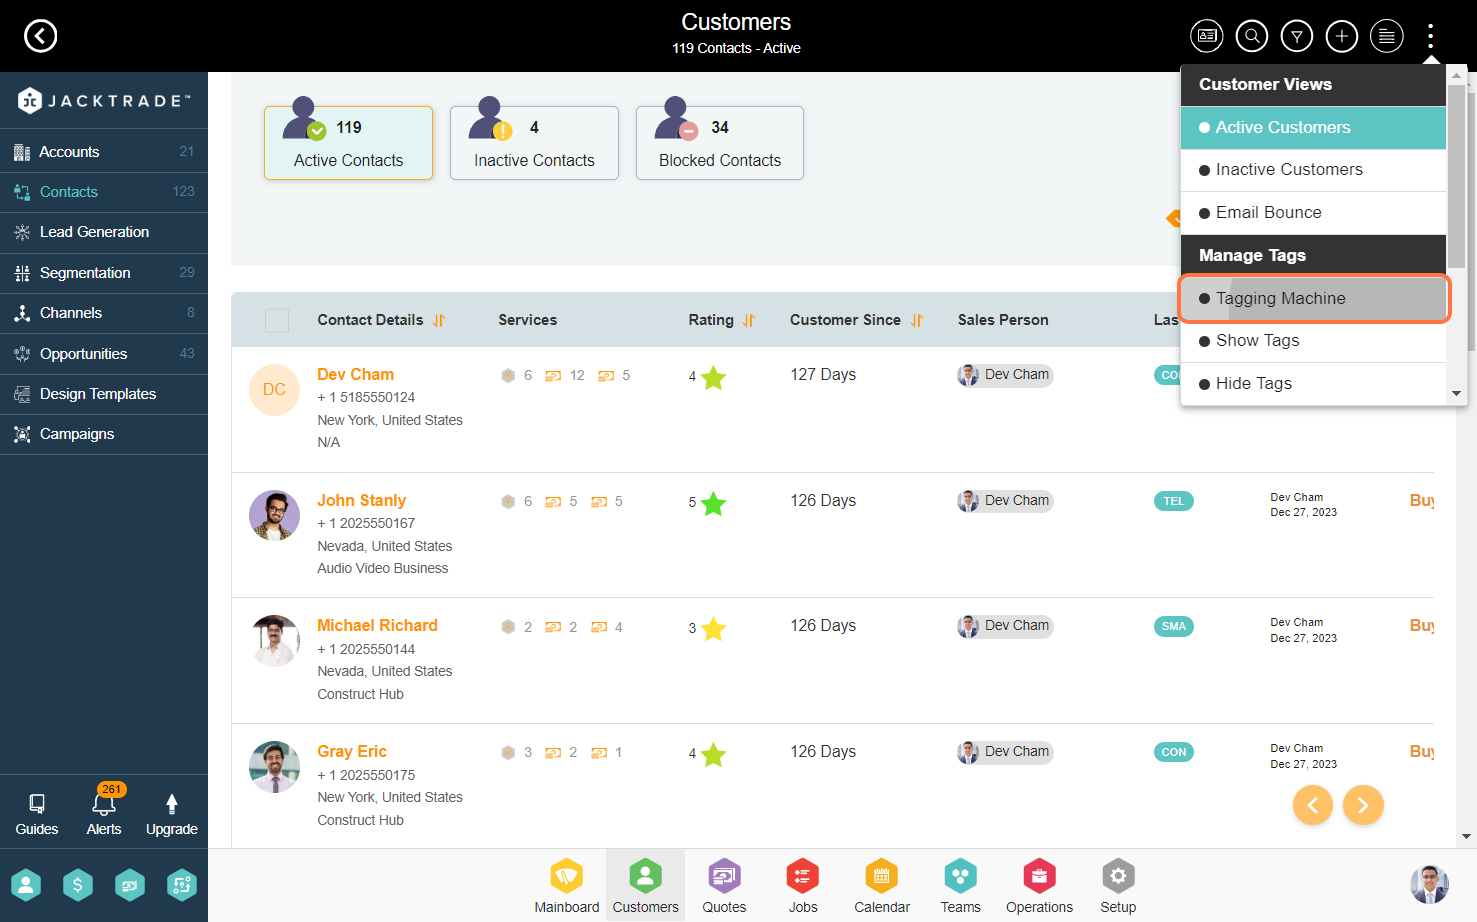
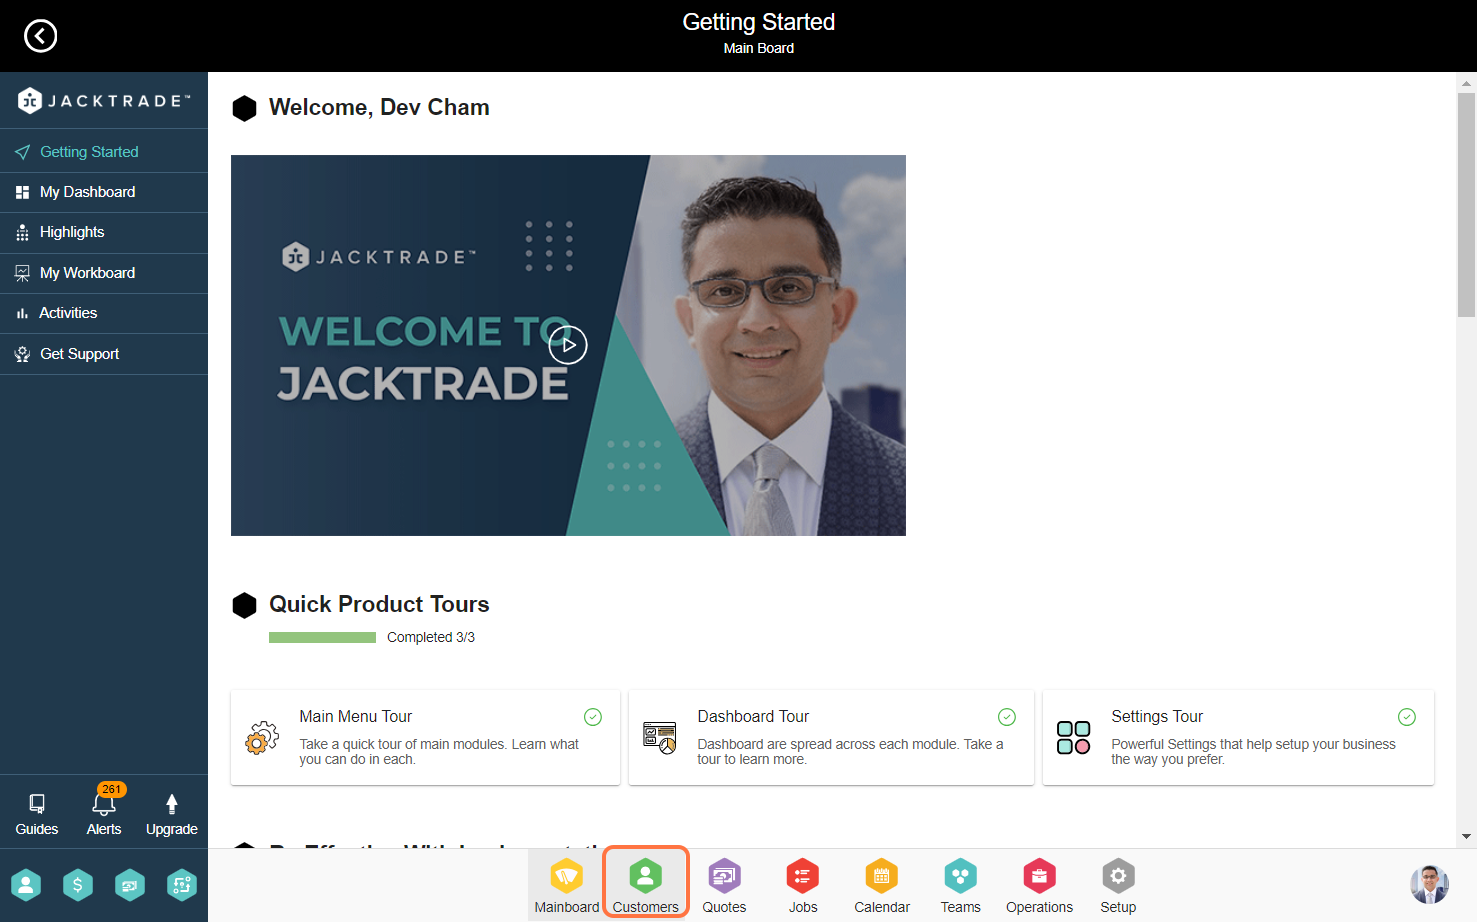
1. Go to the Customers Module.
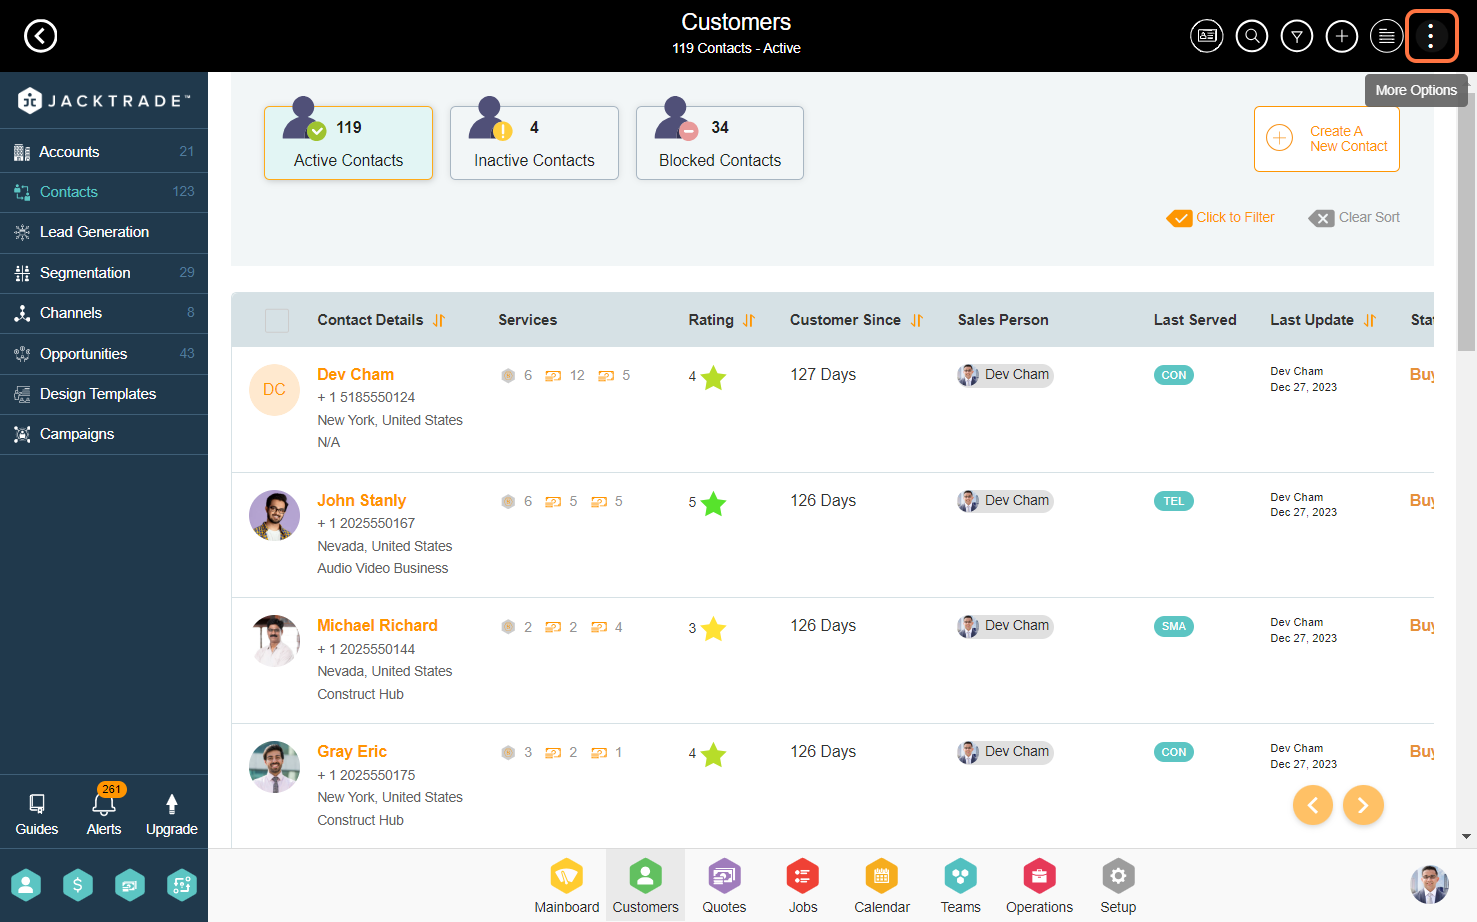
3. Click on the tagging machine option under the 'Manage Tags' category.