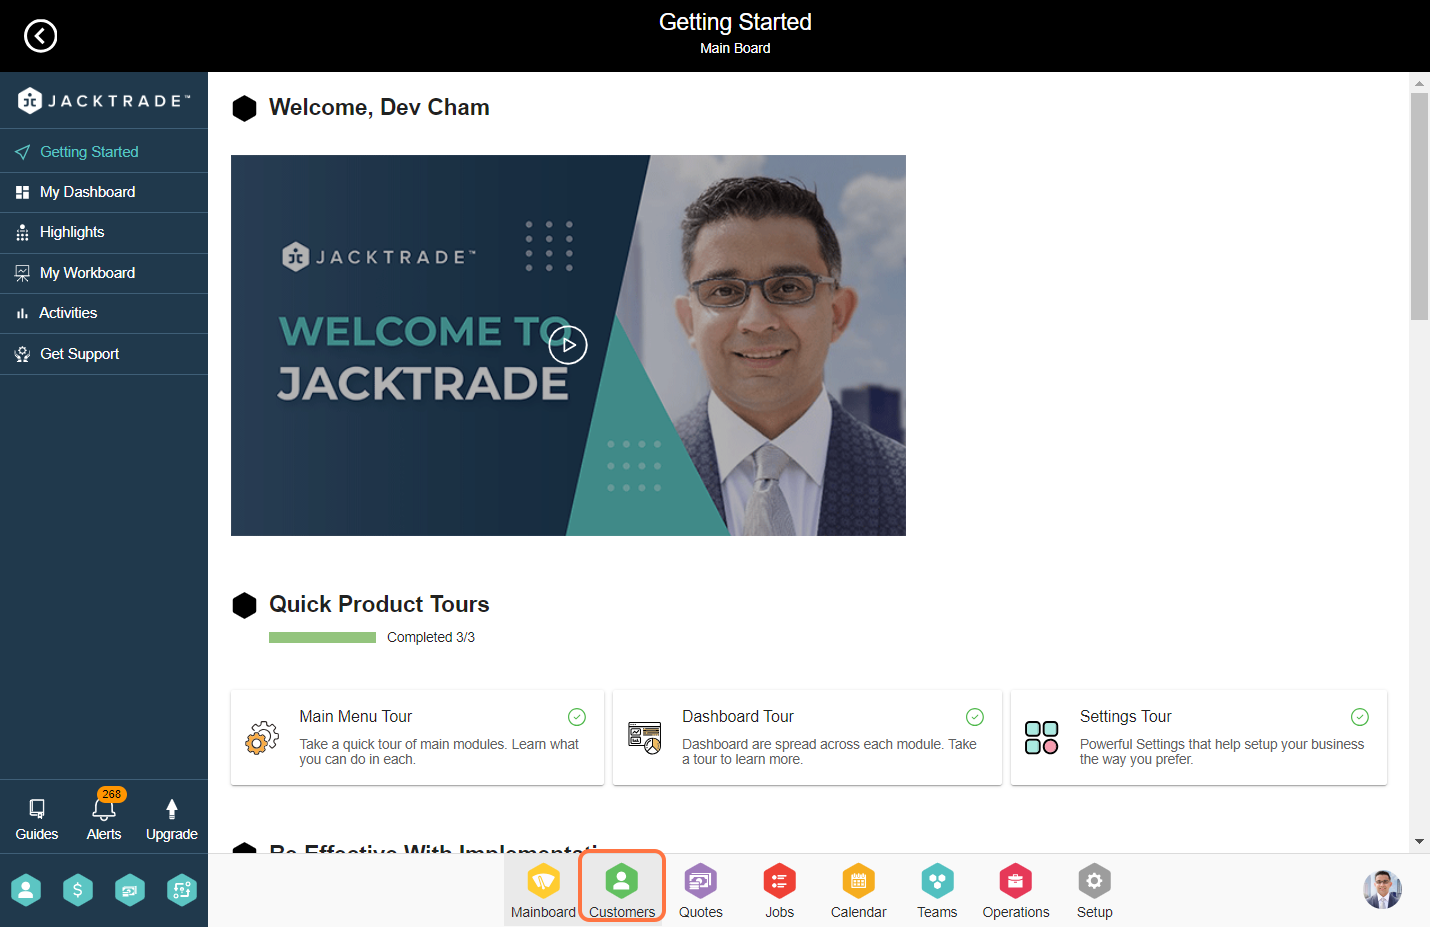
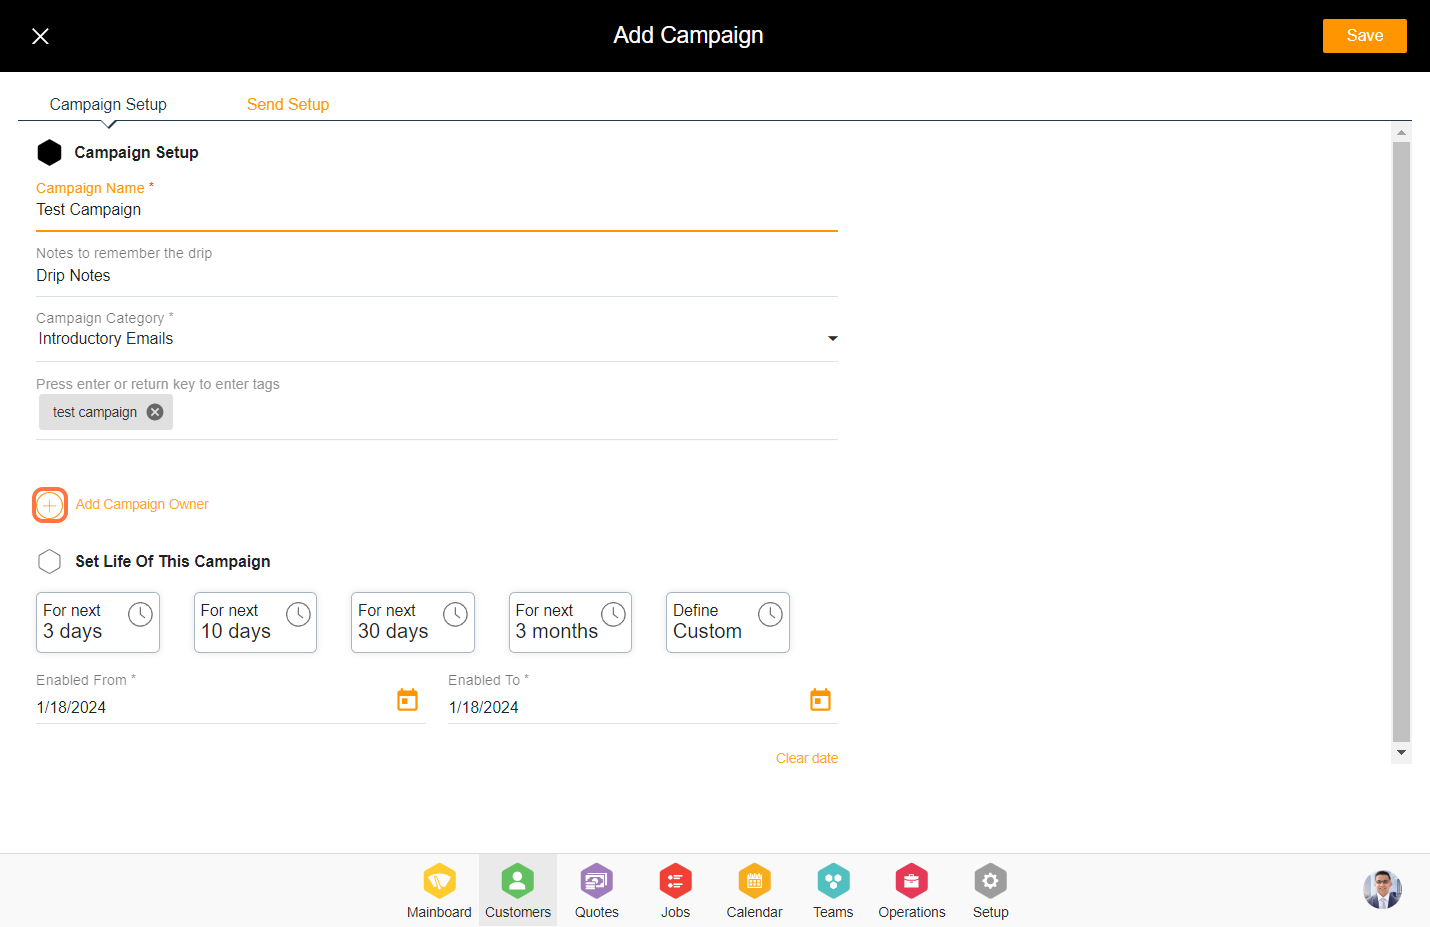
1. Go to the Customers module.

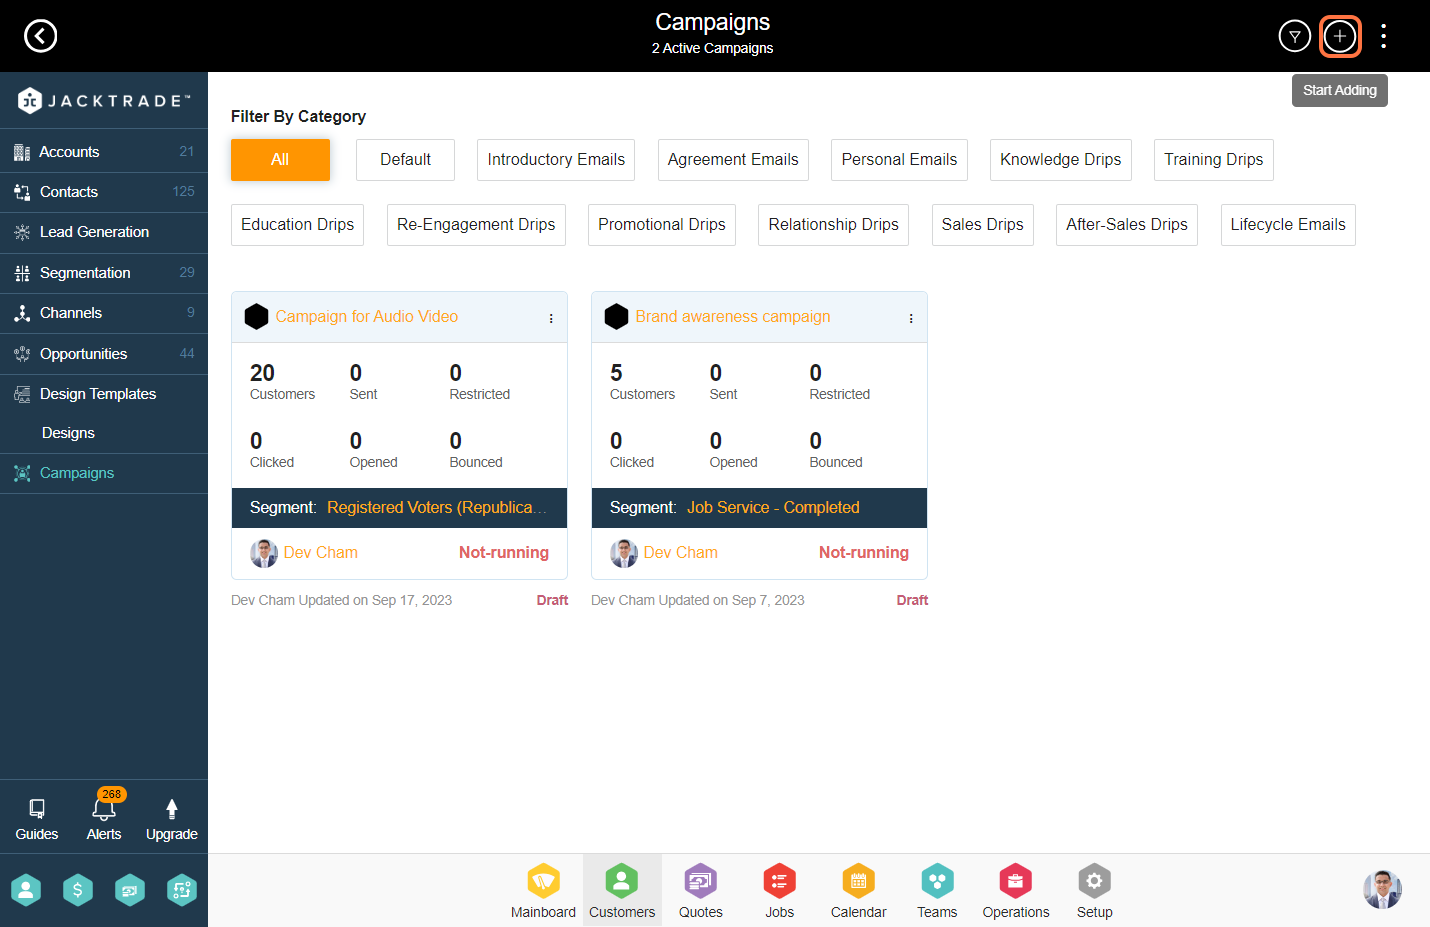
3. Click on the 'Add' icon.
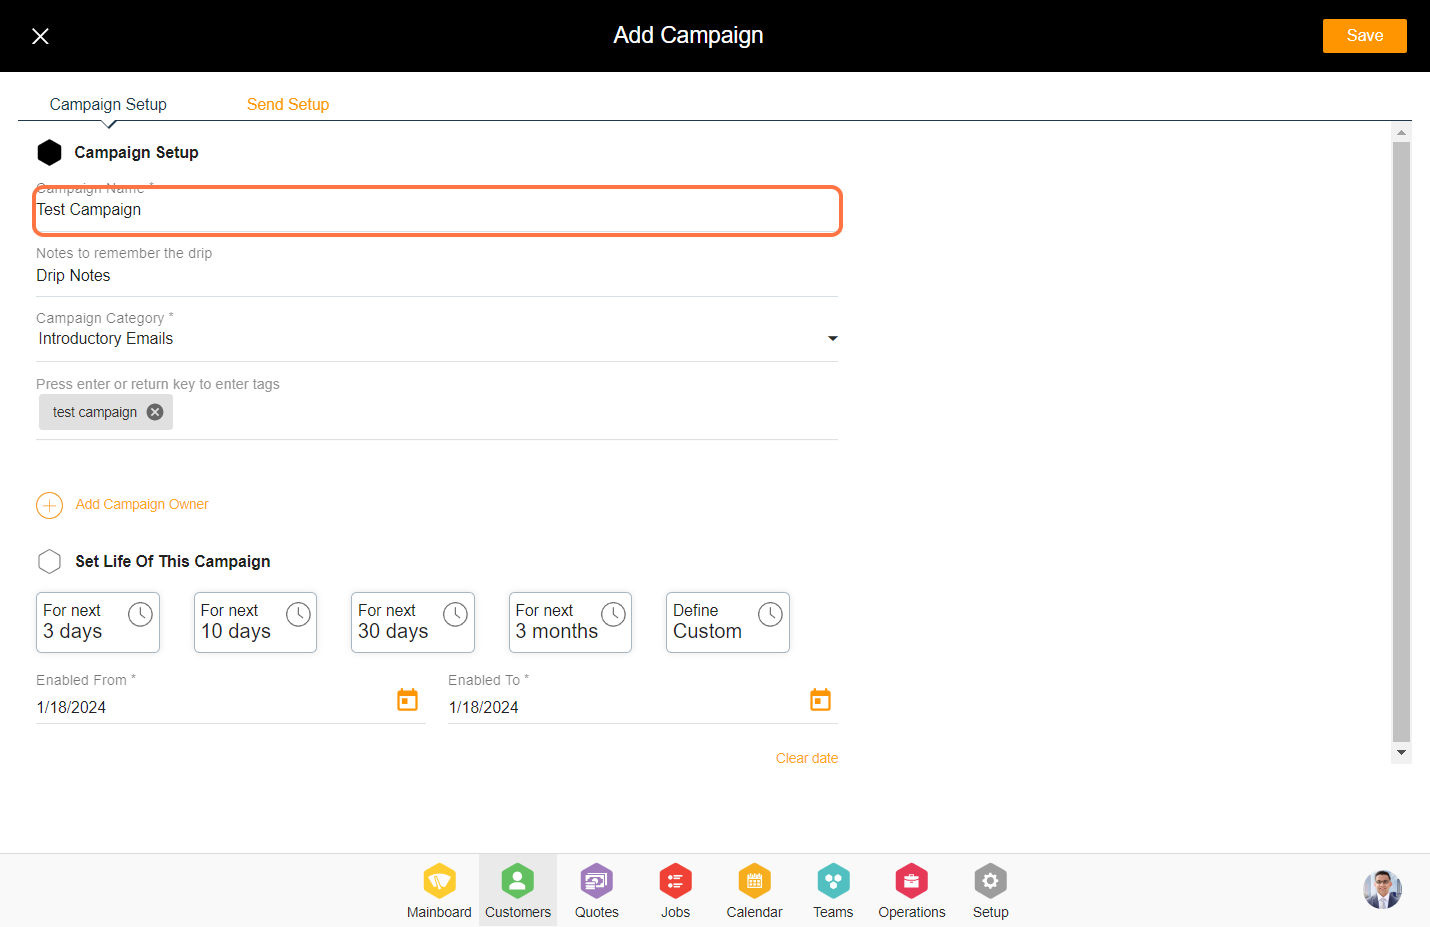
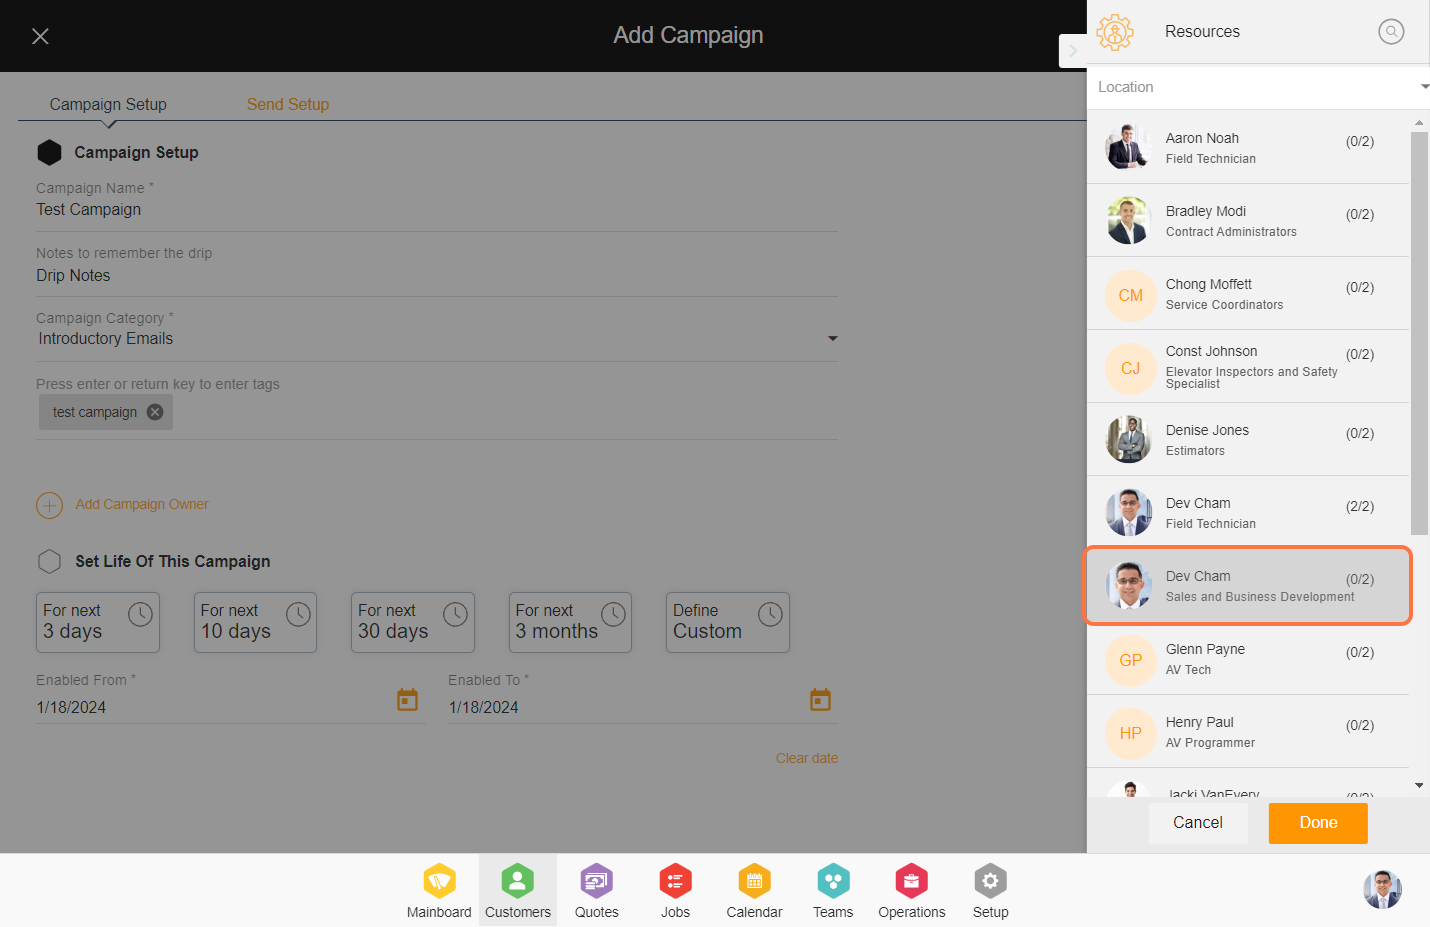
5. Click on "Add Campaign Owner'.
6. Select the resource that you want to set as 'A Campaign Owner' and Click on 'Done'.
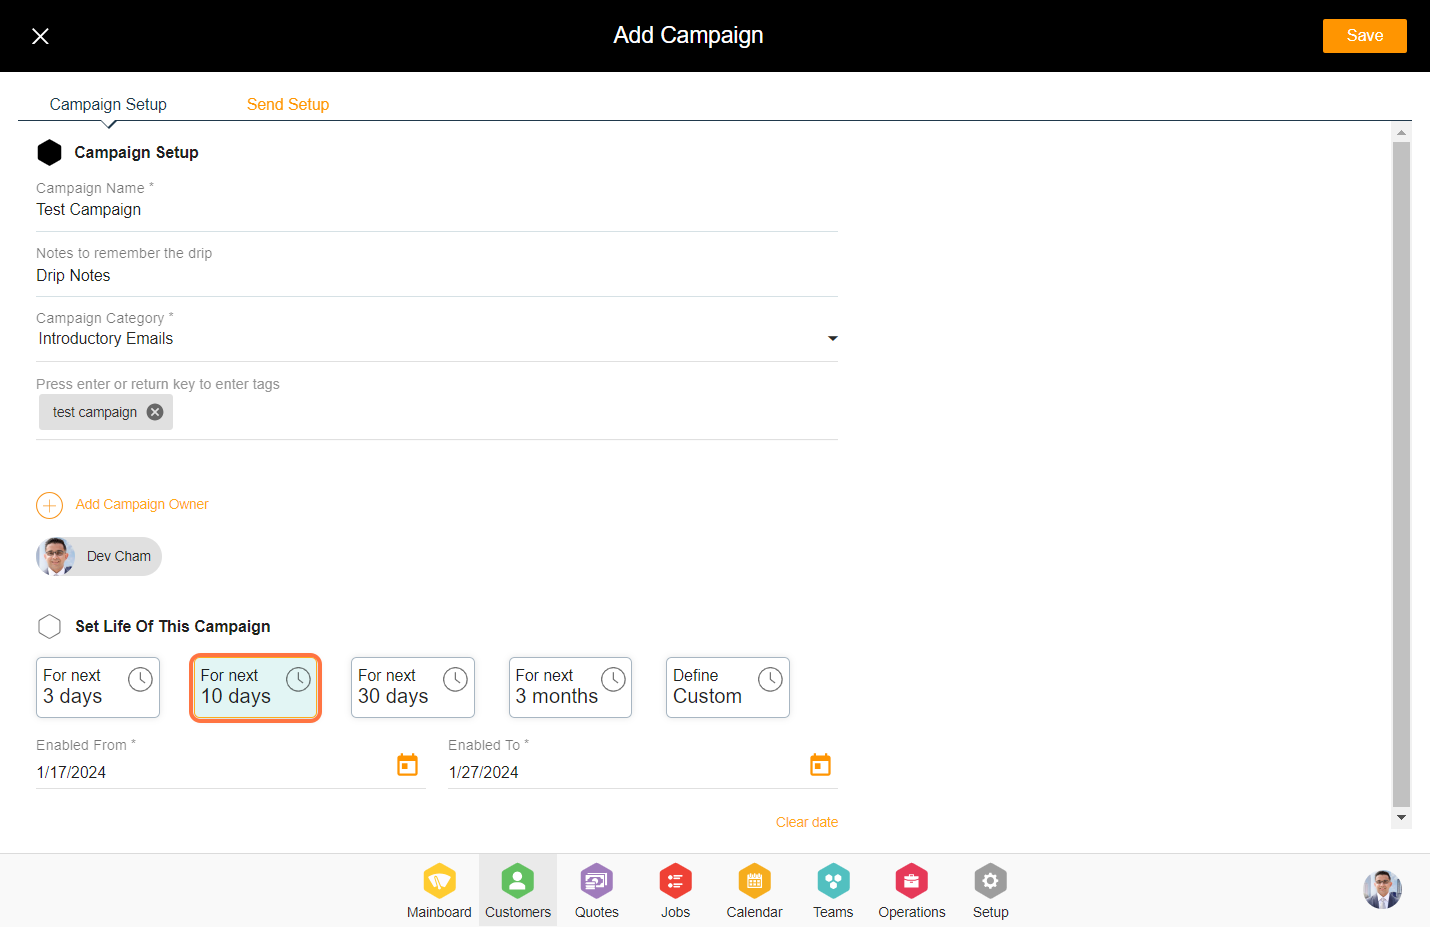
7. Specify the campaign duration in days to determine the period during which the campaign should remain active.
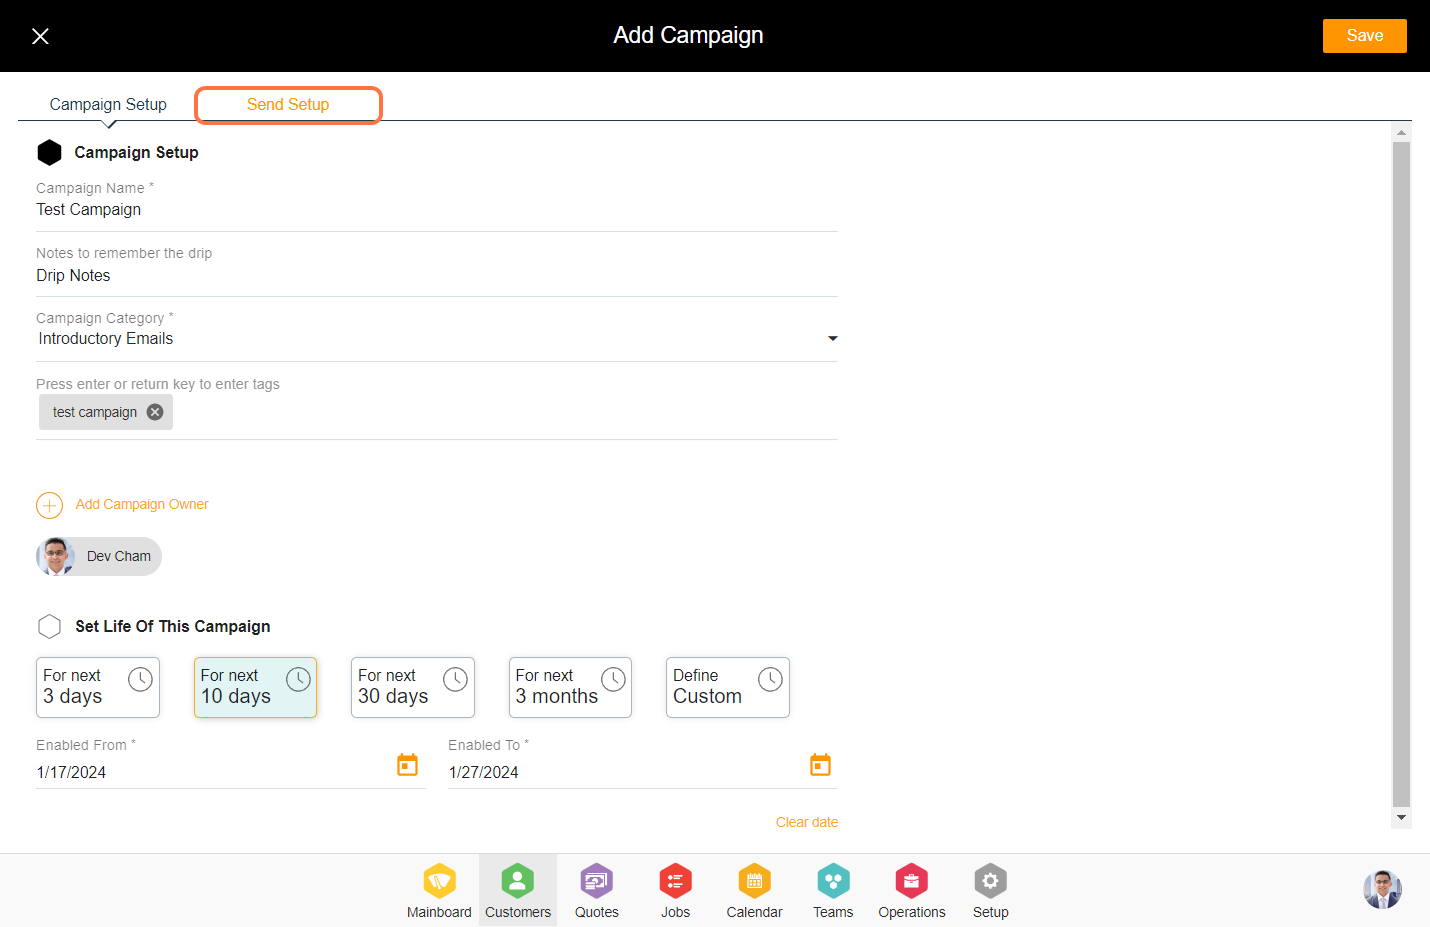
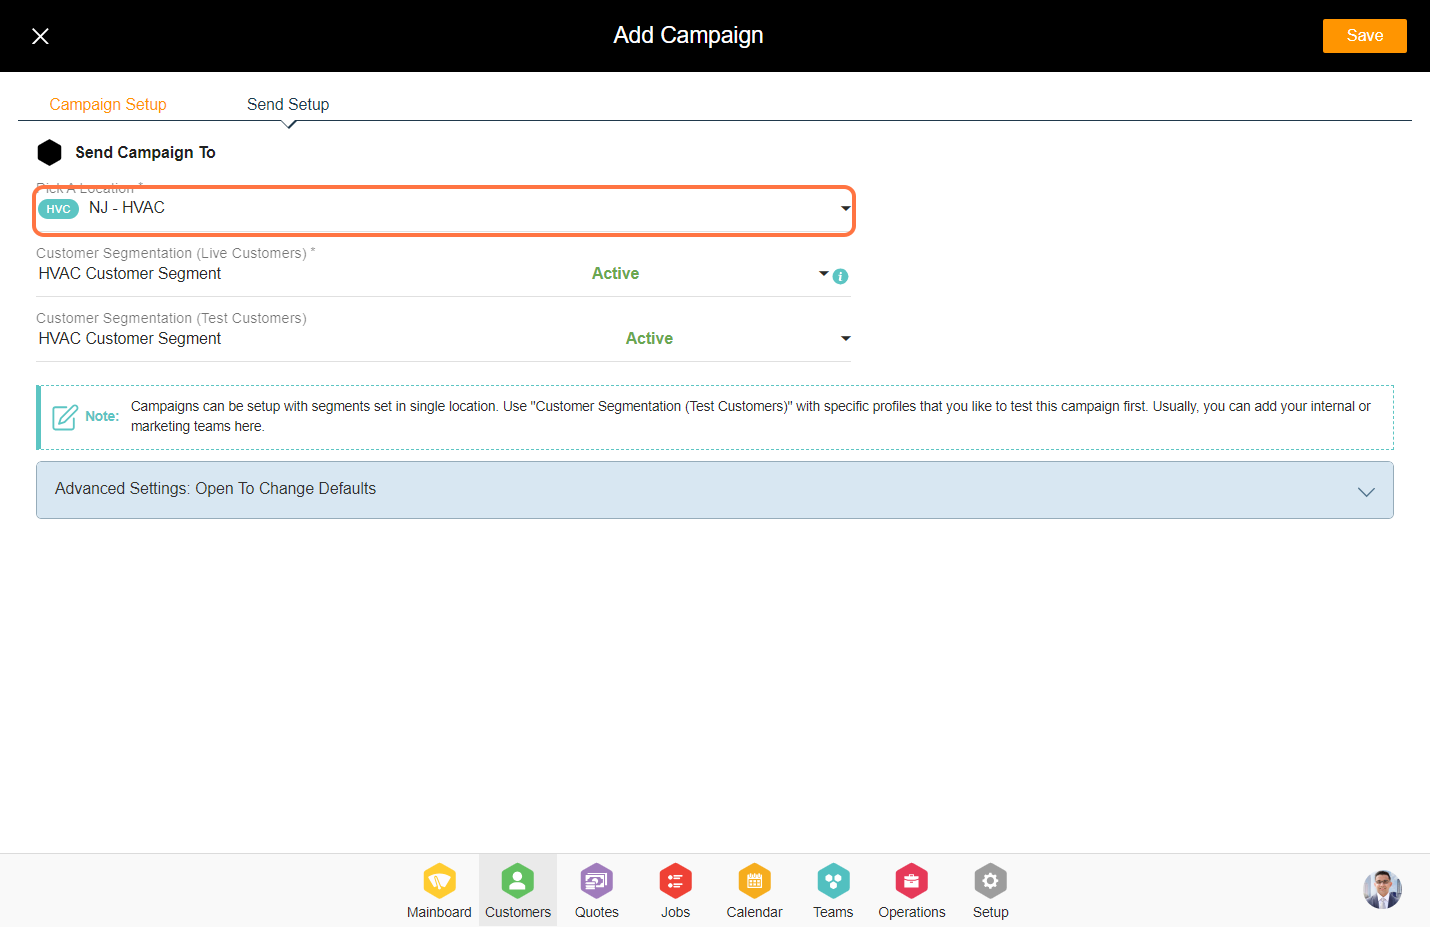
8. Click on the 'Send Setup' tab.
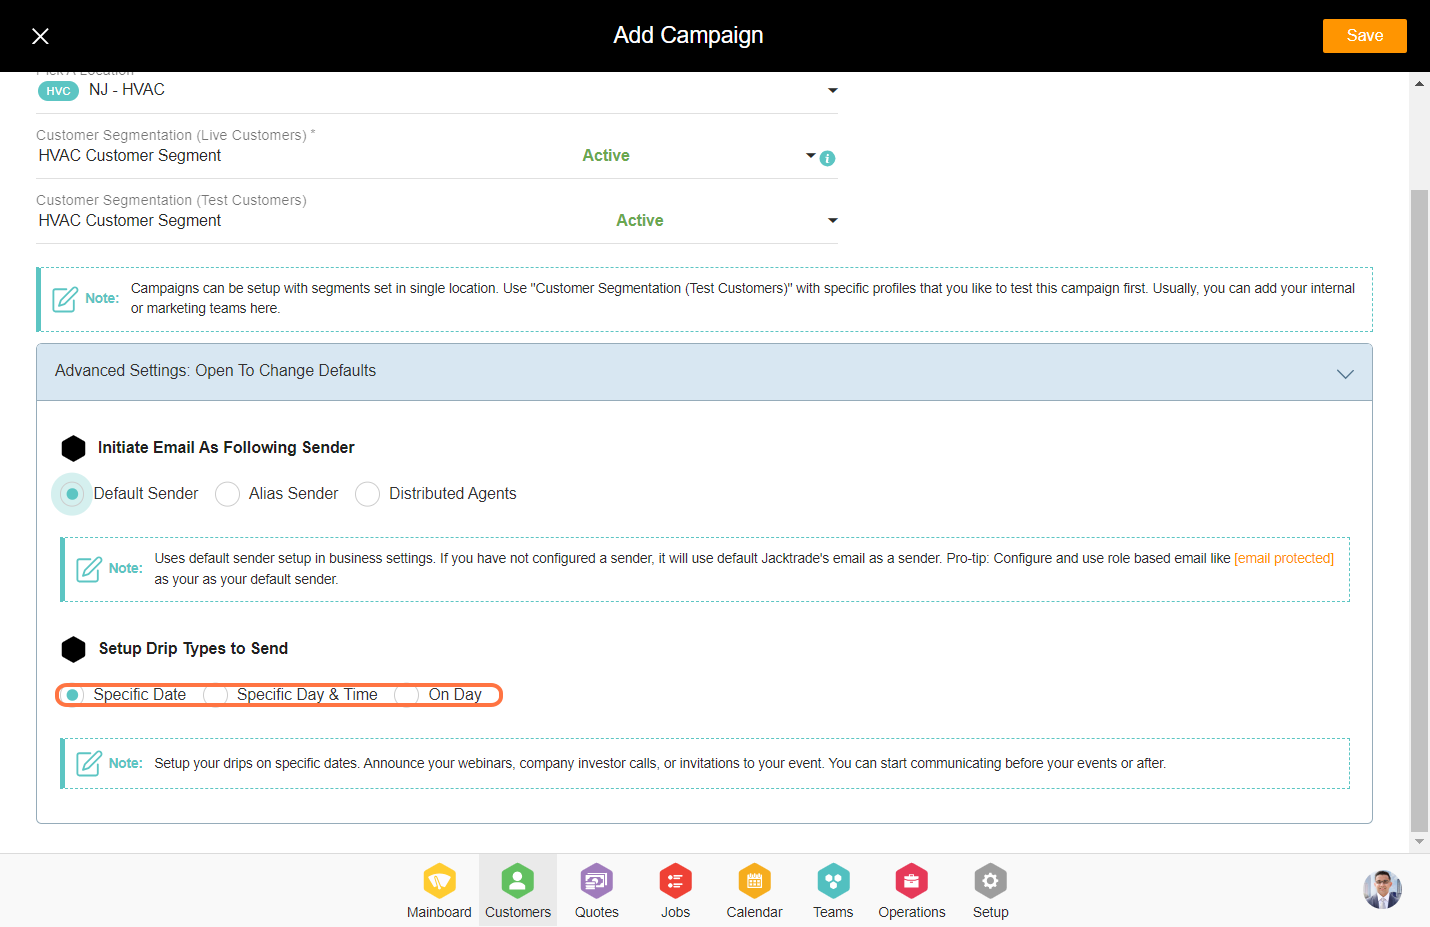
9. Enter the location and segmentation details. You have the option to provide two segmentation sets, one for live customers and another for test customers if you wish to test the campaign.
10. There are three types of senders in the campaign from which you can select one. You can set sender details in the communication from the setup module.
Default Sender: In case you haven't set up a sender, the system will use Jacktrade's default email as the sender.
Alias Sender: All other Resources will use this alias profile to send manual emails. Add Resources to “Independent Senders” if you want Resources to send emails from their independent email address.
Distributed Agents: Attach Sales Agents that you like to distribute your outgoing emails. For this to function work properly, dedicated Sales Agents should be set up in the customer’s profile. If the agents are not matched from the customer profile, then an alias will be used as a sender. If the sender is not set up, then it will use the default sender configured in business settings.
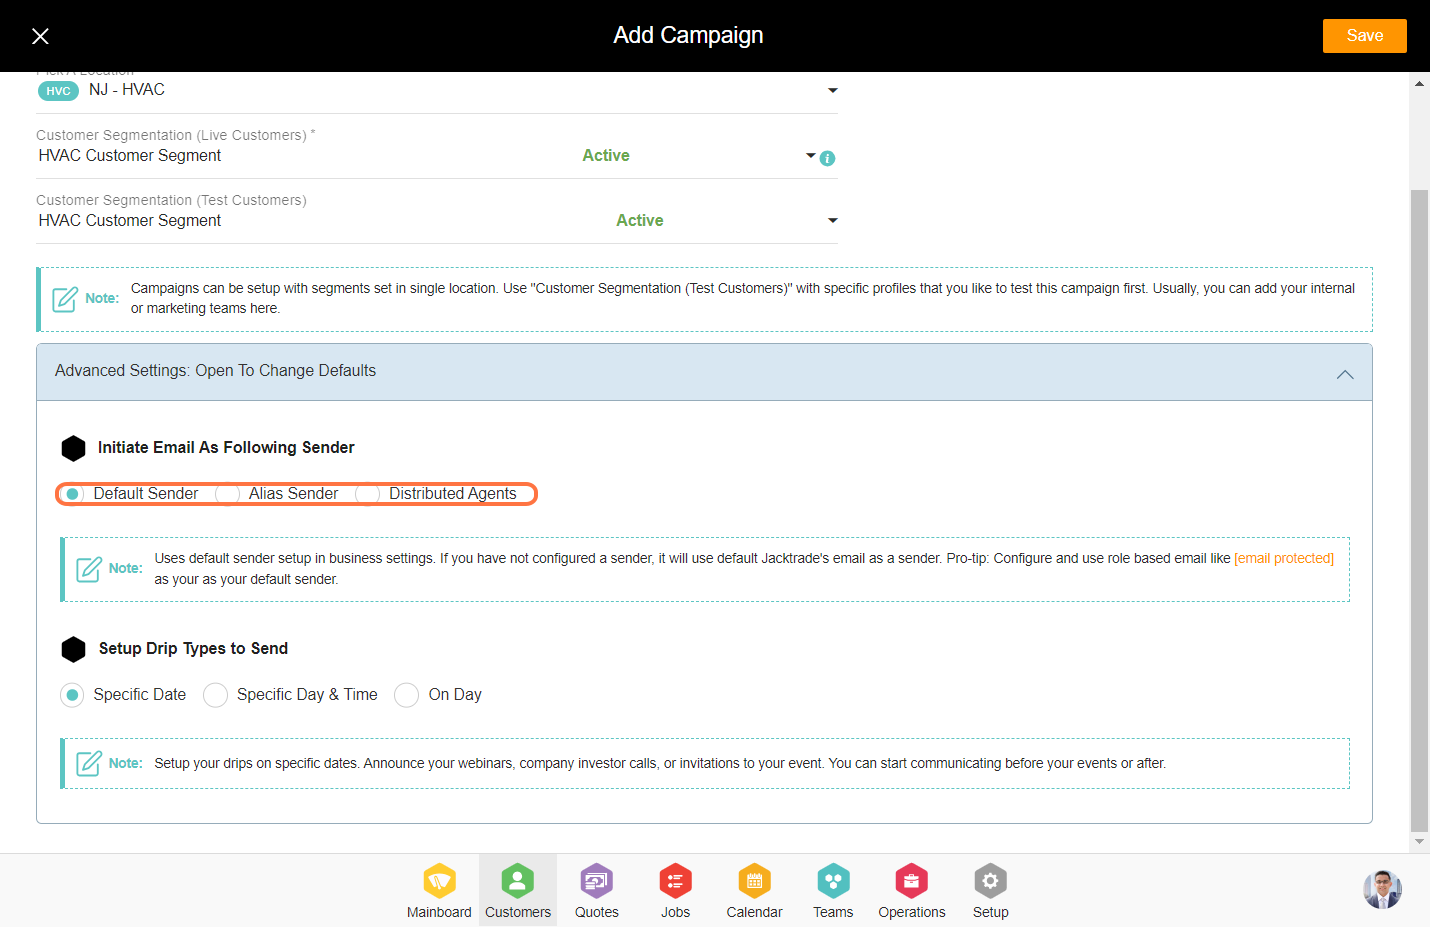
11. 'Setup drips types to send' has 3 different types in the campaign. You can select any one for the campaign.
Specific Date - It allows you to set the campaign drips on specific dates.
On-Day - Set up dynamic drip if you want to automate your customer journey to be sent as time passes. This calculates the day when the customer is added to the segment.