
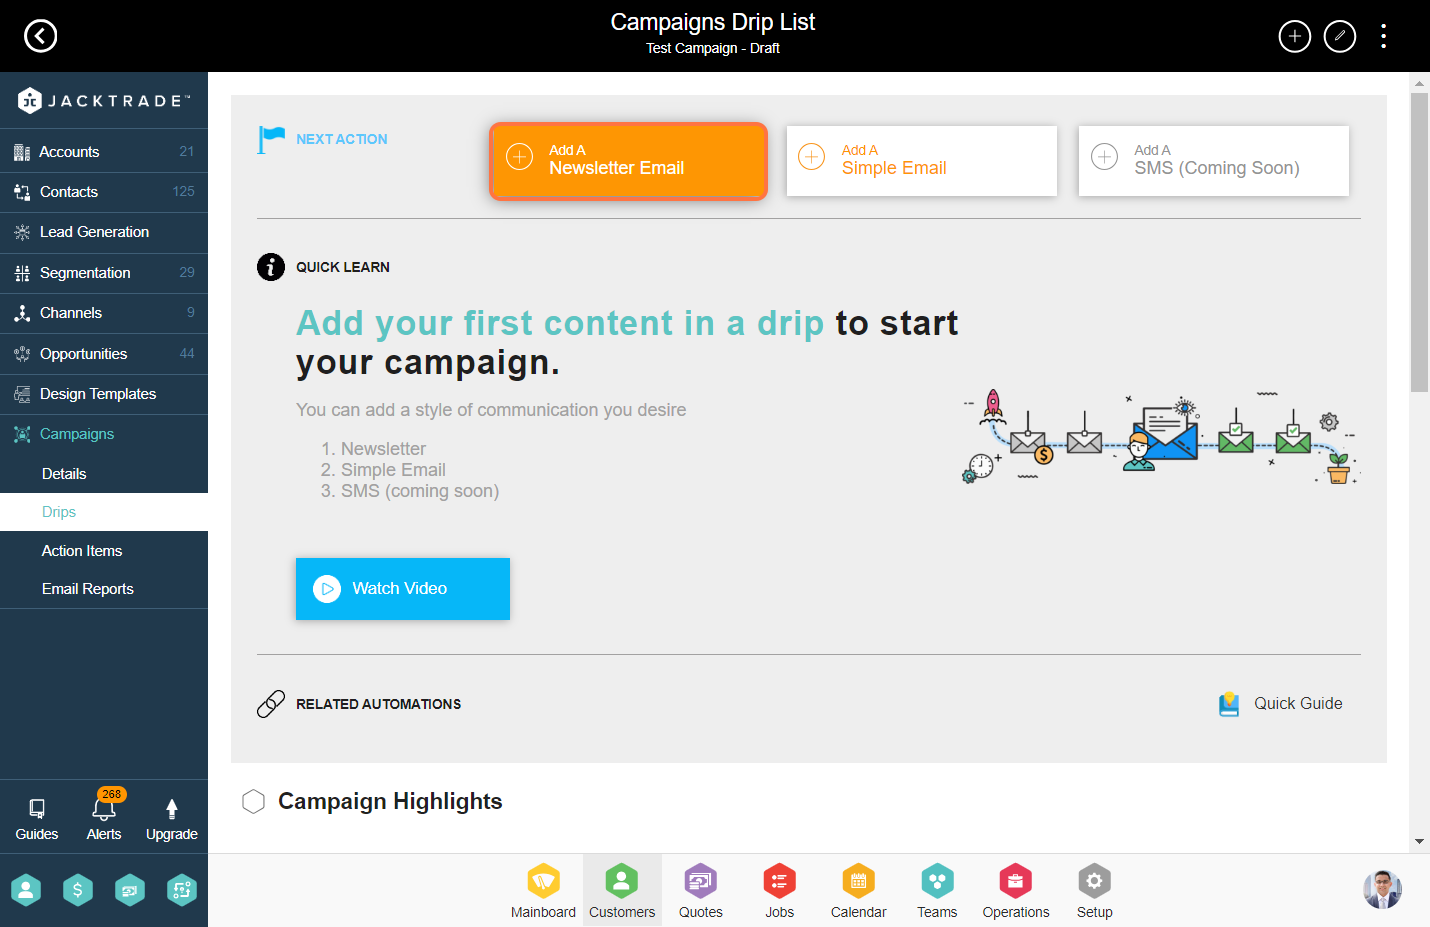
Steps for adding the drip to the campaign.
Note: Learn More About -- 'How To - Create a Campaign'.

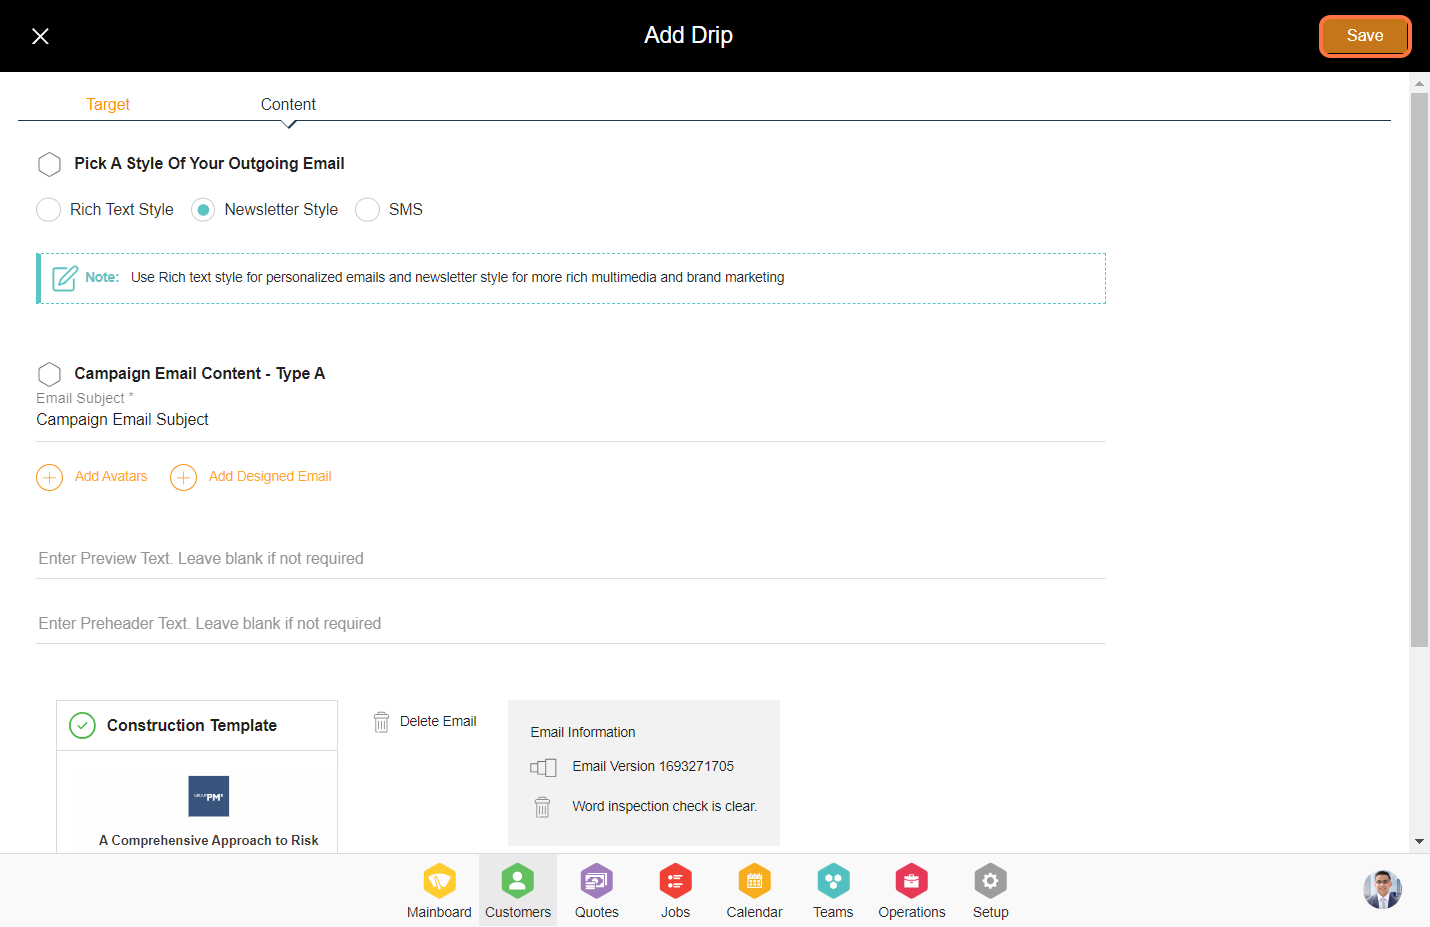
2. There are three types of options to create a drip and those are:
a. Add a Newsletter Email
b. Add a Simple Email (Rich Text)
c. Add a SMS (Coming Soon)
3. Enter drip name and description.
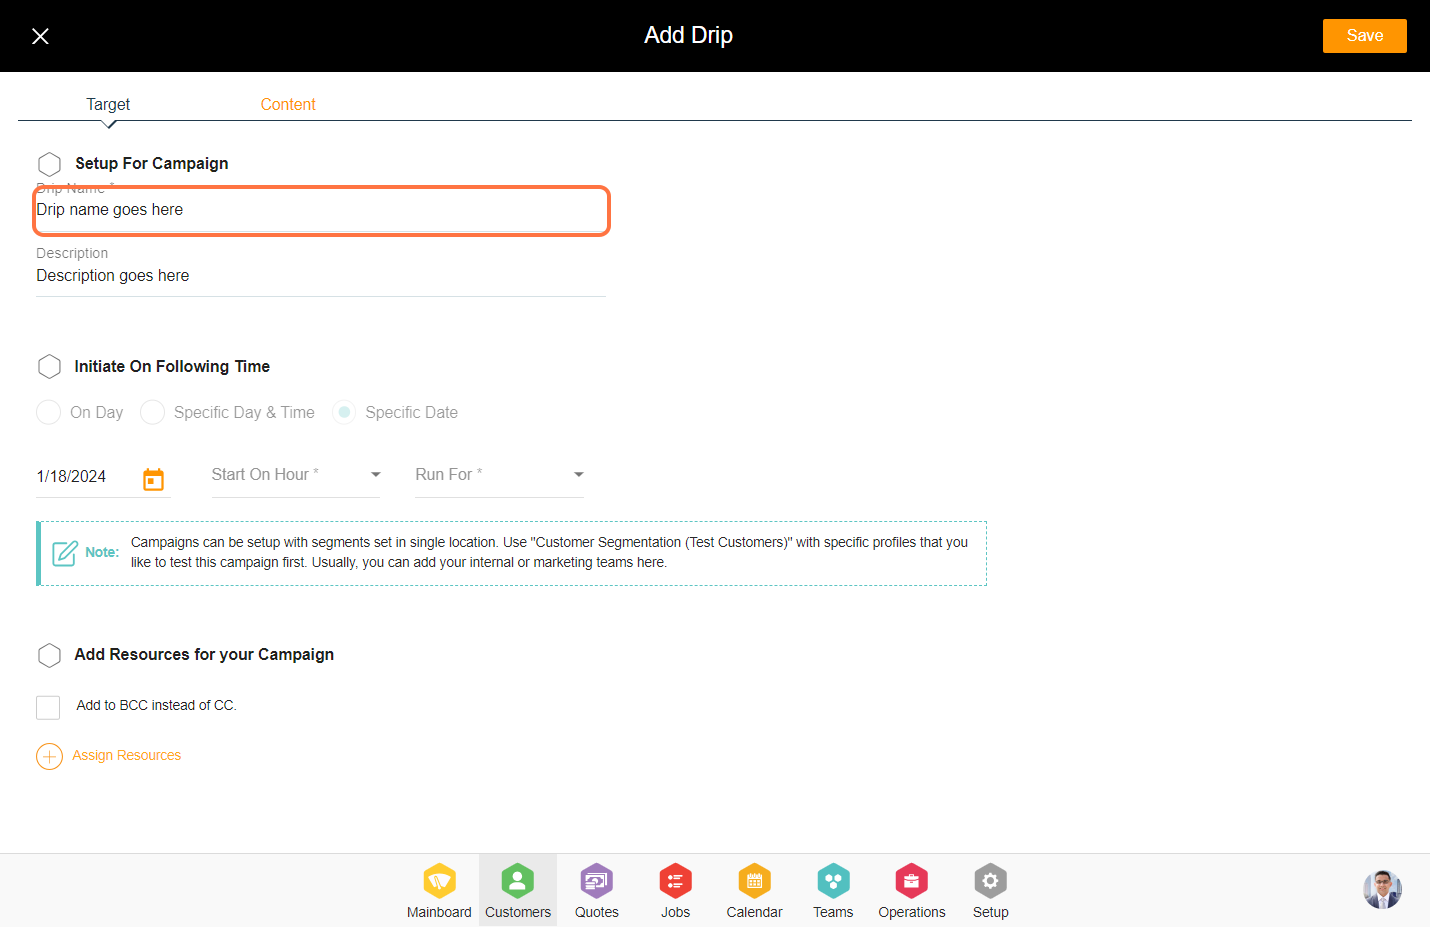
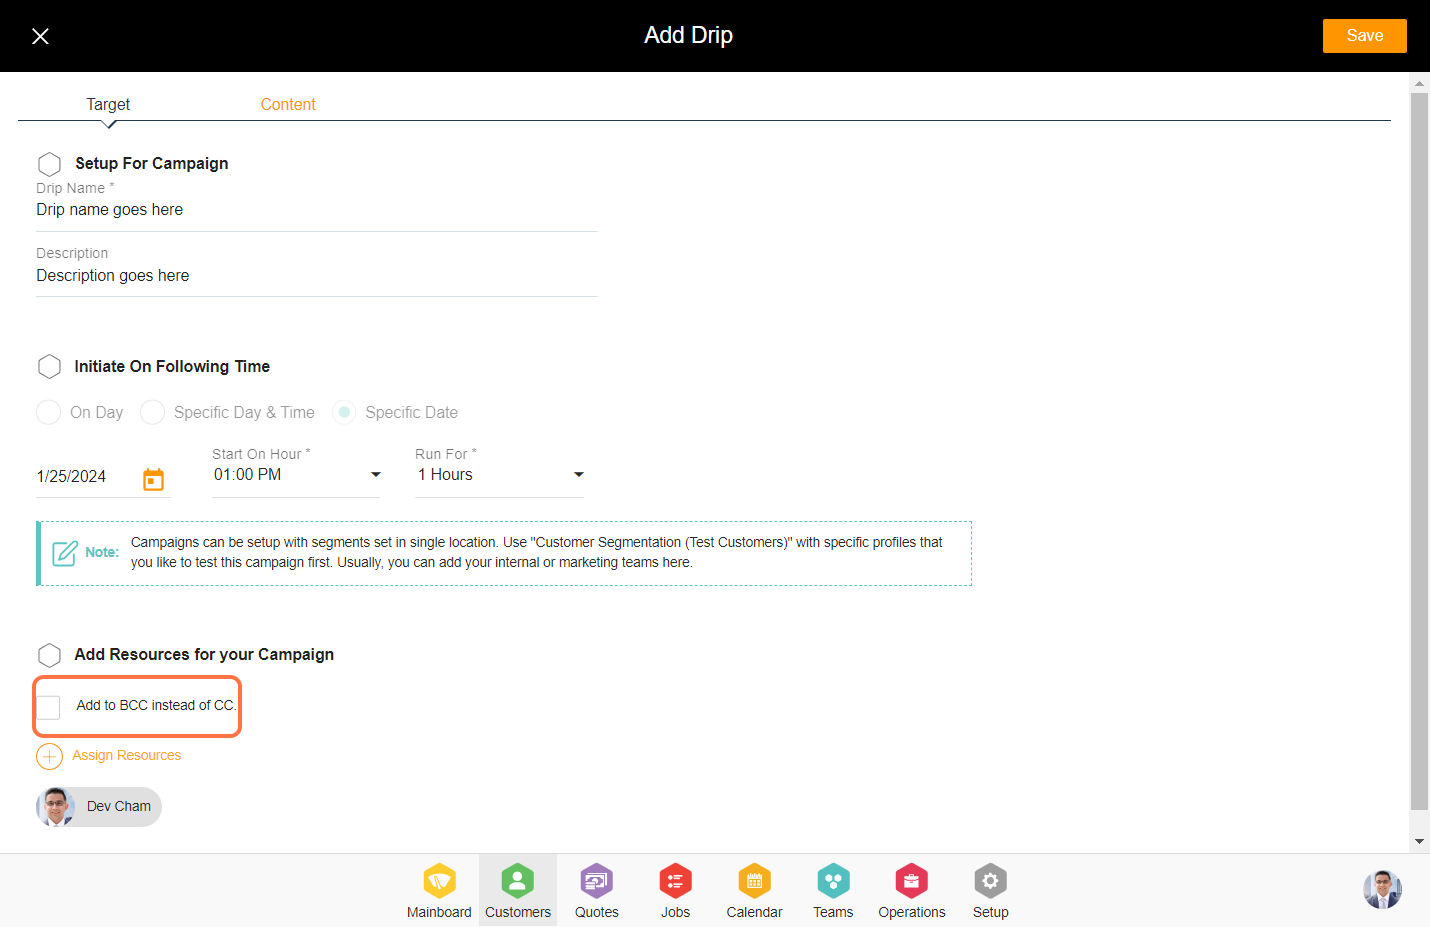
4. Set the campaign date and time for when the campaign should run.

5. Include a resource in the campaign, Choosing the "Add to BCC" option ensures that the drip will be sent to that specific resource via BCC instead of CC.
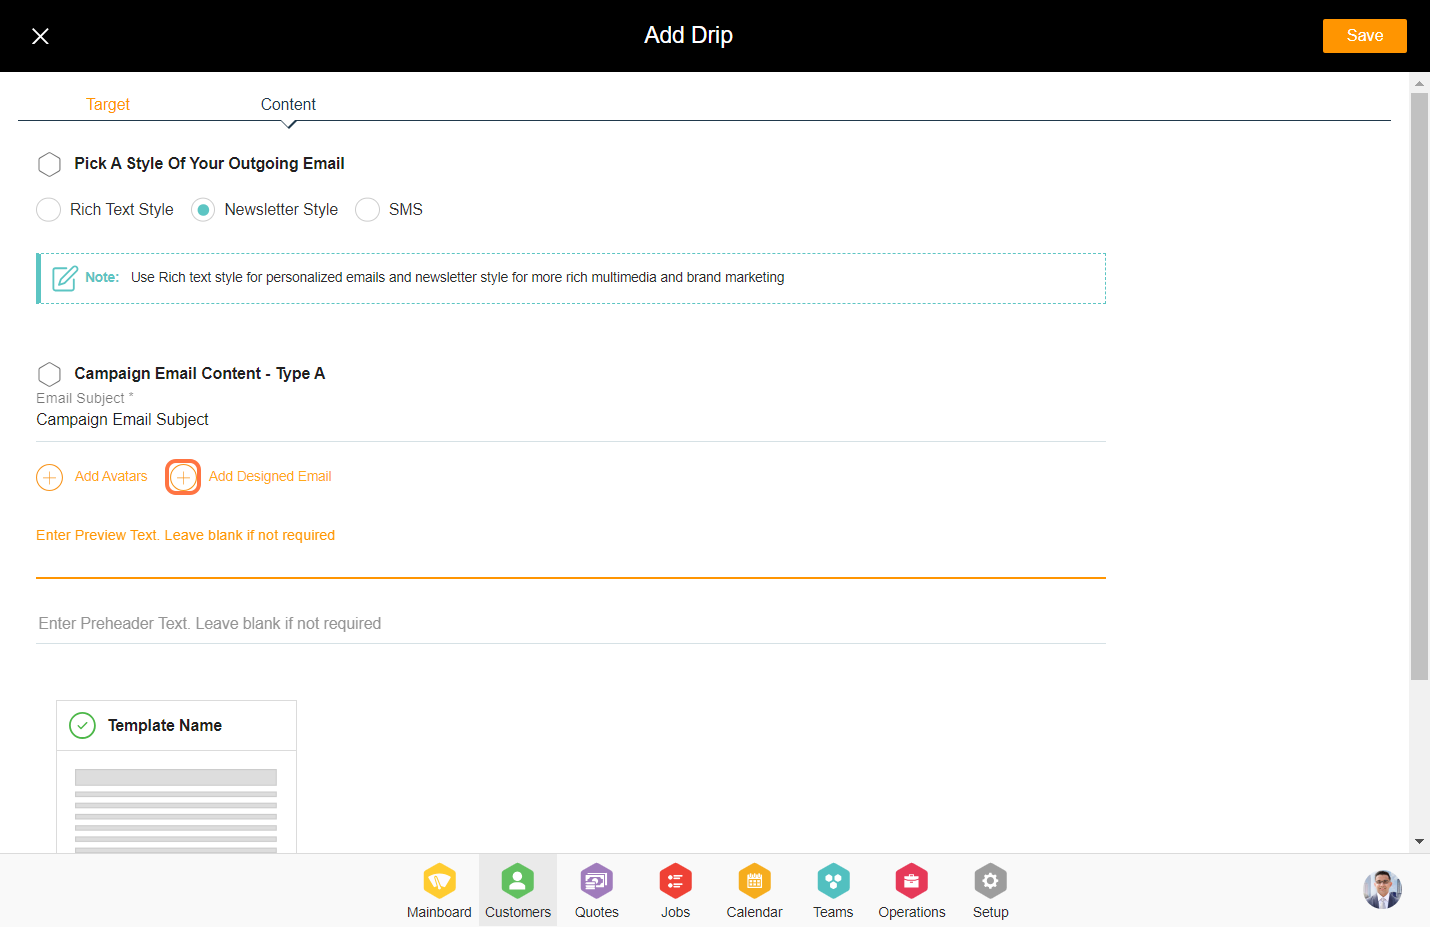
6. Click on the 'Content' tab from the top.

7. Enter the campaign email subject.

8. Add preview text or preheader text to the email from here. Leave Blank if not required.

Note: Learn More About -- 'How To - Create a Newsletter'.

11. Click on 'Save' to enter the drip in the campaign.

13. Click on 'Start this Campaign'.
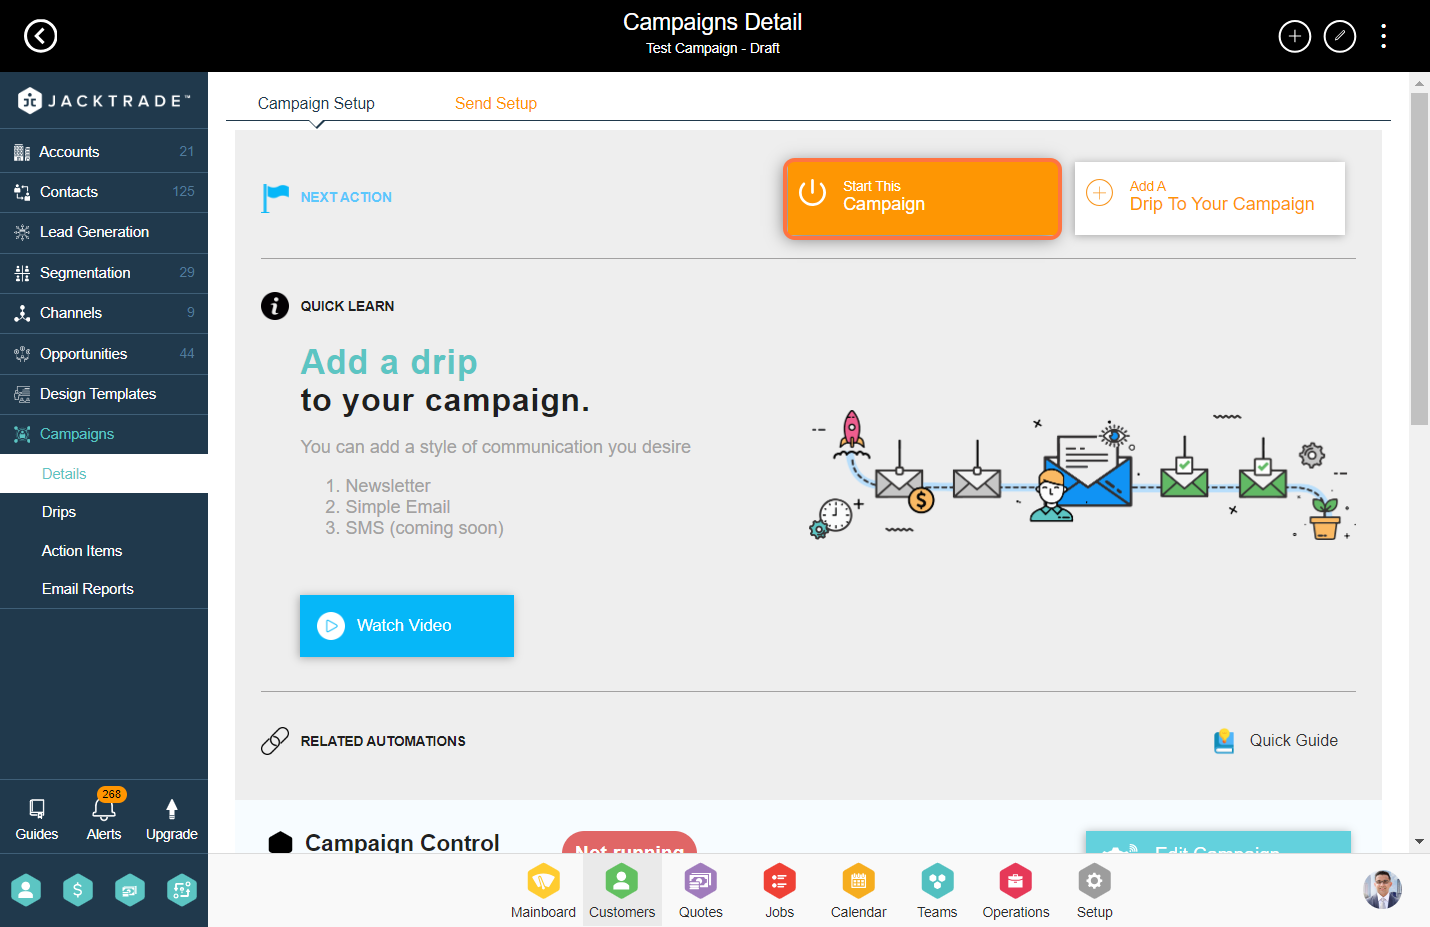
14. Type 'Officially Start-Drip' and click on 'Yes' to activate the campaign.
